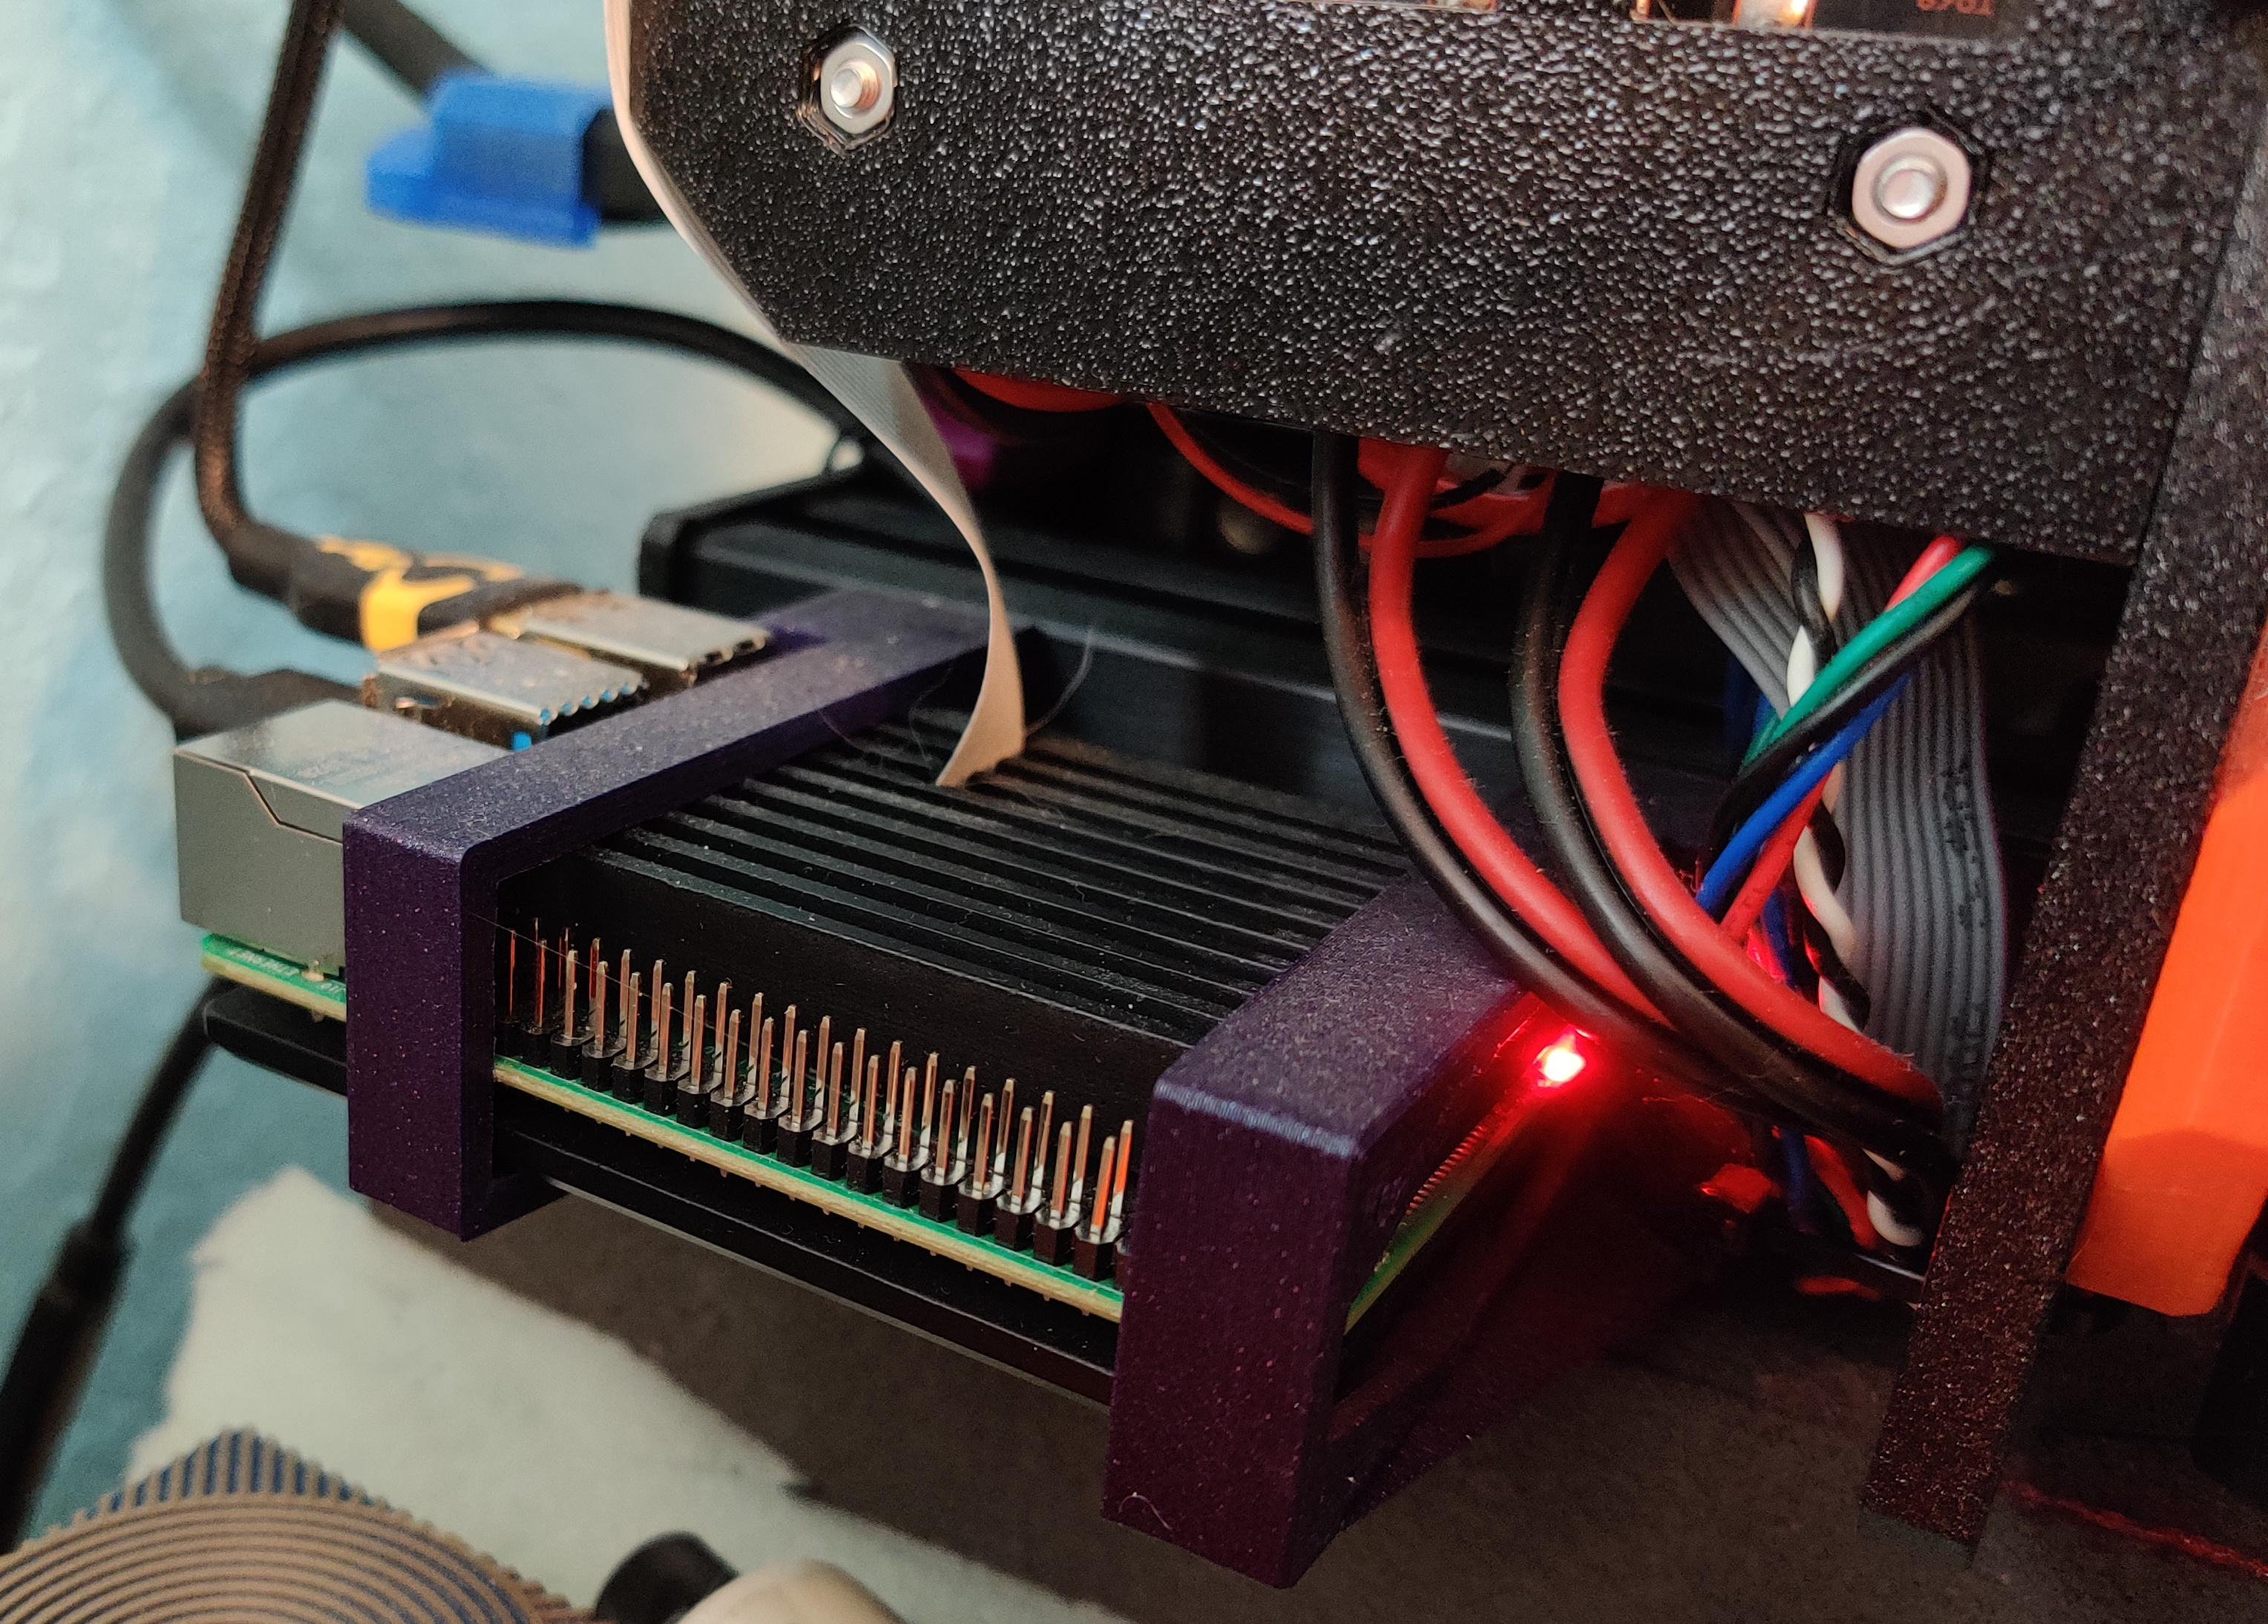
3D printer mounting bracket for Raspberry Pi in aluminum case
prusaprinters
<p>This is a bracket that I designed for a Raspberry Pi that is in an aluminum case for passive cooling. There are a lot of Raspberry Pi cases and mounting brackets for 3D printers, but they often do not include any sort of cooling, or they might have some sort of an active cooling solution (a fan). I really like the aluminum cases for the Raspberry Pi as they cool very effectively and they do it passively, so there is no fan noise to worry about and you get to avoid adding a moving part to your Raspberry Pi. The other unique aspect about this mounting bracket is it is designed to go on the back left corner of the printer, which gets the pi close to the USB port on the MK3S and keeps the pi out of the way of everything else.</p><p>With that in mind I designed this bracket that allows you to mount a Raspberry Pi that is in an aluminum enclosure onto a 3D printer that uses 3030 extruded aluminum braces (in my case a Prusa MK3S). The case I designed these brackets for actually isn't available on Amazon anymore, but you can find similar ones on Amazon and elsewhere, just understand you may have to adjust the brackets a little bit for your exact enclosure to be compatible with them. If there is a popular model that a lot of people want a specific design for (the Geekworm Case on amazon would probably be a contender) then I may be willing to buy one and make sure the design works for it. However, it should be relatively easy to open these files in Blender and move some sides around to make it fit perfectly for whatever pi case you are using.</p><p>Printing tips: Standard print settings should be fine, but you will probably need a well calibrated printer to get good results from these prints. They should not need any support except for the t-nut, which needs support inside the screw hole to print properly. </p><p>Installing: This is not the easiest install, mostly because I designed the bracket to have a screw both in the side and bottom of the extruded aluminum. Getting both the side and bottom screws and t-nuts (there are 4 total) set and tightened properly takes patience and generally requires sliding the t-nuts into place after one side of the bracket is already placed, which can be challenging. If you aren't as paranoid about getting a rock solid mount as I am you can probably just tighten the side or the bottom of the mount and leave it at that. The side screws that fasten the brace are 16mm screws and the bottom screws are 10mm, the screws the clamp the front part of the bracket on to the pi are 10mm screws. There is a bracket that doesn't have the corner braces on the front which should make it more compatible with a wider range of aluminum Raspberry Pi cases.</p><p>Bill of Materials:</p><p>Aluminum case for raspberry pi</p><p>3x t-nuts</p><p>m3 hardware (4x hex nuts, 4x 10mm screws, 2x 16mm screws)</p><p>90 degree power cord adapter (like this: https://www.amazon.com/Adapter-Poyicott-Extender-Charging-MacBook/dp/B07QXRN62Q/ref=sr_1_14?crid=2T7YKGV74SRBU&keywords=90+degree+usb+c+extender&qid=1651792324&sprefix=90+degree+usb+c+extende%2Caps%2C147&sr=8-14)</p>
With this file you will be able to print 3D printer mounting bracket for Raspberry Pi in aluminum case with your 3D printer. Click on the button and save the file on your computer to work, edit or customize your design. You can also find more 3D designs for printers on 3D printer mounting bracket for Raspberry Pi in aluminum case.
