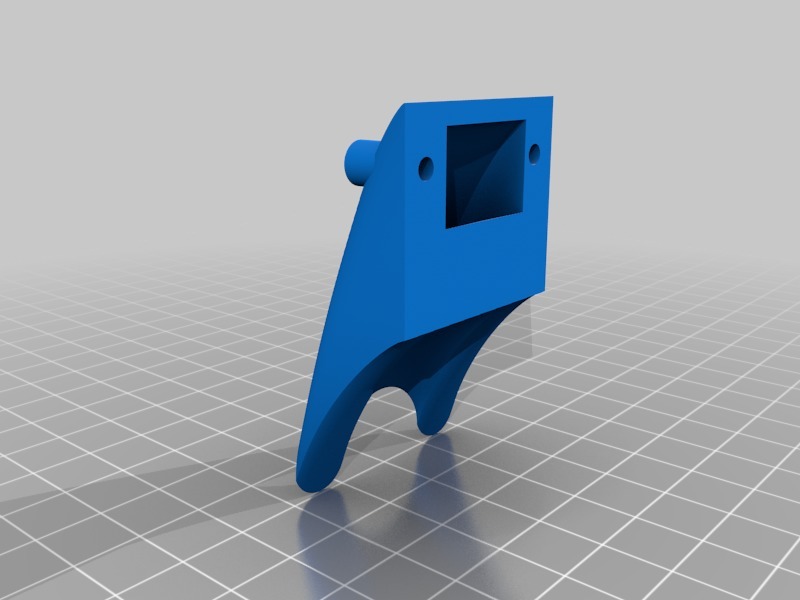
3d printer fan duct
thingiverse
Design a basic air duct system for your 3D printer using readily available materials and tools. To start, you'll need a few components, including a power source, a blower, a flexible hose, a fan, a ducting system, and some basic fasteners like screws or clamps. The first step is to mount the blower to a stable surface, making sure it's secure and level. Next, attach the flexible hose to the blower outlet, taking care not to kink or bend the hose in any way. Connect the fan to the other end of the hose, ensuring it's properly seated and secured. Then, connect the ducting system to the fan outlet, using screws or clamps to hold everything in place. Finally, route the air duct through your 3D printer, taking care not to obstruct any moving parts or interfere with the printer's operation. Secure the ducting system in place with more screws or clamps as needed.
With this file you will be able to print 3d printer fan duct with your 3D printer. Click on the button and save the file on your computer to work, edit or customize your design. You can also find more 3D designs for printers on 3d printer fan duct.
