3D printer enclosure
prusaprinters
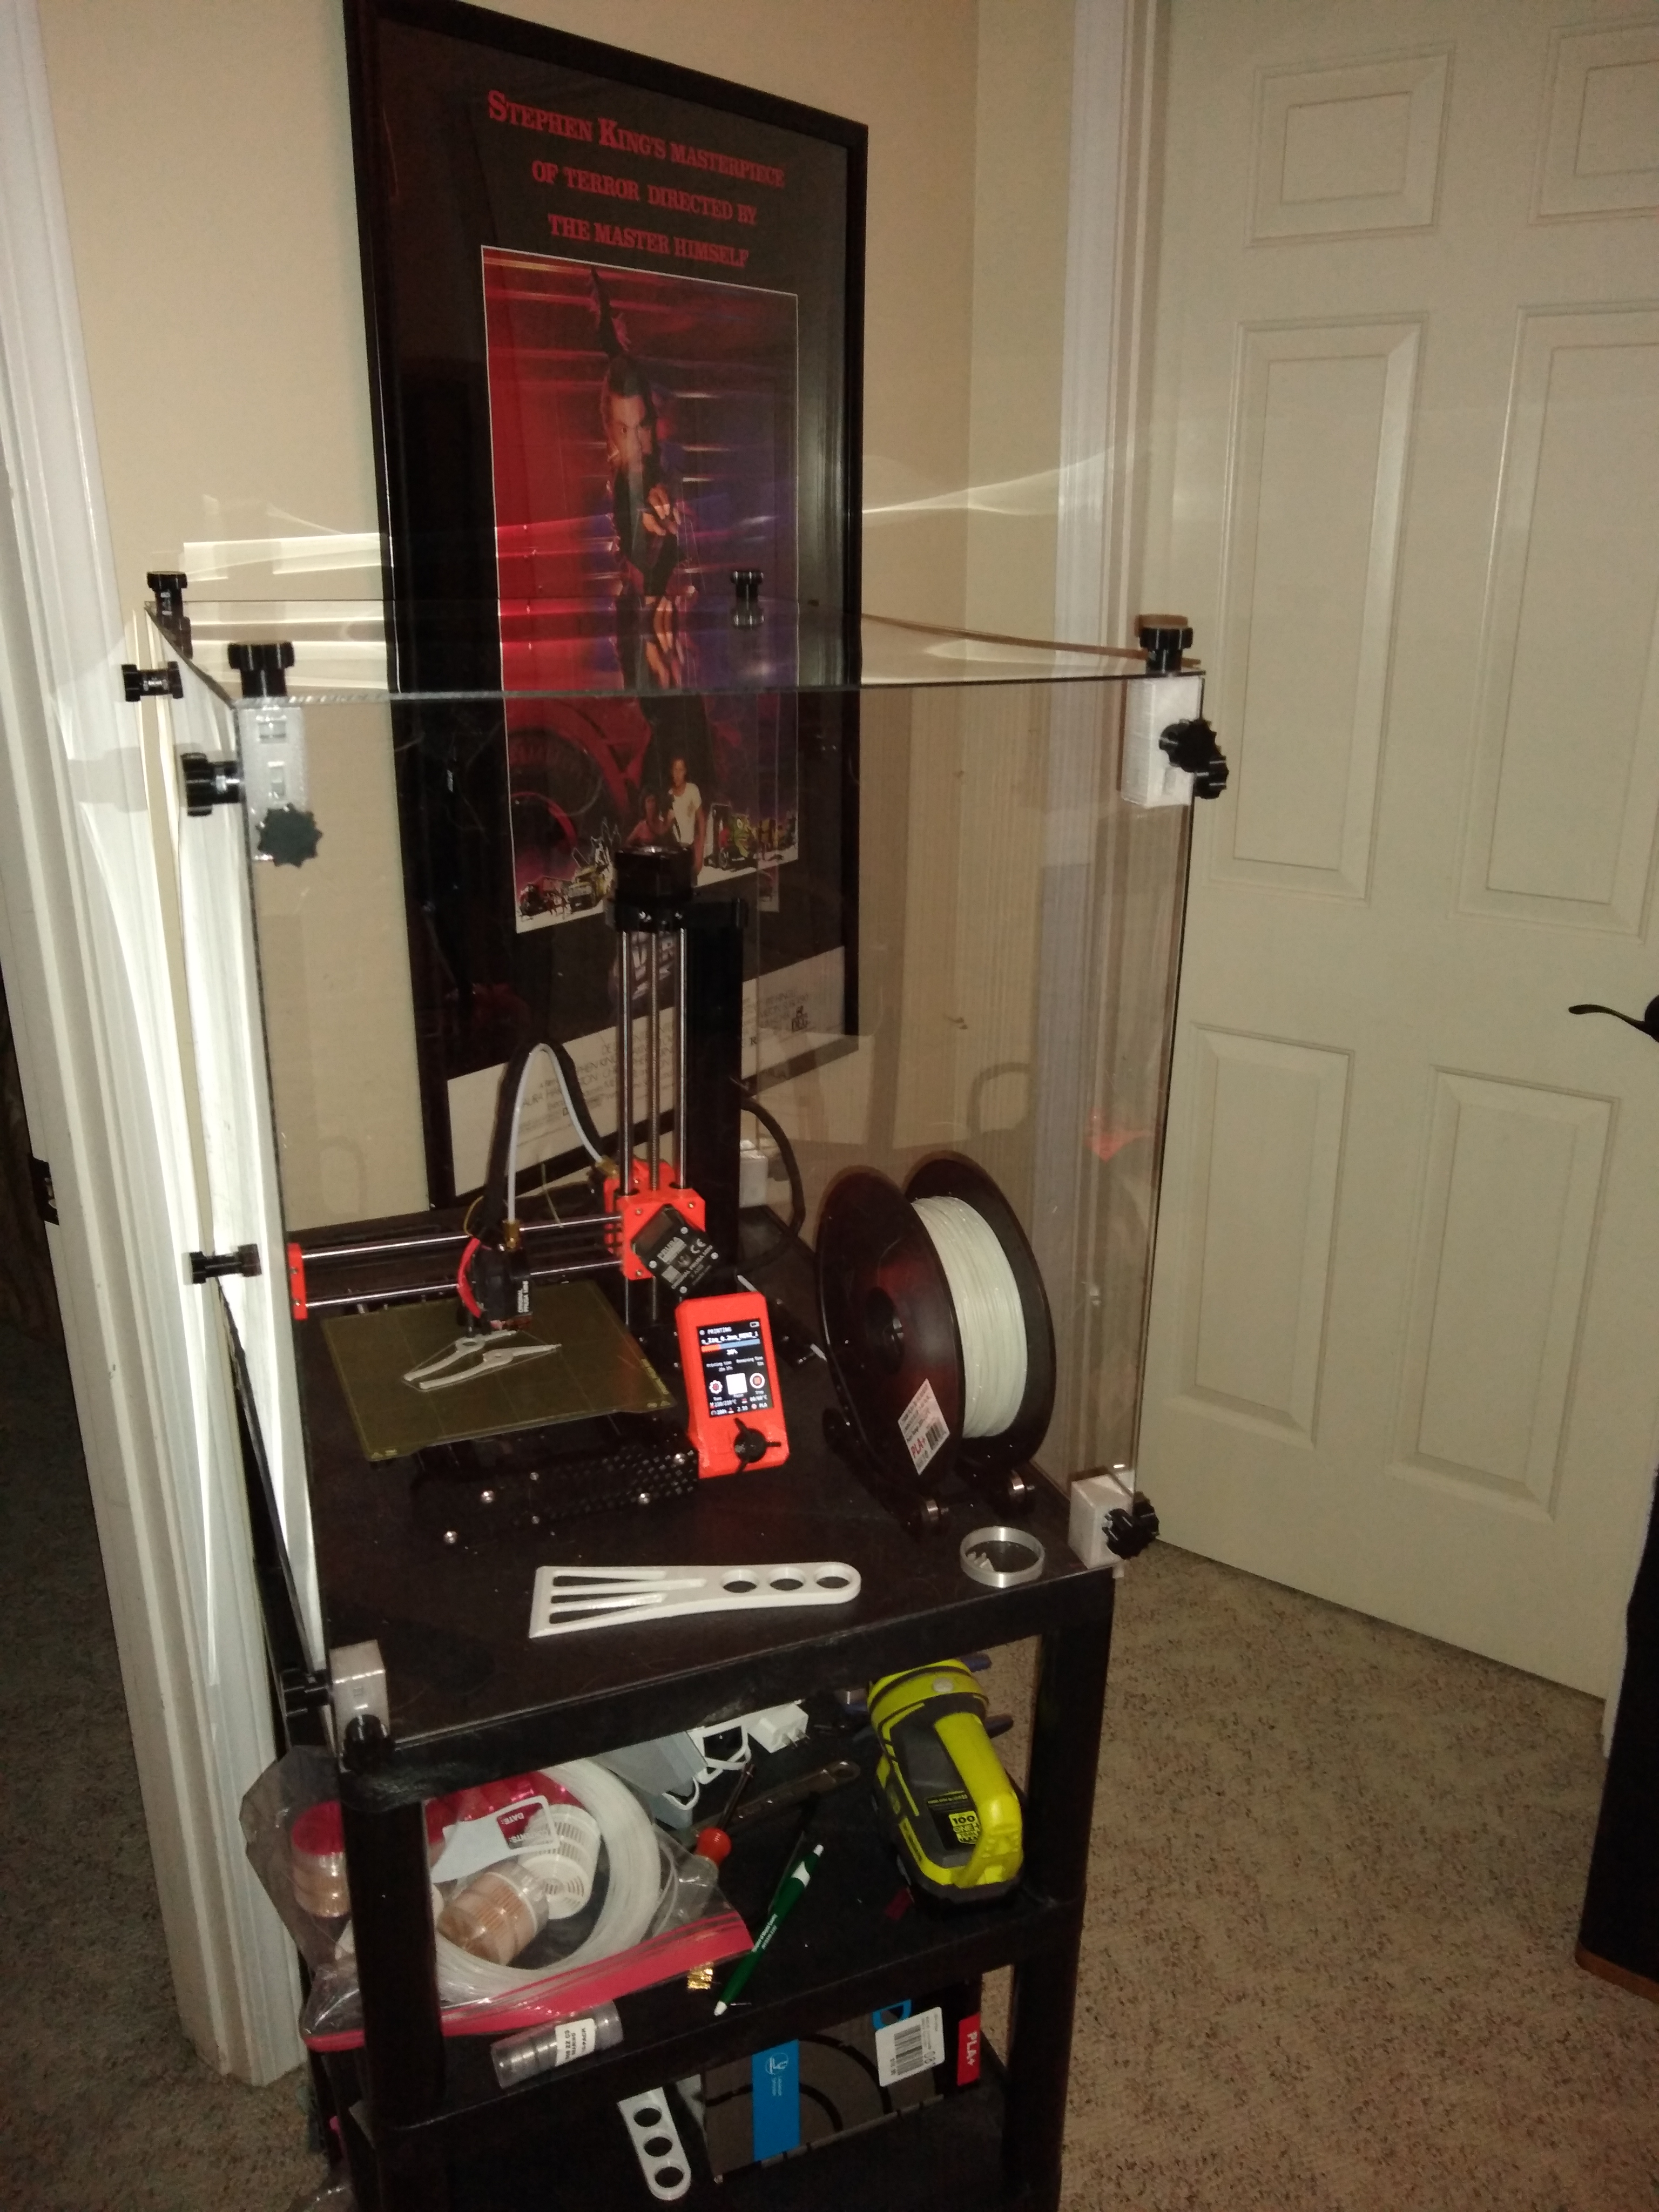
<p>This enclosure was designed for Luxor BC45-B (or BC45-G) cart ( <a href="https://www.totallyfurniture.com/four-flat-shelf-black-utility-cart-luxor-bc45-b">https://www.totallyfurniture.com/four-flat-shelf-black-utility-cart-luxor-bc45-b</a> ) and it locks in place with the bottom block extensions. The block extensions can rotate upwards so the enclosure will fit on a flat surface (like a table).</p><p>See <a href="https://www.prusaprinters.org/prints/109185-enclosure-handle">https://www.prusaprinters.org/prints/109185-enclosure-handle</a> if you want to add handles!</p><p><strong>In addition to printed parts, you'll need:</strong></p><p>(20) Hex bolts, Zinc plated steel, 1/4"-20 x 1-1/4"<br><a href="https://www.boltdepot.com/Product-Details.aspx?product=196">https://www.boltdepot.com/Product-Details.aspx?product=196</a></p><p>(20) Hex nuts, Zinc plated steel, 1/4"-20<br><a href="https://www.boltdepot.com/Product-Details.aspx?product=2648">https://www.boltdepot.com/Product-Details.aspx?product=2648</a> </p><p>Clear Polycarbonate (I used this: <a href="https://www.tapplastics.com/product/plastics/cut_to_size_plastic/polycarbonate_sheets/516">https://www.tapplastics.com/product/plastics/cut_to_size_plastic/polycarbonate_sheets/516</a> )</p><p>(1) "Top Plexiglass: ", 24, 18<br>(1) "Back Plexiglass: ", 24, 20<br>(1) "Front Plexiglass: ", 24, 20<br>(2) "Side Plexiglass: ", 17.814, 20</p><p>{The side panel width is 18" minus two panel thicknesses since it fits inside the front and back panels}</p><p>NOTE: I used Polycarbonate but other 3/32" plastic will also work. If you use a different thickness plastic, the drill patterns will not work.</p><p><strong>Printed parts:</strong></p><p>(20) bolt knobs ( <a href="https://www.prusaprinters.org/prints/78501-14-bolt-knob">https://www.prusaprinters.org/prints/78501-14-bolt-knob</a> )</p><p>(4) top blocks</p><p>(4) bottom blocks</p><p>(1 set) side hole patterns</p><p>(1 set) hole patterns (for front, back, and top)</p><p><strong>Assembly:</strong></p><p>Before drilling, see the pictures, cutaway STL files (All of them say “DO_NOT_PRINT”). Once you know where to drill, double check with the drill patterns to make sure the holes align. Clamps may help assembly, I used the large clamp from here: <a href="https://www.thingiverse.com/thing:1673030">https://www.thingiverse.com/thing:1673030</a>. Once your ready, use the pilot hole patterns and a 3/32 drill bit, followed by a ¼" drill bit.</p><p>Ask if you have questions!</p><p> </p><p> </p>
With this file you will be able to print 3D printer enclosure with your 3D printer. Click on the button and save the file on your computer to work, edit or customize your design. You can also find more 3D designs for printers on 3D printer enclosure.