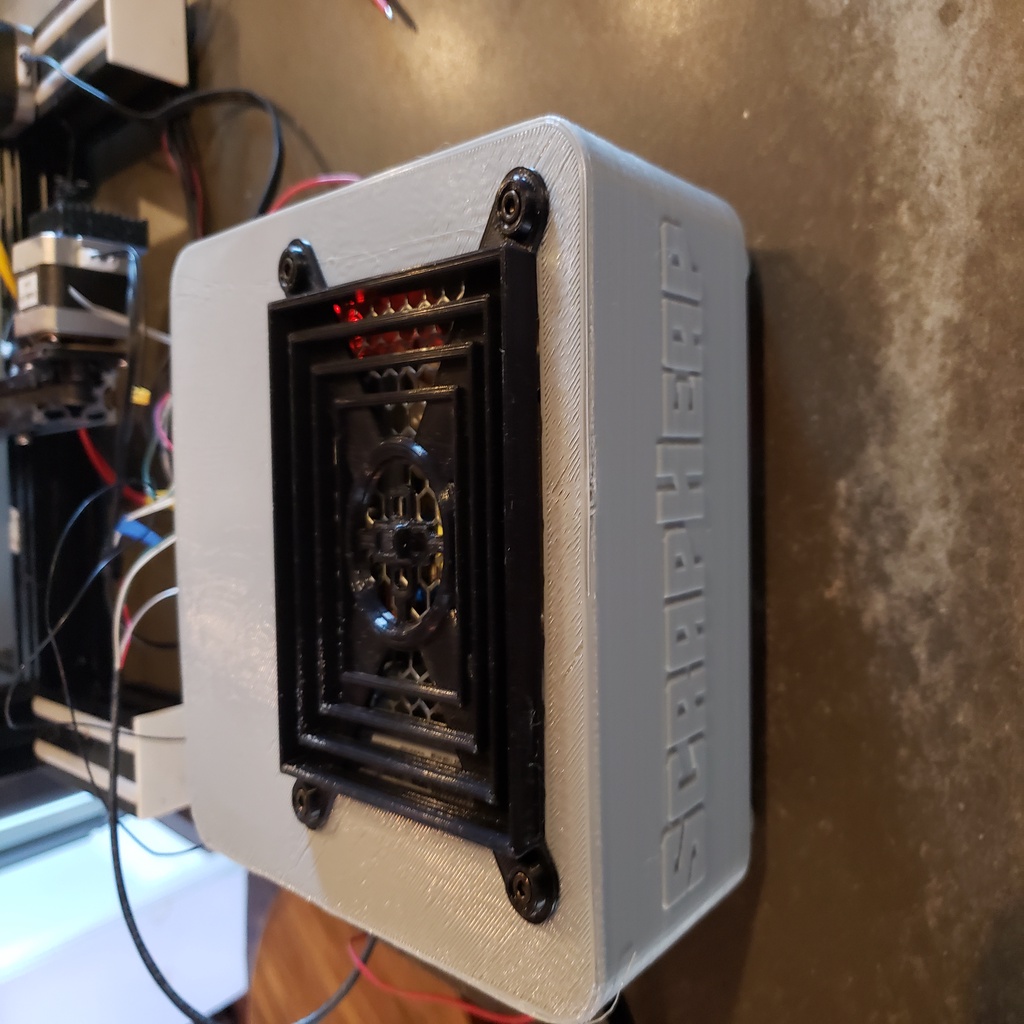
3D Printer Electronics Enclosure
thingiverse
I originally designed this to work seamlessly with the MPCNC. After making significant changes to my Ender 3, I decided to use this enclosure with some modifications. The basis of my design includes: 1. MKS Gen L controller 2. TMC2130 stepper drivers with sensorless homing 3. A high-powered 120V bed heater 4. Raspberry Pi for Octoprint operation 5. Headless functionality 6. Pulling as many amps as possible from the controller board, using a Mosfet to control the hot end 7. Integrated power supply 8. Compact design 9. Using a Sonoff Wifi Switch to remotely power on and off the device You will need to adjust your slicer settings for a few parts. E_PS needs to be flipped so it can be printed without supports, while (4) E_Legs require flipping as well. Both versions of E_Base files also need to be flipped. The main components are: MKS Gen L controller Raspberry Pi 3 B+ Buck Converter Meanwell LRS-100-24 Switching Supply (2) 40MM fans - 24V Sonoff Wifi Switch Hardware is made from 3mm thick material, available in various lengths with Nyloc and standard nuts. You will need (2) M3x25 to attach E_PS1. I've included a step-by-step assembly guide without the top so you can see how everything fits together. For more detailed information on wiring, please refer to these not-so-professional YouTube Videos: https://www.youtube.com/watch?v=F9jZrplQPrs https://www.youtube.com/watch?v=oepT8dVYlXs https://www.youtube.com/watch?v=zIz90tlhOZI This is part of my larger project to build an entirely scratch-built 3-D Printer. The design will be posted in the next couple of months. There are two bases provided, E_Base1 being thinner and using less plastic, but still working just as well. If you're printing this for a 3D Printer, you'll need E_PS2. E_PS1 is designed specifically for the MPCNC. E_PS2 provides mounting for the most common sizes of SSR and Mosfet modules. I test and debug my board thoroughly before loading it up, which can be a bit tricky with all these wires! If you get it right the first time, kudos to you! I've run a 10-hour print with this box, and active cooling keeps everything manageable. The Power Supply is just warm to the touch, while the air on the exhaust is only slightly elevated. When choosing your SSR for the heated bed, go for three or four times your amps - it will keep things cooler. I have a 500W bed and use a 20A SSR (4.2A at 120V). If you download this design, please hit like. If you make it, please post your results. If you have questions, I'm here to help!
With this file you will be able to print 3D Printer Electronics Enclosure with your 3D printer. Click on the button and save the file on your computer to work, edit or customize your design. You can also find more 3D designs for printers on 3D Printer Electronics Enclosure.
