3D Printed Virtual Reality Headset (stretched for Nexus 5x)
thingiverse
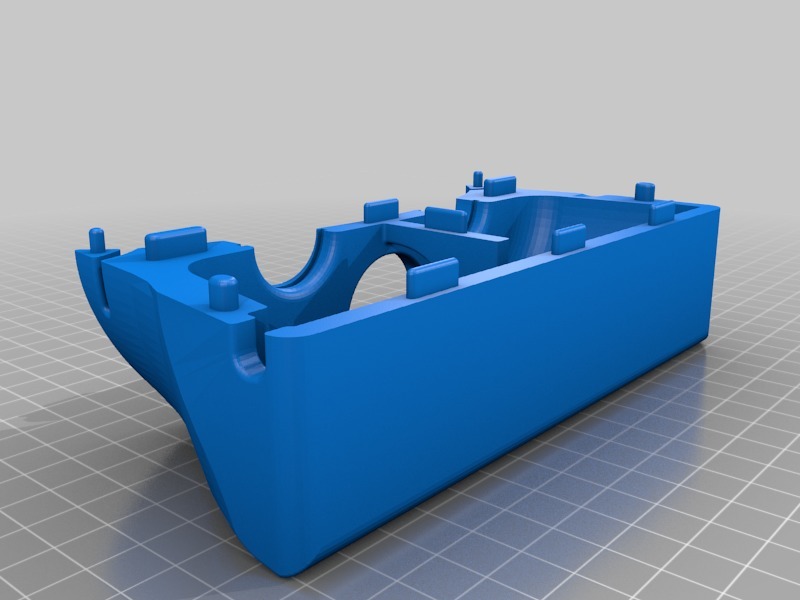
This is an adapted version of Gagan543's original headset designed specifically for the Nexus 5X. The components were fitted into place, and they were stretched in Blender to ensure a snug fit for the phone. To achieve this, I scaled up the parts tenfold so that the print would be accurate without any distortion. This is a rough adaptation of the original model. I didn't adjust the camera hole's position to match the Nexus 5X or clean up the faces that were stretched, resulting in an imperfect fit and non-functional camera. **Printing Tip:** The original headset doesn't have perfectly flat top or bottom surfaces. To get a good print, load each half of the model with the flat part facing down on the bed (the top half will need to be turned upside down in Cura). Then adjust the Z by -0.3 to sink the part into the bed and remove the first print layer. Verify this in the layer view to ensure that the first layer is complete. **Try Out a LulzBot TAZ 6 in Virtual Reality!** Once you have printed the headset and acquired some lenses, head over to the following page to experience a LulzBot TAZ 6 in virtual reality! http://devel.lulzbot.com/vr/taz **How it Was Done:** I'm a Blender novice, so this method may not be the best way to accomplish this adaptation. However, here's the process I used to stretch the slot on the original STL files, which could be applied to adapting the headset for other phones: 1. I loaded both of the [original STL files](https://www.thingiverse.com/thing:819947) into Blender. 2. I installed the [MultiEdit plugin](https://blenderartists.org/forum/showthread.php?339369-MultiEdit-version-1-0-Multiple-Objects-Editing). 3. I selected both the top and bottom parts, entered MultiEdit mode, and switched to an orthographic view with a top perspective. 4. I disabled "Limit Selection to Visible" and enabled "Proportional Edit." 5. I used box select ("B") to choose the vertices on the right side of the slot. 6. I translated the vertices using keyboard shortcuts, for example "G X 5." 7. I repeated steps 5 and 6 for the vertices on the left side of the slot, applying a negative offset. 8. I repeated step 5 and 6 for the vertices of the front of the slot to increase its depth.
With this file you will be able to print 3D Printed Virtual Reality Headset (stretched for Nexus 5x) with your 3D printer. Click on the button and save the file on your computer to work, edit or customize your design. You can also find more 3D designs for printers on 3D Printed Virtual Reality Headset (stretched for Nexus 5x).