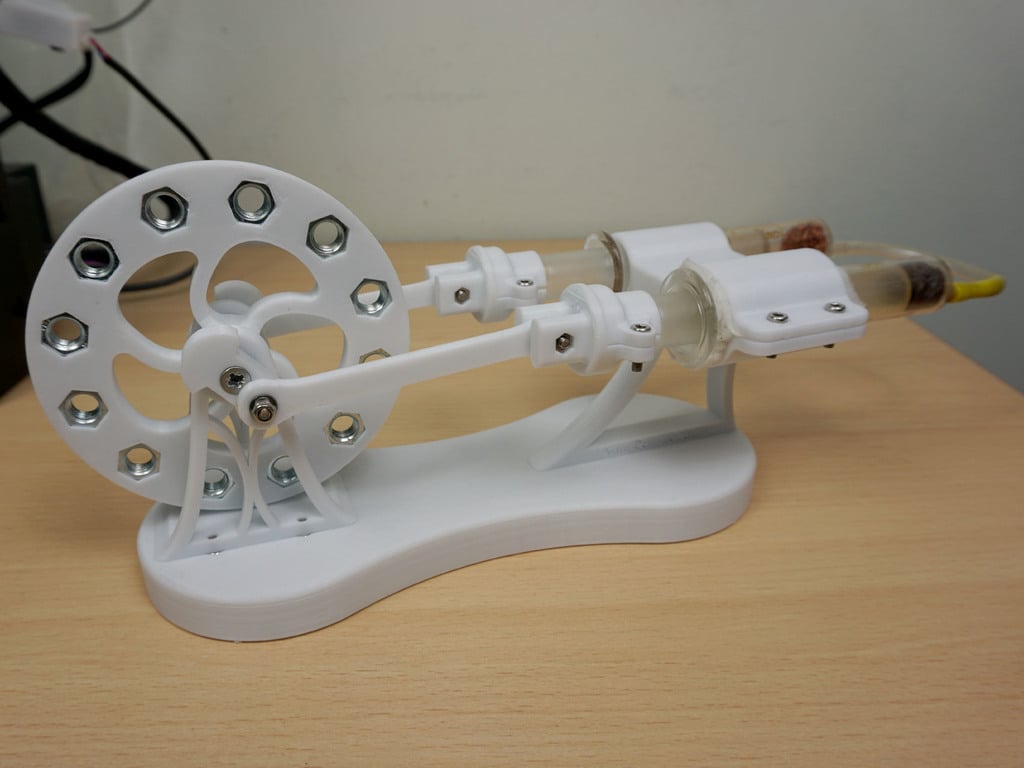
3D Printed Stirling Engine Type Alpha
thingiverse
If you enjoyed this project and want to express your gratitude, consider supporting me by sending a tip on Thingiverse or my PayPal here. My take on the 3D printable Stirling engine is complete. You can see a glimpse of the assembly process and how it operates in this video: https://www.youtube.com/watch?v=kttaajHHPeY Check out my I3 Mega **ULTIMATE upgrade guide!** It's packed with valuable knowledge that will help you get the best 3D printing results. Find it here: http://bit.ly/2OVbu5Z Tips to keep in mind: - Ensure your printer is well-calibrated before starting a print. - Avoid over-tightening syringes, as this can cause glass to bend and create excessive friction inside. - Polish pistons with fine sandpaper to enable smooth movement within cylinders while maintaining sufficient pressure. - The crank angle must be precisely 90 degrees. Required parts: - 12 M8 Nuts - 12 M3x10 Screws - 18 M3 Nuts - 2 M3 self-locking nuts - 8 M3x14 Screws - 4 M3 Washers - 6 M4 Washers - 4 M4 Nuts - 1 M4 screw with a countersunk head, at least 44mm long - you'll need to cut it to the right length - 2 x 604ZZ bearings: http://bit.ly/2JMp75J - 4 x 683ZZ bearings: http://bit.ly/2qwAiHr - 2 x 10 ml glass syringes: http://bit.ly/2p2ebJl - Heat-resistant tubing for connecting syringes - Heat-insulating material - Thin copper wire Printing requirements: - 2 connecting_rod parts - 2 flywheel_support parts - 2 piston_mount_part_1.stl parts - 2 piston_mount_part_2.stl parts Every other part needs to be printed once.
With this file you will be able to print 3D Printed Stirling Engine Type Alpha with your 3D printer. Click on the button and save the file on your computer to work, edit or customize your design. You can also find more 3D designs for printers on 3D Printed Stirling Engine Type Alpha.
