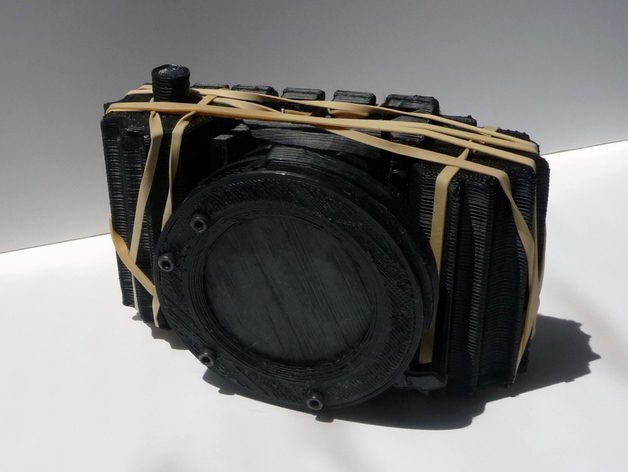
3D Printed Pinhole Box
thingiverse
Update 04/07: Upload a fully mounted picture and my work file containing all the SolidWorks files. Here's an updated version of the 3D printable pinhole camera! The photo shows my test and failed prints before getting it right, while the final pieces are displayed at the front. These are the first test film images taken using this printed box. Sorry for the brief description; I was short on time. Print all parts twice, except for Bobine.STL, which requires two copies. Purchase or build your own pinhole (I bought mine from stenocamera.fr with 0.26mm pinhole, but numerous tutorials are available online), and attach it to the center of the 'BottierB' part using glue. Dark fabric should be glued on parts that come in contact with film, as well as on the inside of 'boitierA' and 'boitierB', the top of Bobine, and under the 'Bouchon'. Use a hexagonal screwdriver head for pulling the film. Assemble all pieces using rubber bands (sorry, no fully assembled picture is available). This pinhole box can be used with both film or photographic paper. For exposure time calculations, use this software: http://www.pinhole.cz/en/pinholedesigner/. A detailed instruction guide with photos and proper English corrections will be uploaded in September, along with the SolidWorks design file as soon as possible. If you have questions or need commercial permission, feel free to ask.
With this file you will be able to print 3D Printed Pinhole Box with your 3D printer. Click on the button and save the file on your computer to work, edit or customize your design. You can also find more 3D designs for printers on 3D Printed Pinhole Box.
