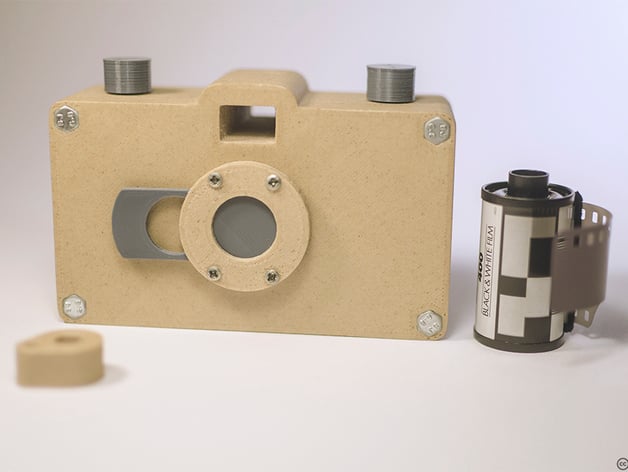
3D Printed Pinhole 35 mm
thingiverse
Pinhole Camera to Print: Easy Assembly from 3D Printed Pieces Get Ready to Take Stunning Photos with Your DIY Pinhole Camera! Print all eleven 3D printed pieces in black PLA with a shell thickness of at least 2mm and a filling rate of 30%. Then, assemble the camera by following these simple steps. Necessary Tools: A 4 mm drill bit and a drill machine, a piece of sandpaper, a cross-head screwdriver, four bolts + nuts with hex heads (4x40 mm), four self-drilling screws with cross-heads (2x12 mm), a sewing needle, and a soda can. Step-by-Step Instructions: 1. Drill four holes of 4mm diameter in the back of the case. 2. Sandpaper both holes to ensure a smooth surface for the buttons. 3. Slide the strips into place. 4. Use a sewing needle to create a tiny hole (0.25 mm diameter) in an aluminum piece from a soda can. 5. Insert the four self-drilling screws into the shutter pieces and begin screwing them together. 6. Place the needle-pierced hole between the shutter and the case, and screw firmly. 7. Close the back of the camera with the two strips. 8. Tighten the nuts using the key. 9. Your DIY Pinhole Camera is now ready for its first photo! Note: For optimal results, follow the user guide and make sure to handle the delicate parts with care.
With this file you will be able to print 3D Printed Pinhole 35 mm with your 3D printer. Click on the button and save the file on your computer to work, edit or customize your design. You can also find more 3D designs for printers on 3D Printed Pinhole 35 mm.
