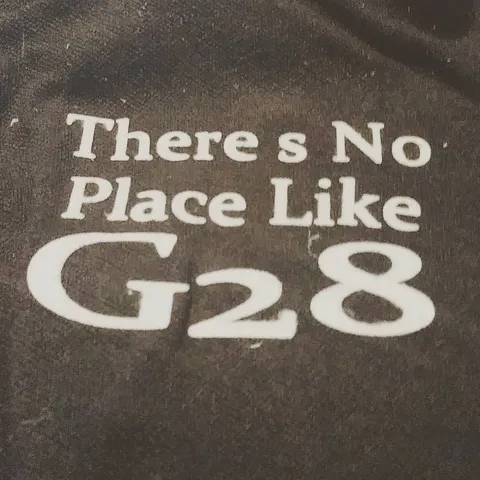
3D printed Iron-On Patch
prusaprinters
A simple little iron-on patch with a nerdy "inside joke" that only CNC techs and Makers will understand. Print instructionsYou MUST secure a sheet of thin paper to the build plate for this to work. Gcode provided is set to pull filament from F5, which is white for me. But it should work with any color. Once the print has succeeded, tear around the patch (Careful, the pieces will peel off the paper if you bend it too much), place it print-down on the fabric you want to iron it on to... and then iron it on! I set my iron on high and it fused perfectly. Careful of small details (Like periods, "i" dots, commas, apostrophes, etc), as they can sometimes not fuse, or fall off of the paper without you realizing... Which is what happened to me! You can also edit details out like this, which is what I elected to do when I pulled the skirt off of the final print before ironing. The reason I printed the skirt at all is because, at first, I thought I might want to use it as part of the design. Last minute, I changed my mind. This is why the gcode prints with a skirt. If you want to make your own patch, it's really rather simple; Take any pattern or text - single or multicolor - and make sure it's 0.4mm's tall - Just two layers at standard settings. From there, it's just a matter of printing it on paper. The trick is to get the paper TIGHT so the printer will not snag an edge. I used PLA, but there might be other things that work. Experiment! NOTE If readability is important, make sure your final STL is mirrored! This is, so far, the only way I've found to print for fabric on a MK3/S.
With this file you will be able to print 3D printed Iron-On Patch with your 3D printer. Click on the button and save the file on your computer to work, edit or customize your design. You can also find more 3D designs for printers on 3D printed Iron-On Patch.
