3D Printed Headphones
pinshape
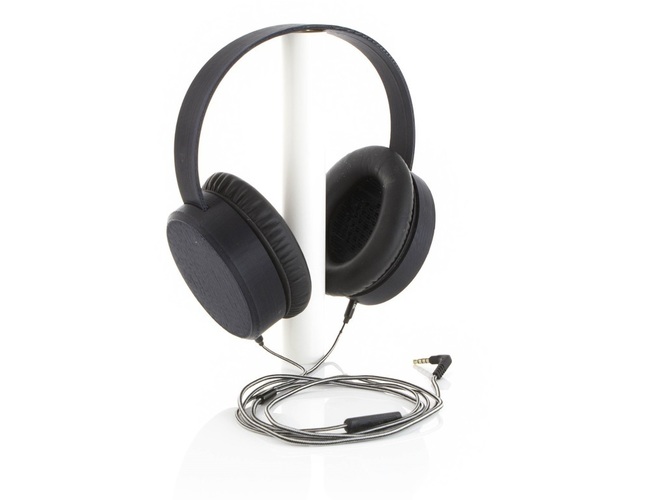
Here is a set of great looking and awesome sounding headphones that can be printed yourself. The parts that cannot be printed (drivers, cushions etc) are all readily available and will cost around $25 (plus shipping). As there is little publically available info on headphone design, I had to figure out how all the design variables affect the sound. Details of my work can be found here: http://homebrewheadphones.com/... Parts List: 2x drivers: http://bit.ly/Dayton-ce38mb-32 Cushions: Bose QuietComfort QC15 QC2 replacements http://ebay.to/2lvb5vd Cable: Sol Republic Master Tracks HD V8 V10 V12 X3 replacement http://amzn.to/2kAyrkb 2x 2.5mm female audio jacks http://ebay.to/2lxgW3B Hookup wire. These come cut and stripped http://ebay.to/2kAuHit Gel consistency glue for plastic http://amzn.to/2liPTXh Plasticine http://ebay.to/2kAvIai Solder Printed Parts: 2x covers 2x baffles (printed with the driver mouting side facing up) 1x headband I made mine from ABS using the printer's default settings, except for reducing the headband infill to 5-10%. Assembly Instructions Step 1: Solder the hookup wire to the 2.5mm jacks Solder two sets of hookup wire to the 2.5mm jacks as per the photo. On the jacks I used, the negative (black) wire is the large tab and the positive the small round one. The red arrow indicates the positive terminal Step 2: Attach the driver and jacks to the baffle Mount the jacks into their holder. They will screw in snugly. Being careful not to damage the mylar film, place the drivers into the baffles with the terminals on the driver 90° from the jack, oriented towards the wire retainers (yellow circle in the picture below). Glue the drivers into the baffles with four 1/4″ (6mm) length spots of gel glue, placed at 90 degrees around the perimeter of the driver (blue arrows). DO NOT glue around the full perimeter of the driver, as this will adversely affect the sound. Let the glue dry. Attach the driver and 2.5mm jack to the baffle Step 3: Attach the wires to the drivers Solder the hookup wire to the drivers, with the red wire going to the solder tab next to the red dot. You can solder the wire on just by melting the tabs and inserting the wire, ie without adding any solder. Make sure the wires are in their retainers so that they don't get caught by the headband. Step 4: Tune the sound Now for step that took me tons of testing to figure out! In a closed back design, the Dayton Audio CE38MB-32 drivers are too bass-heavy and lacking in high end detail. To even things out a bit, we need to reduce the mids/bass to make them more equal to the treble. Don't worry, there will still be plenty of bass after this step! Using plasticine or similar, roll a small amount into a sausage then block all except one of the holes under the black fabric on the back of the driver. The black arrow below shows the non-blocked hole. Apply plasticine over all except one of the holes on the rear of the driver Step 5: Assembly Press the baffles into the covers, making sure the headband end of the baffle corresponds to the headband end of the cover (ie the two square holes line up). It may take a bit of force to assemble them – they are deliberately a tight fit so that they don’t require glue and can be disassembled. Using the double sided tape which comes on them, attach the pieces of fabric to the baffle. Fit the cushions to the baffle. Press the baffle into the cover Insert the headband and cables. They are handed, so make sure you put them on the right way around! Crank up some tunes and enjoy!
With this file you will be able to print 3D Printed Headphones with your 3D printer. Click on the button and save the file on your computer to work, edit or customize your design. You can also find more 3D designs for printers on 3D Printed Headphones.