3D Printed Conductive Circuit - Train Crossing
thingiverse
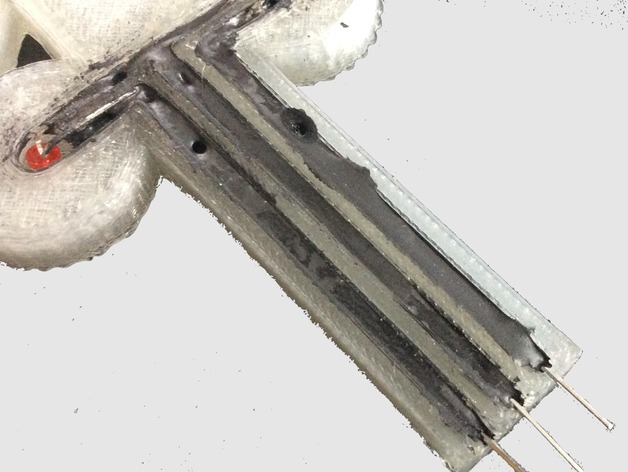
I wanted to build a 3D printed circuit using conductive ink similar to a Voxel 8 3D printer but on a budget. I discovered some affordable conductive glue at Radio Shack and utilized it to create a 3D Printed Train Crossing Circuit powered by an Arduino board. The circuit simply flashes LEDs back and forth like a train crossing and a crucial component of the circuitry is conductive ink placed in channels within a custom 3D print. You can view more details on my YouTube Channel: https://youtu.be/k-52WRqUocw I used this conductive glue from Radio Shack: http://shack.net/1R1aNR6 Print Settings: Printer: Makerfront Rafts: No Supports: No Resolution: 0.3 Infill: 25% Notes: You can use any fill or resolution, I chose clear filament to make it easier to see the conductive ink. Post-Printing: Simply add the conductive glue/ink to the channels to establish circuitry connections. I designed this traffic light with channels in Tinkercad.
With this file you will be able to print 3D Printed Conductive Circuit - Train Crossing with your 3D printer. Click on the button and save the file on your computer to work, edit or customize your design. You can also find more 3D designs for printers on 3D Printed Conductive Circuit - Train Crossing.
