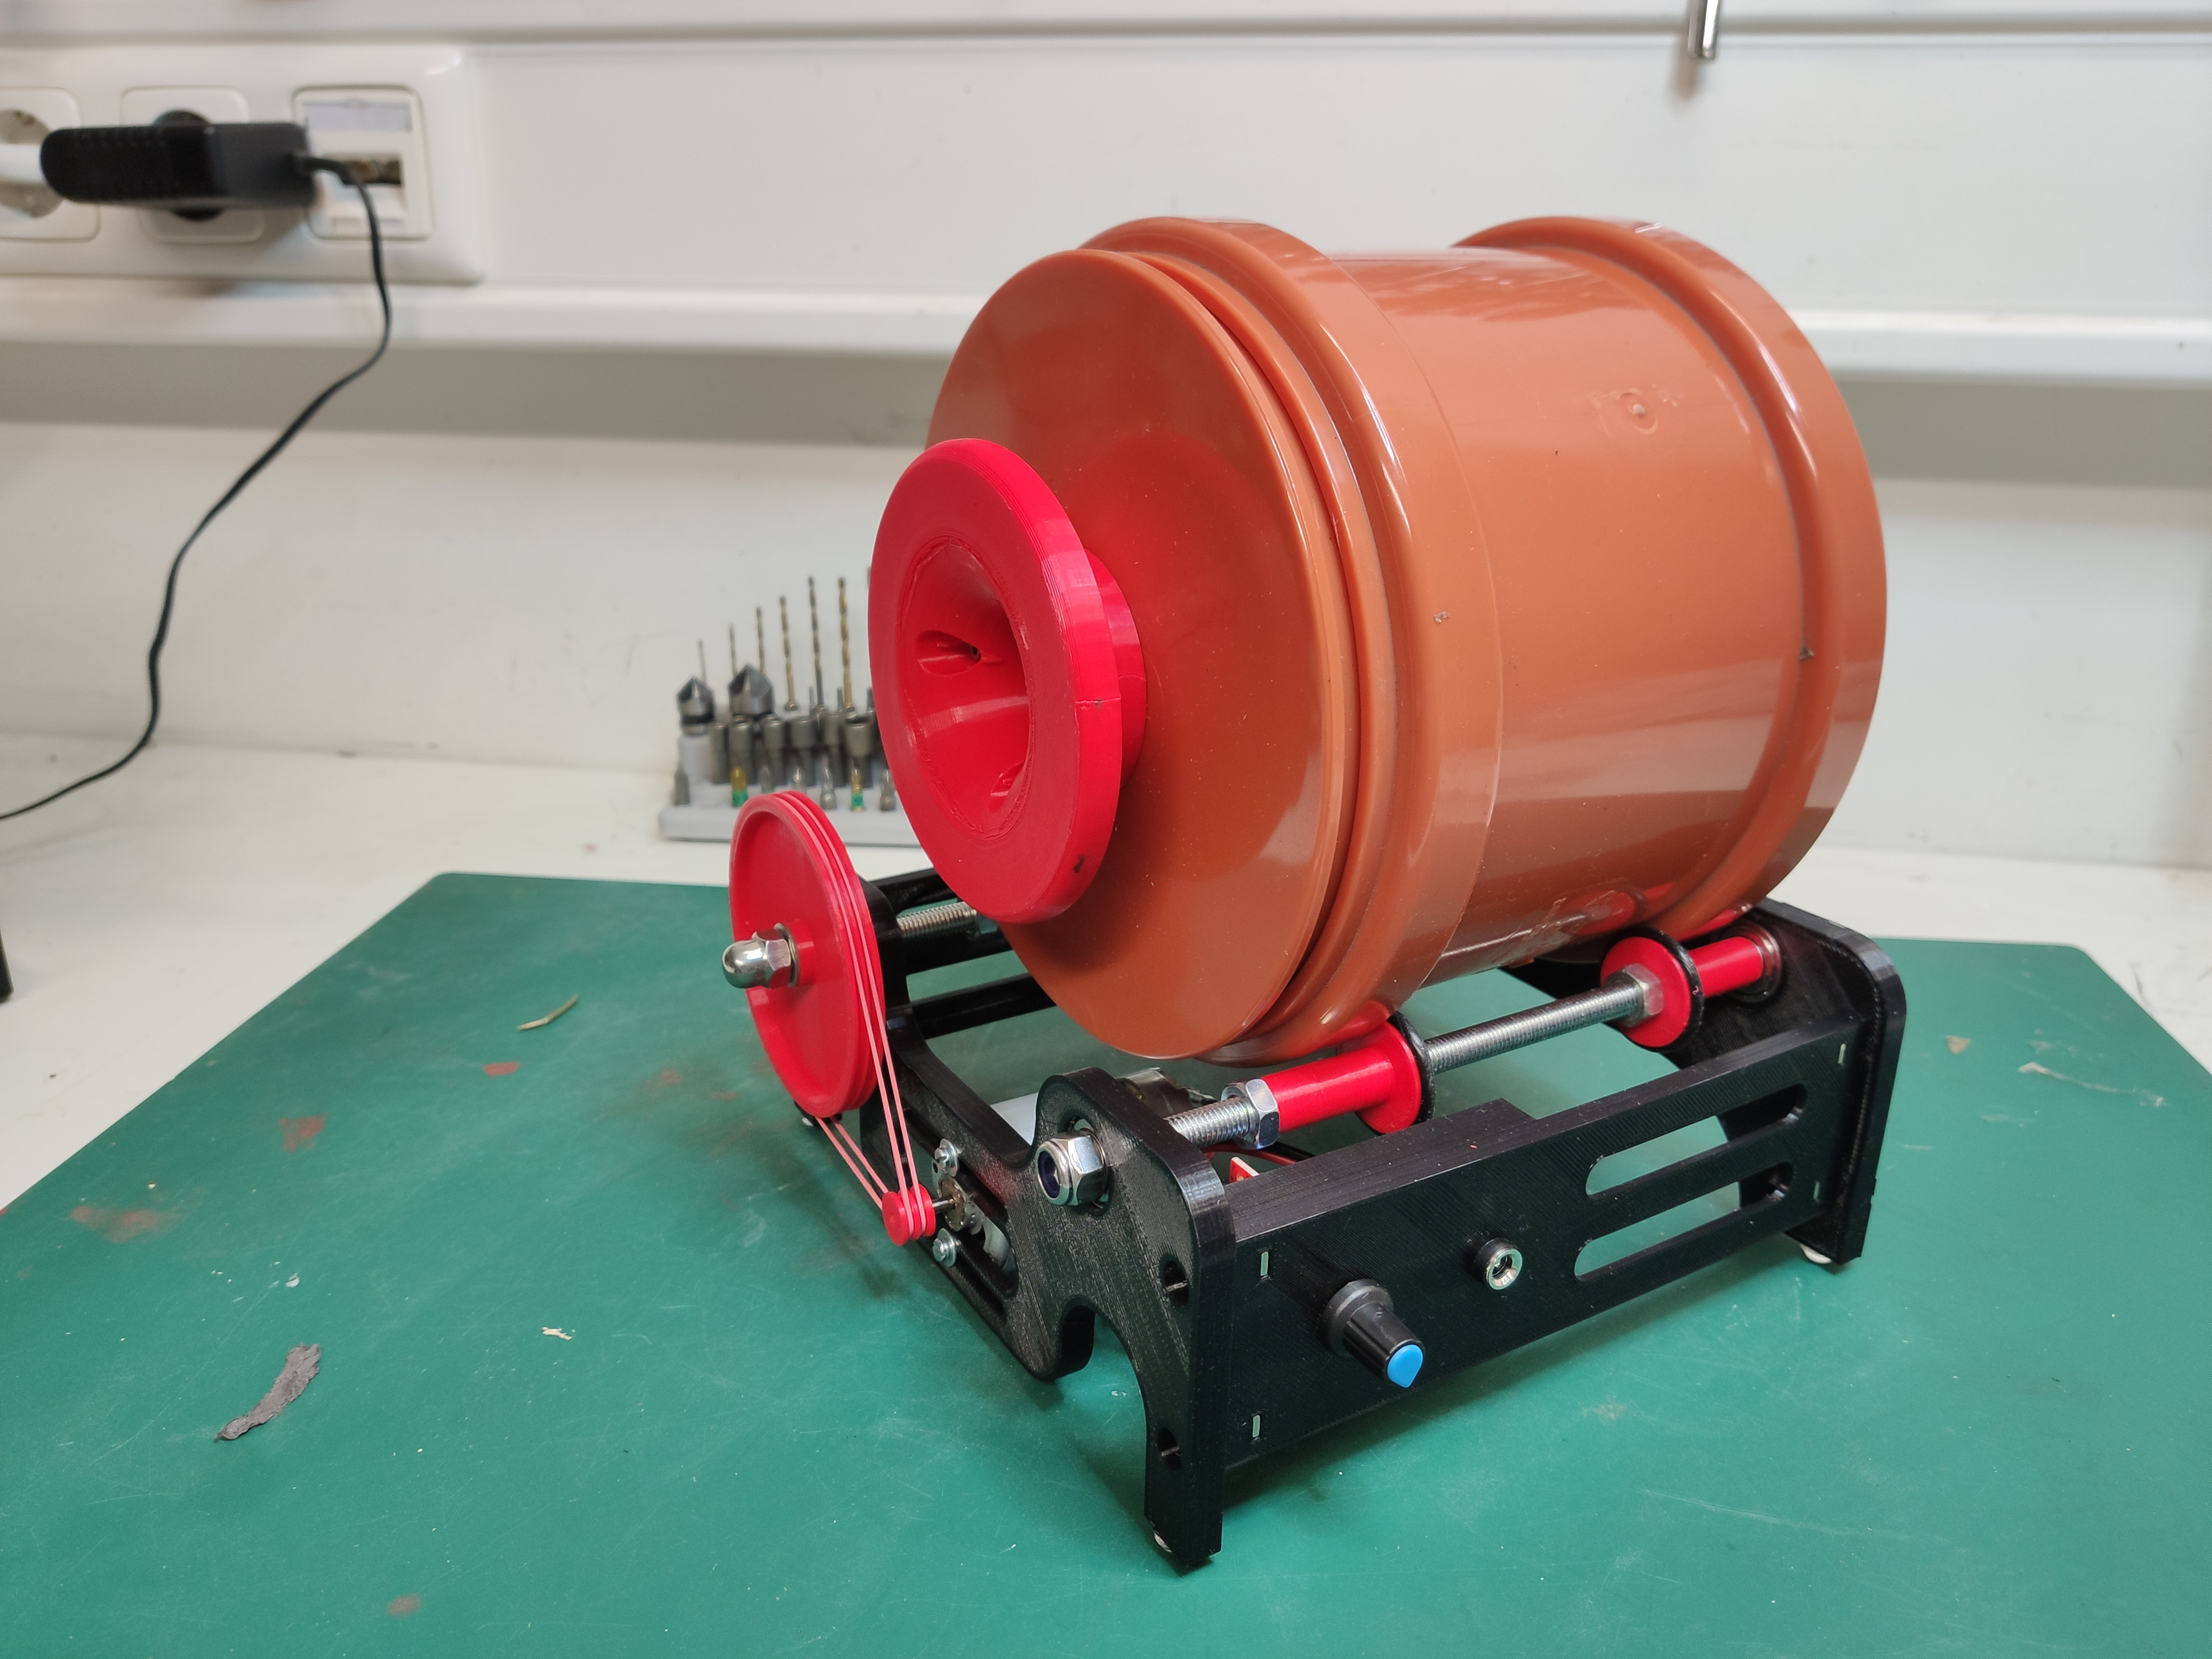
3D printed and speed controlled 160mm Rock Tumbler
thingiverse
This is My Design of a Rock Tumbler. What Makes it Unique? - The Frame is Mainly 3D Printed. Assembling it is Extremely Easy. - The Speed of the Tumbler Can Be Controlled. - With this Regulator and Different Drive Wheels, You Can Use Almost Any Available Cheap 550 Size Brushed Motors with a Shaft Diameter of 3.17/3.2mm. Print: Before Printing, Decide if You Want to Control the Tumbler or Not. - For the Frame (Speed Controlled), Print Parts 1, 2, 3, and 4. - For the Uncontrolled Version, Print Part 1, 2x2, and 4. Required Prints: - 4 Guide Wheels with a Diameter of 8mm - 1 Motor Drive Gear with a Diameter of 3.2mm - 1 Tumbler Gear Wheel with a Diameter of Your Choice Assembly: - Insert 8 M3 Squared Nuts into the Side Parts. - Join All 4 Parts as Shown in the Pictures, and Secure them with 4 M3 Bolts. - Insert 4x 608zz Bearings into the Front and Back Frame Part. - Heat Up the Motor Shaft to 150° and Press it onto the Tumbler Motor Drive Gear 3.2mm. - Use Strong Rubber Bands or O-Rings of the Right Size to Connect the Motor Drive Gear with the Gear Wheel. - Connect the Motor to the PWM Control Board. - Attach a Standard 12V Power Supply to Operate the Tumbler. - Use 160mm „KG“ Fittings with Two Caps as a Tumble. Optional: Print the Lid Knob and Attach it with 3x M3 Nuts and Bolts to One of the Lids. Parts: - 550 Brushed Motor (I Used a Mabuchi RS-550VC-7525) - 4 O-Rings with an Inner Diameter of 18-20mm - 4 x 608zz Bearings - 8 M3 Squared Nuts - 8 M3x25 / M3x30 Hex Bolts - M8 Thread Rod (220mm & 240mm) - 14 M8 Nuts - 5.5 X 2.1Mm Jack Mountable - 1 x DC 5-35V, 5A PWM DC Motor Watch the Assembly Video: If You Like My Design, Feel Free to Leave a Tip!
With this file you will be able to print 3D printed and speed controlled 160mm Rock Tumbler with your 3D printer. Click on the button and save the file on your computer to work, edit or customize your design. You can also find more 3D designs for printers on 3D printed and speed controlled 160mm Rock Tumbler.
