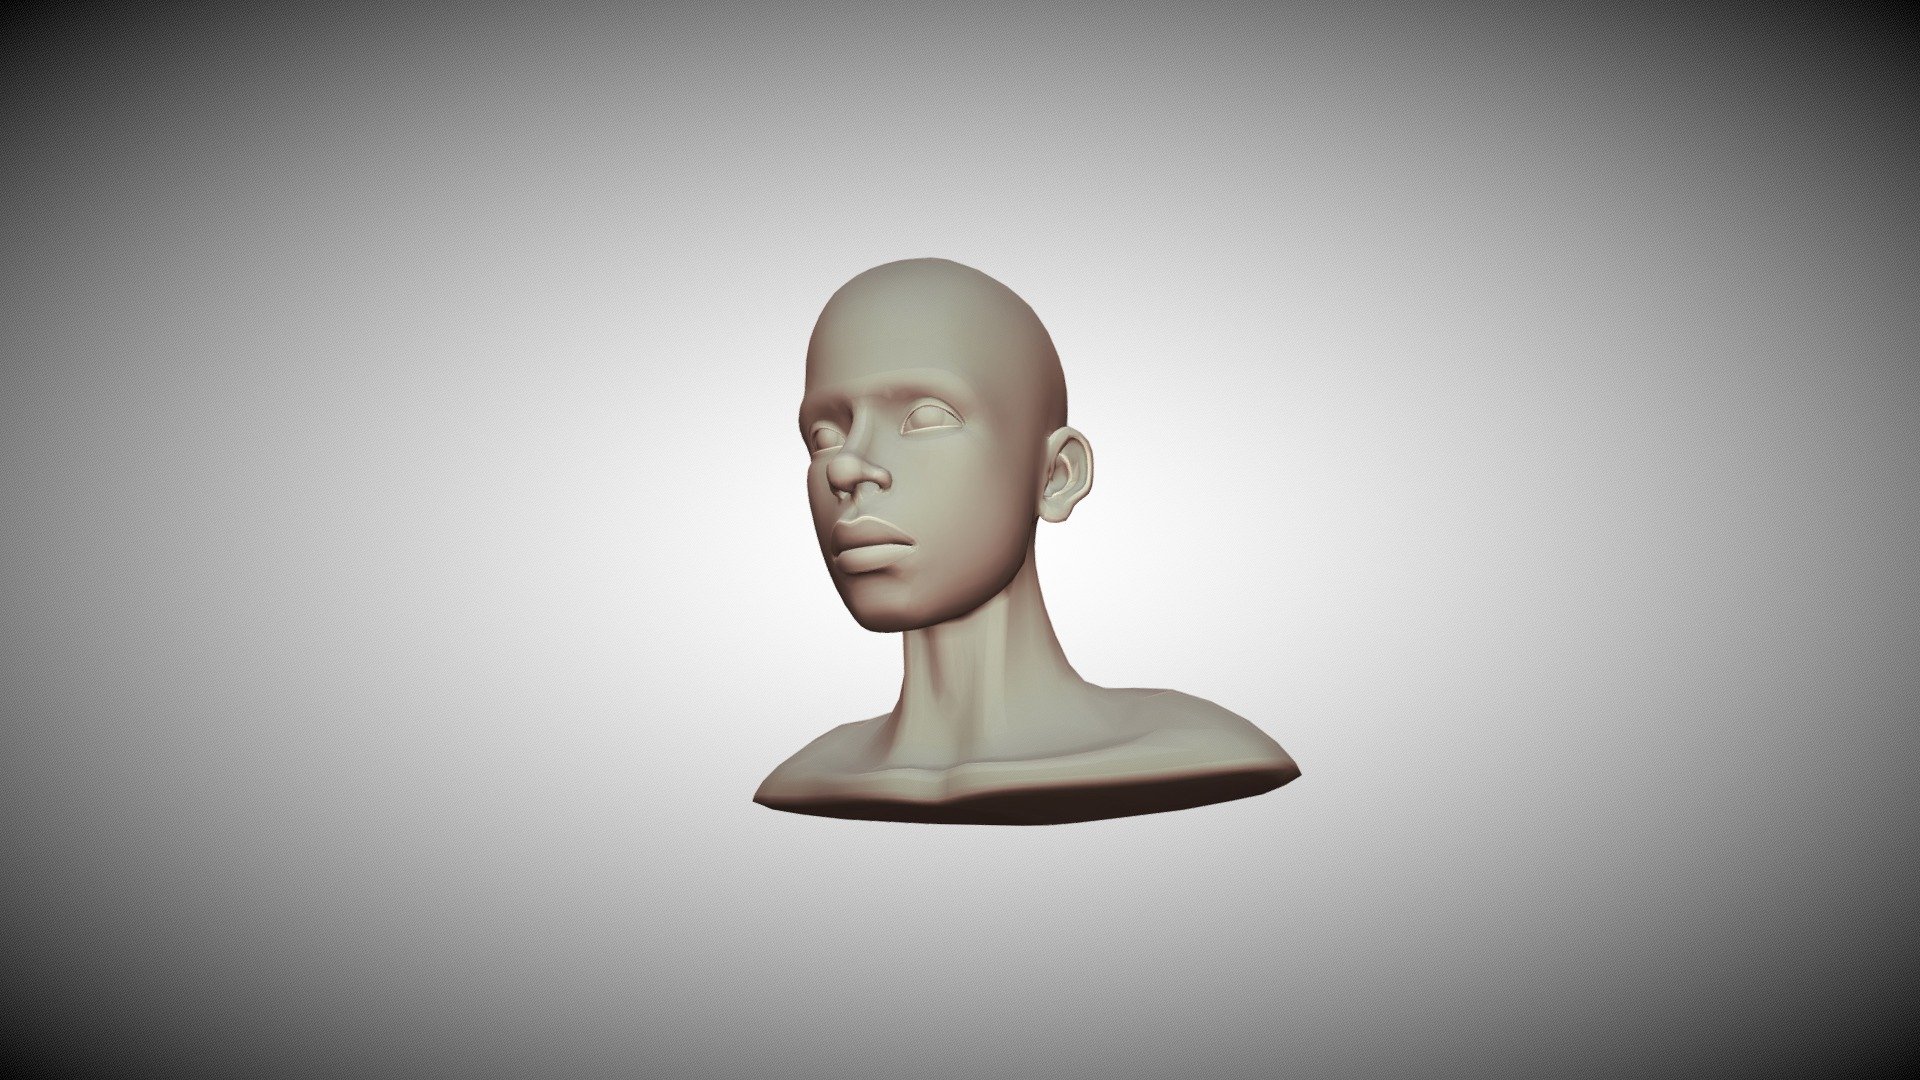
3D head topology reference
sketchfab
Learning head modeling made simple for beginners! New to 3D modeling? Don't worry, I've got you covered. Here's a step-by-step guide on how to create realistic human heads using Blender. Step 1: Download and install Blender -------------------------------------------------------- To get started, download the free version of Blender from their official website. Once downloaded, follow the installation instructions to set up your software. Step 2: Understand Basic Modeling Concepts ------------------------------------------ Before diving into head modeling, it's essential to grasp basic modeling concepts. These include understanding topology, polycount, and UV mapping. Don't worry if these terms sound confusing – we'll break them down in a minute! Step 3: Create Your First Head Model -------------------------------------- Now that you're familiar with the basics, let's create your first head model! In this example, we'll use a simple sphere to create our base shape. * Click on the "Cube" tool in Blender and scale it up to create a sphere. * Use the "Subdivide" tool to add more geometry to your sphere. This will give you more control over your mesh. * Use the "Loop Cut" tool to cut through your mesh and create a new loop. This will help you achieve a smoother, more realistic shape. Step 4: Add Facial Features --------------------------- Now that you have your base shape, it's time to add facial features! In this example, we'll use a combination of extrusions and loops to create our eyes, nose, and mouth. * Use the "Extrude" tool to push out a new loop for each eye. This will give you more control over their size and position. * Use the "Loop Cut" tool to cut through your mesh and create a new loop for your nose. This will help you achieve a smoother, more realistic shape. * Use the "Extrude" tool again to push out a new loop for your mouth. This will give you more control over its size and position. Step 5: Refine Your Model ------------------------- Now that you have all of your facial features in place, it's time to refine your model! In this example, we'll use a combination of loops and extrusions to achieve a smoother, more realistic shape. * Use the "Loop Cut" tool to cut through your mesh and create new loops for each feature. This will help you achieve a more detailed, realistic look. * Use the "Extrude" tool again to push out new loops for each feature. This will give you more control over their size and position. Step 6: Add Textures --------------------- Now that your model is complete, it's time to add textures! In this example, we'll use a combination of diffuse and normal maps to achieve a realistic skin texture. * Use the "Texture Paint" tool to paint on a diffuse map for each feature. This will give you more control over their color and texture. * Use the "Normal Map" tool to create a detailed, high-poly normal map for each feature. This will help you achieve a more realistic, detailed look. And that's it! With these simple steps, you can create your own realistic human head models using Blender. Happy modeling!
With this file you will be able to print 3D head topology reference with your 3D printer. Click on the button and save the file on your computer to work, edit or customize your design. You can also find more 3D designs for printers on 3D head topology reference.
