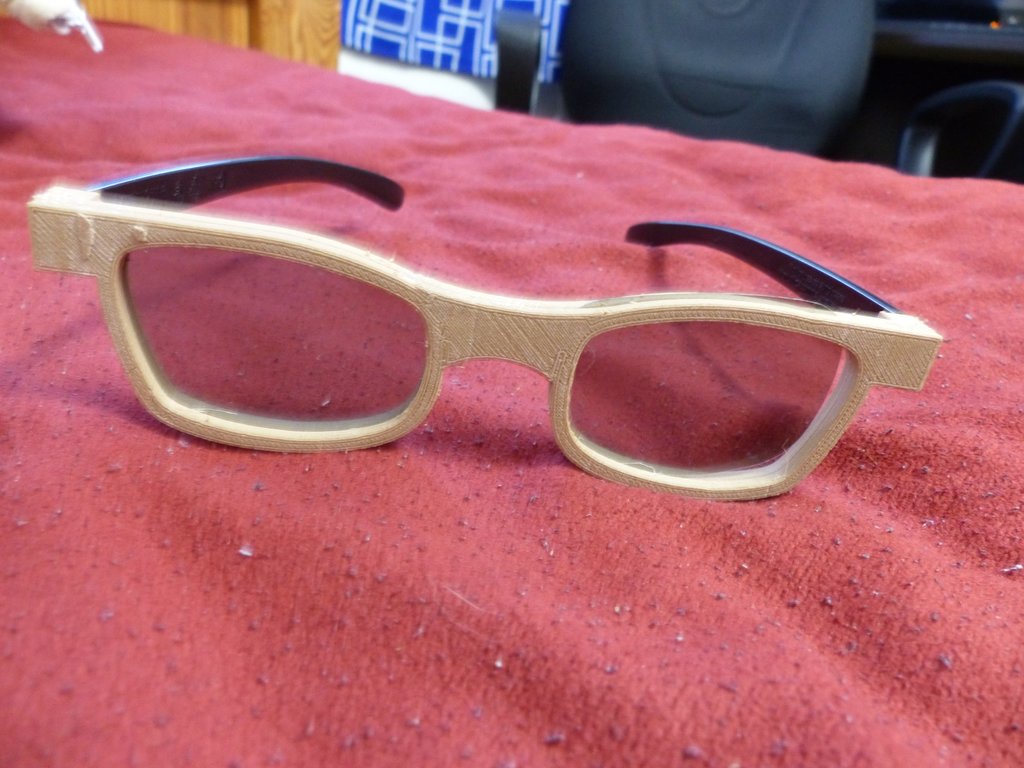
3D Glasses Frames
thingiverse
These are Frames for 3D Movie Glasses, designed to fit comfortably on most noses (tested with 3 people) and accommodate slight variations. I created these so I could easily make 2D Glasses for 3D films, but they will also work as regular 3D Glasses. To complete this project, you'll need: - 1 Set of 3D Glasses (or 2 if you want to create 2D Glasses) - A Knife or Pliers to remove the lenses from the 3D Glasses - Hot or Super Glue to bond the front and rear of the glasses together Step 1: Print the Front and Rear of the Glasses, which feature alignment tabs to ensure proper assembly. Step 2: Remove the Arms from the glasses, then attach them to the back once the glue is set on the front. Step 3: Carefully separate the Lens from the 3D Movie glasses by inserting a knife or pliers into the seam starting at the arm holes. Once a gap forms, simply pull apart the front and rear of the glasses, leaving the lenses exposed. Remember to consider the glasses' orientation and side alignment, as 3D glasses only work in one direction. Step 4: (2D Glasses only - skip this step if you're making 3D Glasses) If creating 2D Movie glasses, repeat Step 3 with a second pair of glasses. Keep track of which lens is on which side and use only one side for each eye, such as Left-Left or Right-Right. Step 5: Place the lenses of your choice onto the front frame, orienting them to cover as much of the lens area as possible. Secure them with glue or a similar adhesive since they can shift slightly in a breeze. Once fixed, apply glue to the rear and let it dry. Step 6: Attach the Arms once everything has dried. Step 7: Enjoy your new movie-watching experience in your custom-made Glasses.
With this file you will be able to print 3D Glasses Frames with your 3D printer. Click on the button and save the file on your computer to work, edit or customize your design. You can also find more 3D designs for printers on 3D Glasses Frames.
