330Wood_Eade_Isabella
sketchfab
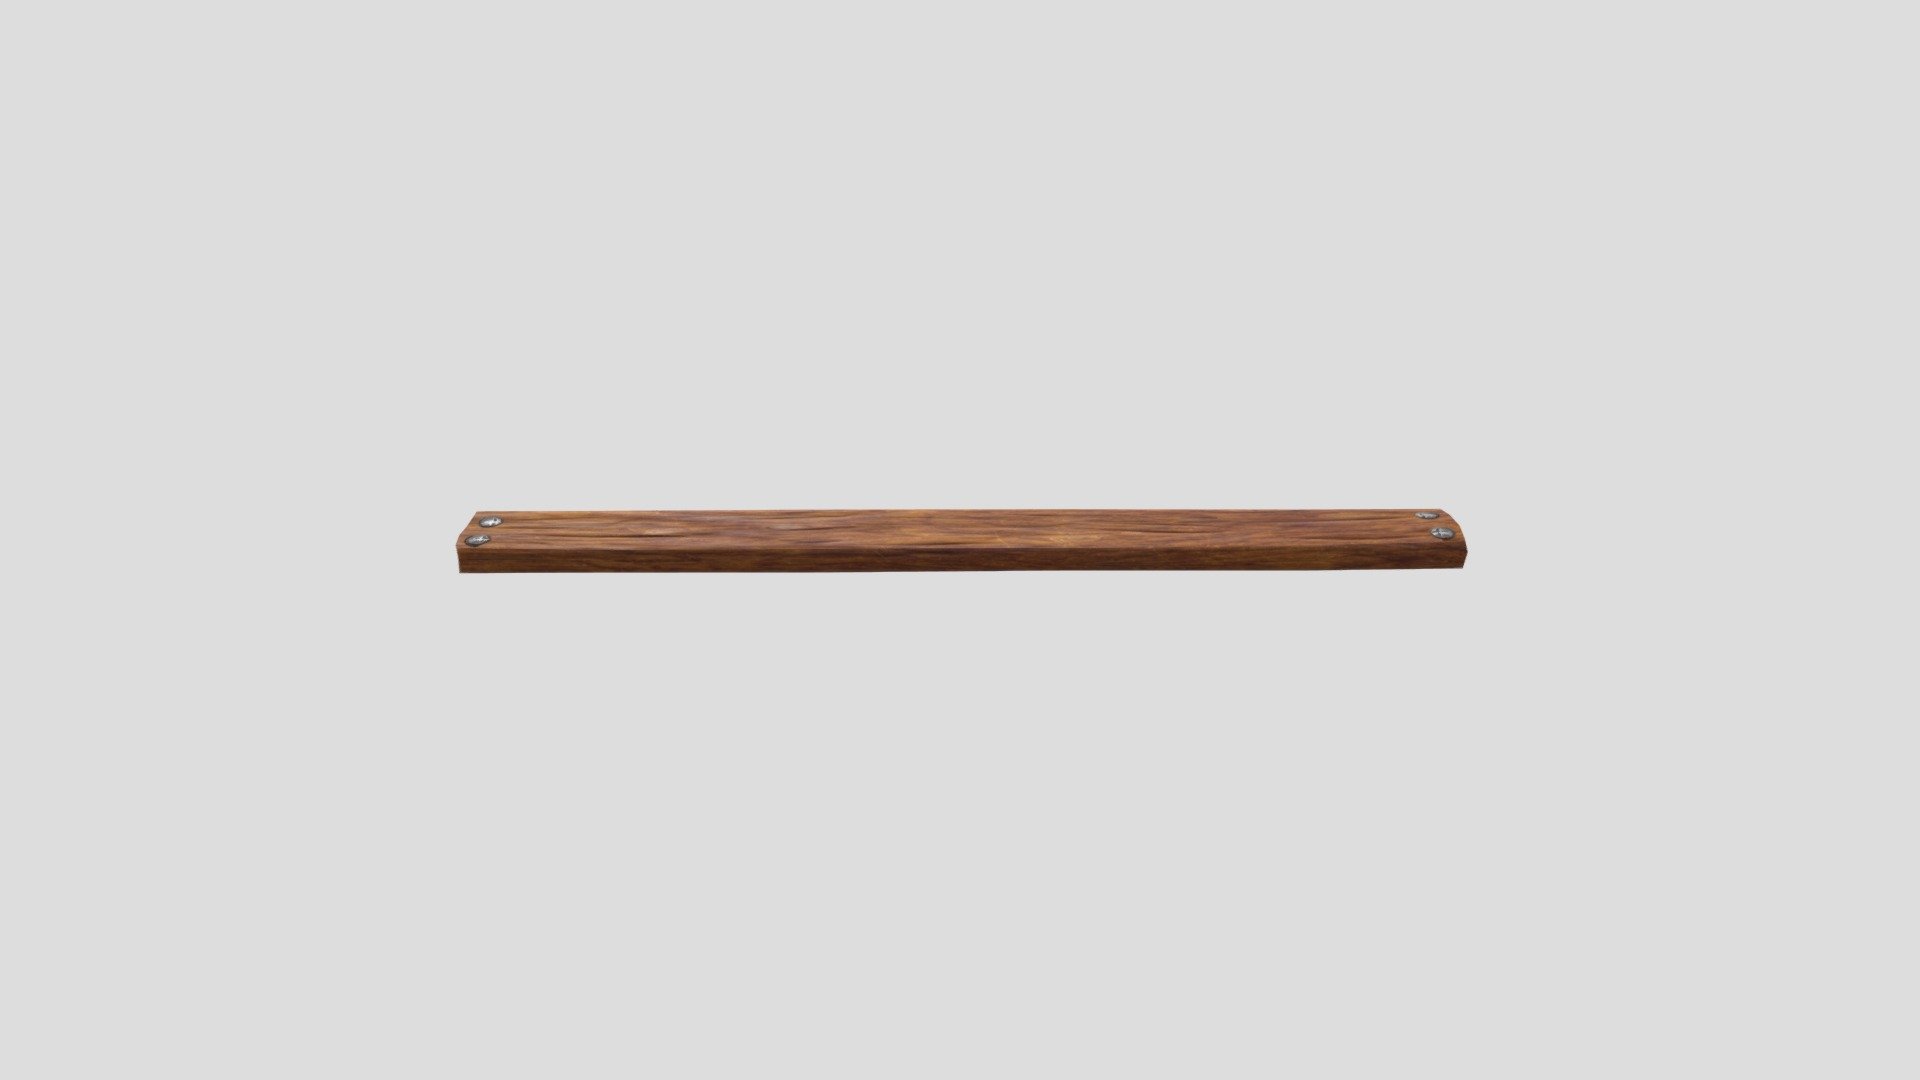
Crafting a Realistic Wooden Plank for a School Project Requires Attention to Detail and Skillful Technique. To begin creating an authentic wooden plank, start by selecting a suitable type of wood that can withstand the demands of your project. You'll want to choose a hardwood like oak or maple, as they possess a rich texture and color that will add depth to your design. Next, gather your tools and materials, including a table saw, sandpaper, and a workbench. Ensure that your workspace is well-ventilated and free from distractions, allowing you to focus on the task at hand. Cutting the wood into the desired plank shape requires precision and patience. Use a miter saw or a circular saw to make clean cuts, taking care not to splinter the edges. Once cut, use a sanding block to smooth out any rough spots and achieve a uniform texture. To give your plank a realistic appearance, apply a finish coat of stain or polyurethane. This will enhance the wood's natural color and protect it from scratches and wear. Be sure to follow the manufacturer's instructions for application and drying times to avoid any mistakes. As you work on your project, pay close attention to the details that will make your wooden plank look authentic. Add some subtle imperfections, such as small knots or grain variations, to give it a more lifelike appearance. With practice and patience, you'll be able to create a realistic wooden plank that's sure to impress your teachers and classmates.
With this file you will be able to print 330Wood_Eade_Isabella with your 3D printer. Click on the button and save the file on your computer to work, edit or customize your design. You can also find more 3D designs for printers on 330Wood_Eade_Isabella.