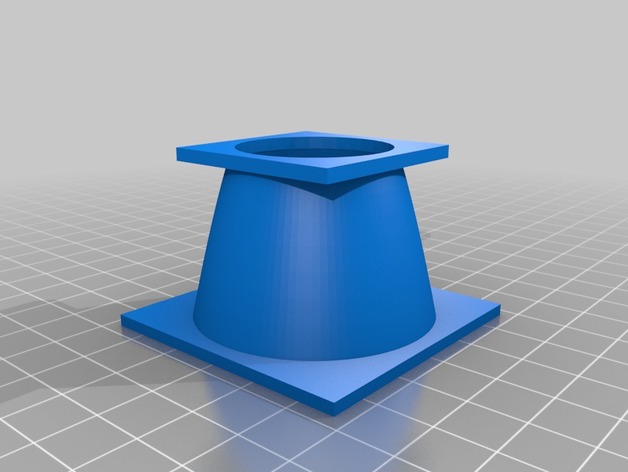
30mm to 50mm Fan Adapter
thingiverse
The Mini Select Mono Price comes equipped with a 30mm cooling fan boasting a rating of 3cfm. If you seek to print PLA at an accelerated pace, you require superior cooling. To achieve this goal, I created a 30mm to 50mm fan adapter allowing individuals to attach it to their existing fan holder. By observing the picture of the Christmas ornament I printed, you'll notice that I'm capable of printing hollow spheres with no supports at a minimum of 1.4 and without rafts. There is one situation where using a raft is acceptable. You aren't Tom Hanks stranded on a deserted island, nor do you possess a soccer ball named "Wilson", so this isn't the time for rafts. Other fan adapter designs may remove the nozzle to enhance ABS printing, but I work with both ABS and PLA, necessitating the ability to cool PLA parts efficiently. For ABS prints, reduce your fan speed in your slicer program by approximately 60% (based on ambient temperatures) to minimize cooling. This is far easier than creating a fan duct without the cooling nozzle found in other designs. This adapter reuses the OEM fan duct for two purposes: spacing out the 50mm fan to prevent it from crashing into the tower and reducing fan noise. You'll be cutting wires and soldering, so if this exceeds your skill level, consider moving on to another project. If you're uncertain whether it's worth the effort, I now print with a speed multiplier of 1.5-1.6, allowing my Mini Select to perform PLA prints as swiftly as my $2500 Replicator 2 and two $900 Flash Forge Creators(X and Pro). Parts Needed: * Suitable 50mm Fan (mine is a YS Tech rated at 11.7cfm; search Amazon for any ball-bearing fan that measures 50mmx50mmx10mm in size and is rated at 12V .08a) * Solder Iron * Solder * Heat Shrink Tubing * Wire Cutters * Wire Stripper/razor blade/Utility Knife * Zip Tie * 4 Appropriately-sized screws to mount the 50mm fan and a drill bit slightly smaller than the screws Instructions: 1. Remove the fan duct retention clips and set them aside. 2. Remove the screws holding the fan to the duct. 3. Place the 50mm fan on the large end of the adapter, using the drill bit to create mounting holes for the screws. 4. Mount your new 50mm fan to the large end of the adapter. 5. Line up the fan duct on the small end of the adapter and use the drill bit to make mounting holes where you'll attach it. 6. Twist the wires together (red to red, black to black). 7. Solder them. 8. Slide the heat shrink over the soldered area and apply heat to shrink it. 9. Re-secure the wiring with the zip tie. 10. Pre-heat your printer to 210°C and verify that the fan is operational. You'll be able to print PLA at a faster rate than before, using a speed multiplier of 1.0 on the first layer and then increasing it to 1.5-1.6. Remember, back in the "Parts Needed" section, I mentioned that the load rating of the fan was crucial? Now is the time to address this issue. With your increased printing speed, you're placing a greater burden on the printer's electronics, causing them to run hotter. Consider adding a cooling fan for the electronics at the base of the unit – my next project. Print Settings: * Printer: Any 3D Printer * Rafts: No * Supports: Yes * Resolution: .1mm * Infill: 25%-30% * Notes: Don't skimp on supports; this design requires them. Post-Printing Clean-Up: * Clean the part thoroughly, ensuring you don't leave any dirty or nasty parts on your printer. You're not a slob, so act like it! How I Designed This: I got the idea for the fan adapter while standing on my toilet hanging a clock and accidentally falling onto the sink, hitting my head in the process.
With this file you will be able to print 30mm to 50mm Fan Adapter with your 3D printer. Click on the button and save the file on your computer to work, edit or customize your design. You can also find more 3D designs for printers on 30mm to 50mm Fan Adapter.