3030 LED Riser 250mm
prusaprinters
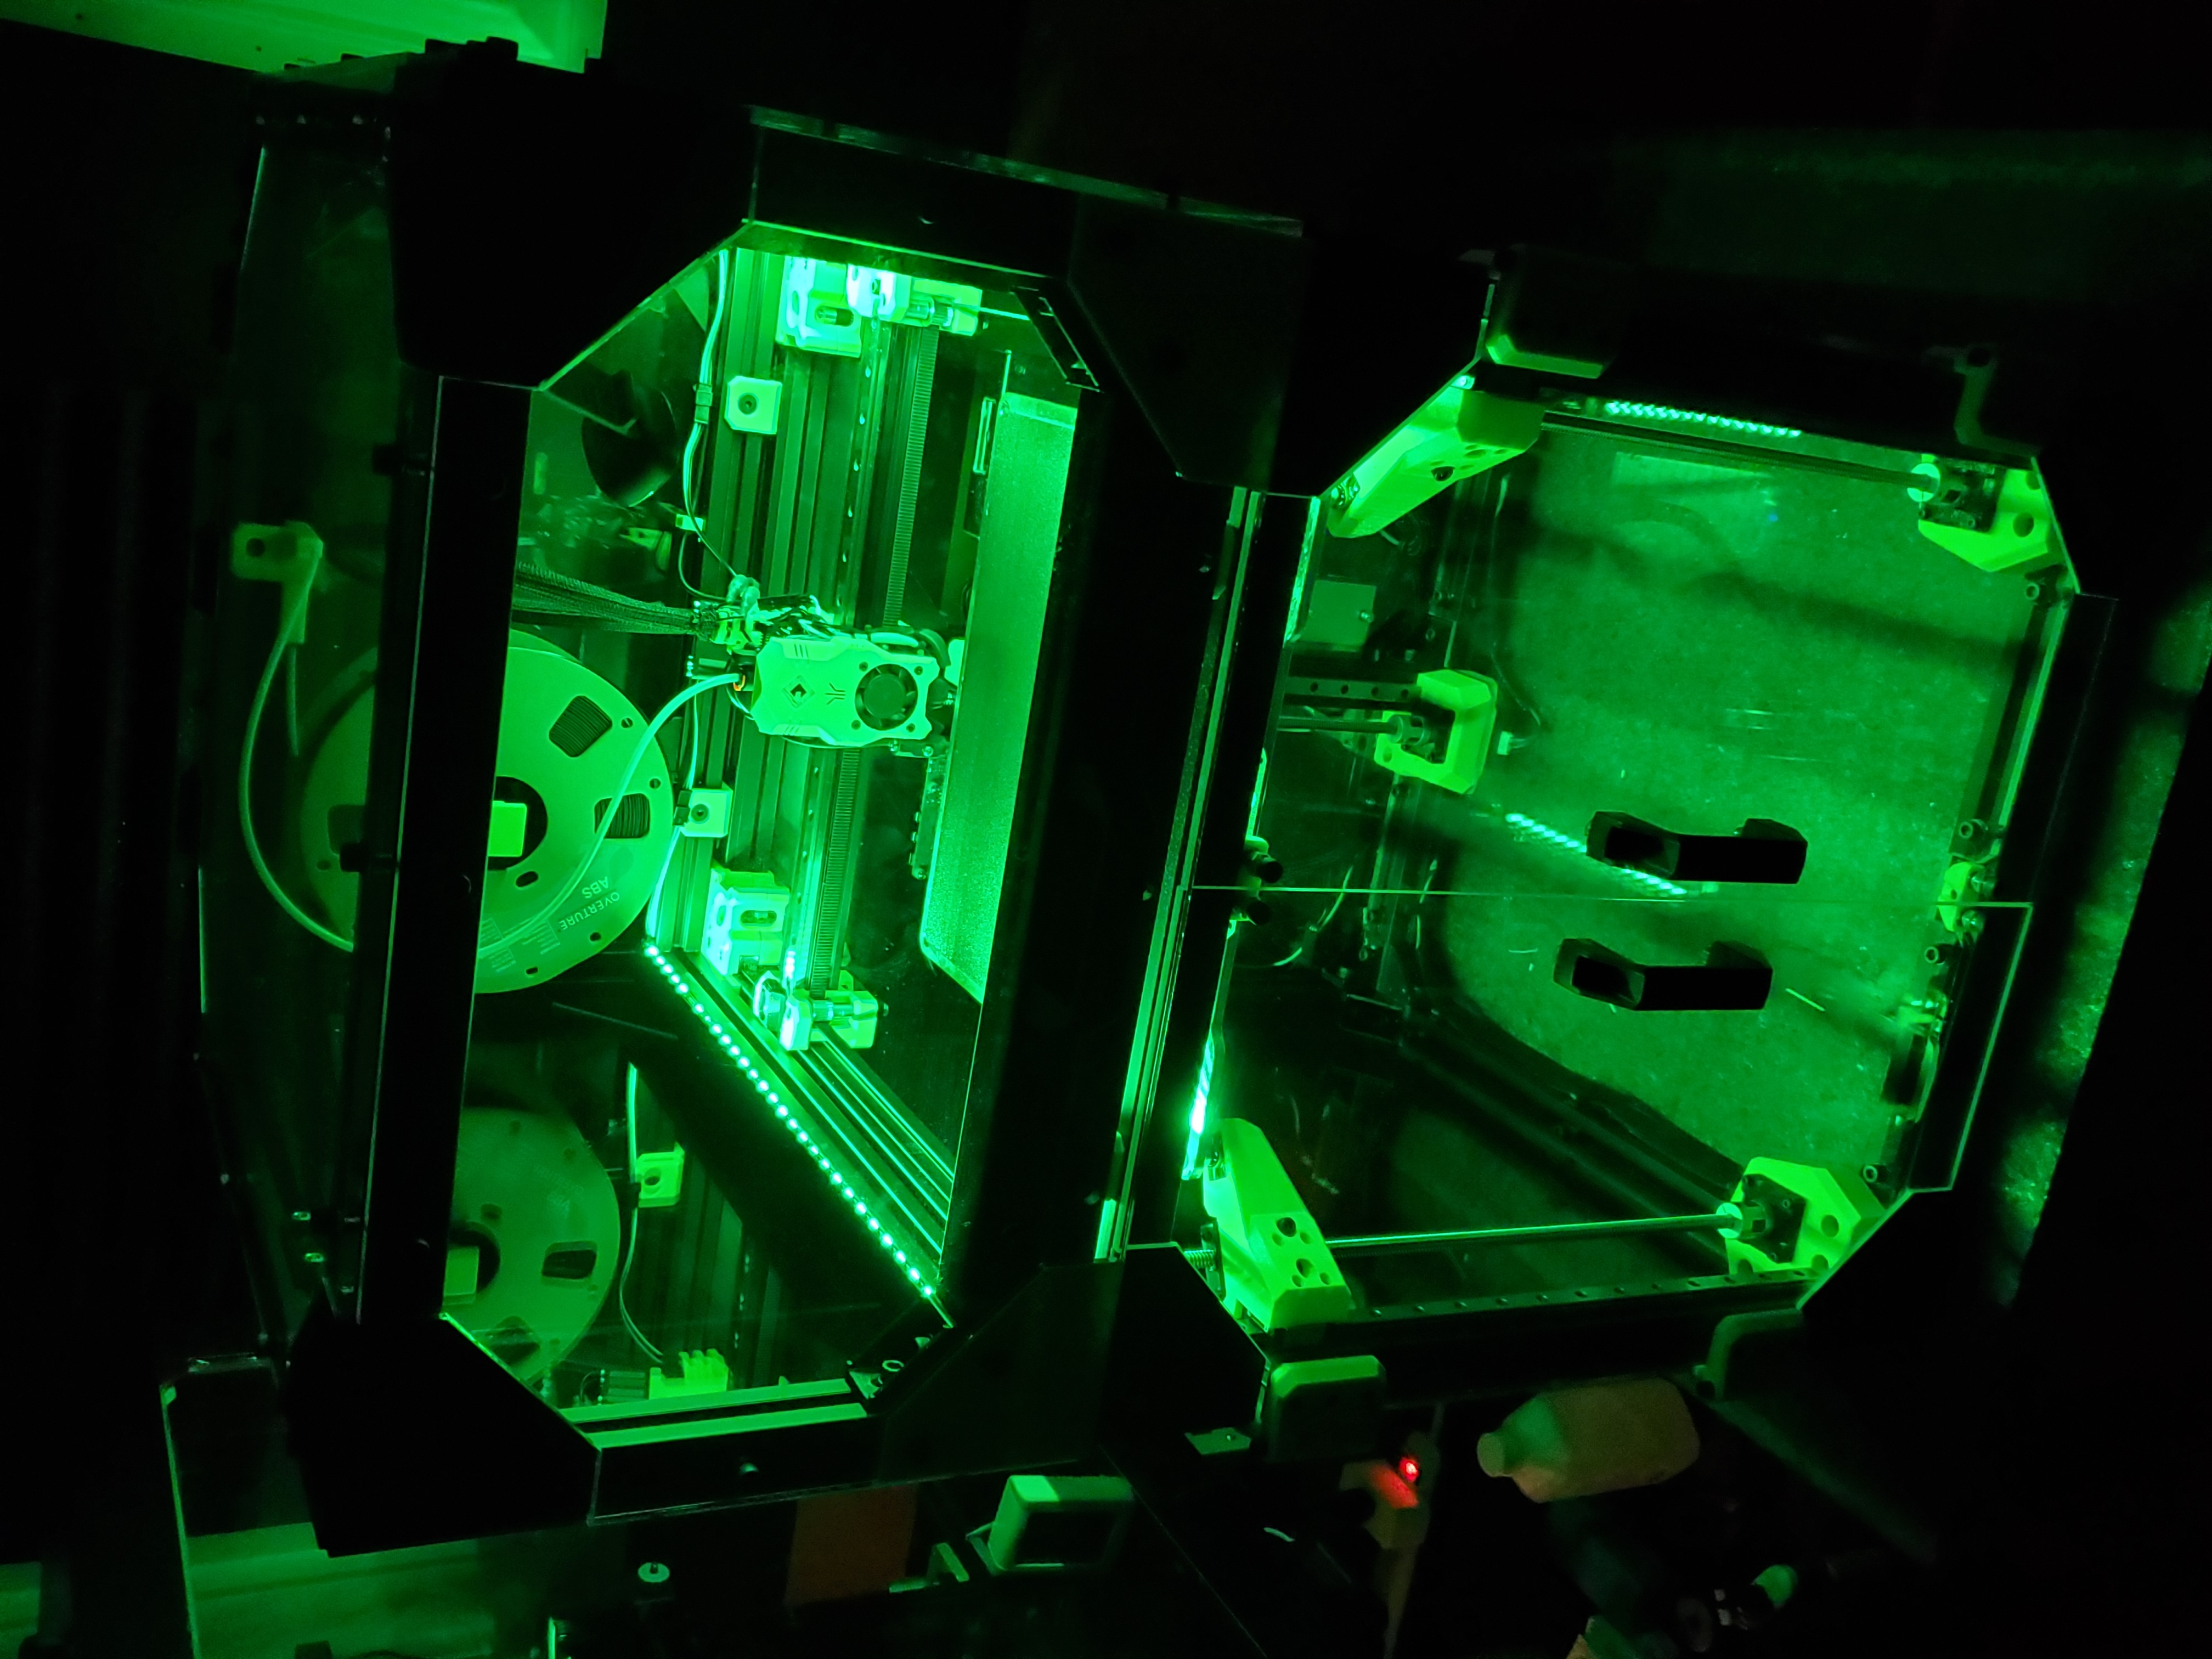
<p>This is an LED 45 degree riser for use in the Rat Rig V-Core 3 300mm enclosure lid. It is two parts and requires two 12mm M6 bolts and drop in T-Nuts for each part. I specifically used this LED kit from Amazon US. <a href="https://www.amazon.com/dp/B08GSCJPMD?ref_=cm_sw_r_cp_ud_dp_7JYGPEFNJVG5SKZ011FE">https://www.amazon.com/dp/B08GSCJPMD?ref_=cm_sw_r_cp_ud_dp_7JYGPEFNJVG5SKZ011FE</a></p><p>I cut off the 3 pin connector in the kit and added a Dupont connector to plug into an Octopus 1.1 board using J37. Other than that small alteration, everything else is good to go. </p><p>I added the following to my printer.cfg file then went to the dashboard and created a new Macro group called lights. I could then add my macros created below to create buttons on Mainsail. You can edit the buttons to your liking. </p><p>[neopixel lights]<br>pin: PB0<br>chain_count: 60<br>color_order: GRB<br>initial_RED: 1<br>initial_GREEN: 1<br>initial_BLUE: 1</p><p>#LED Control<br>[gcode_macro lights_off]<br>gcode:<br> SET_LED LED=lights RED=0 GREEN=0 BLUE=0</p><p>[gcode_macro lights_on]<br>gcode:<br> SET_LED LED=lights RED=1 GREEN=.8 BLUE=.6</p><p>[gcode_macro lights_dim]<br>gcode:<br> SET_LED LED=lights RED=.5 GREEN=.4 BLUE=.3</p><p>[gcode_macro RED]<br>gcode:<br> SET_LED LED=lights RED=1 GREEN=0 BLUE=0</p><p>[gcode_macro GREEN]<br>gcode:<br> SET_LED LED=lights RED=0 GREEN=1 BLUE=0</p><p>[gcode_macro BLUE]<br>gcode:<br> SET_LED LED=lights RED=0 GREEN=0 BLUE=1</p><p>This specific kit is exactly the right length to span the V-Core 3 300 side rails in the lid and I printed 4 of the parts in this model in ABS, mounted them to the bottom frame of the lid, wiped the 45 degree part with some acetone (I can't stress enough how much this helps for ABS and ASA, just wet a folded paper towel and quickly wipe the surface you are going to attach to with acetone. It smooths and softens the styrene filaments allowing a great bond between the adhesive and printed part.), and adhered the LEDs to the 45. </p><p>Wire it up and you are good to go. </p><p>If you want to add a front riser, I have included a 220mm version for the front aluminum extrusion that fits between the two mounting brackets to tie the frame to the lid. This has been designed for countersink M6 bolts, but cap head 10mm work as well. </p><p>--Disclaimer--</p><p>This front riser is extremely close to crashing the EVA 3.0 fan shroud. I have not tested prior EVA models. I made it specifically for my machine. Please move your gantry slowly towards the front to make sure you aren't going to crash. It should be within .75 mm or so. I do not take responsibility for your unwillingness to read this and crashing your shroud into the riser. If it's really close, some sandpaper on the front lip should do the trick. Otherwise, I've included the step file to fiddle with. Granted, you would literally have to printing on the bleeding edge of the front of the bed for this to be a possible issue, but I figured it would be better to warn you. </p>
With this file you will be able to print 3030 LED Riser 250mm with your 3D printer. Click on the button and save the file on your computer to work, edit or customize your design. You can also find more 3D designs for printers on 3030 LED Riser 250mm.