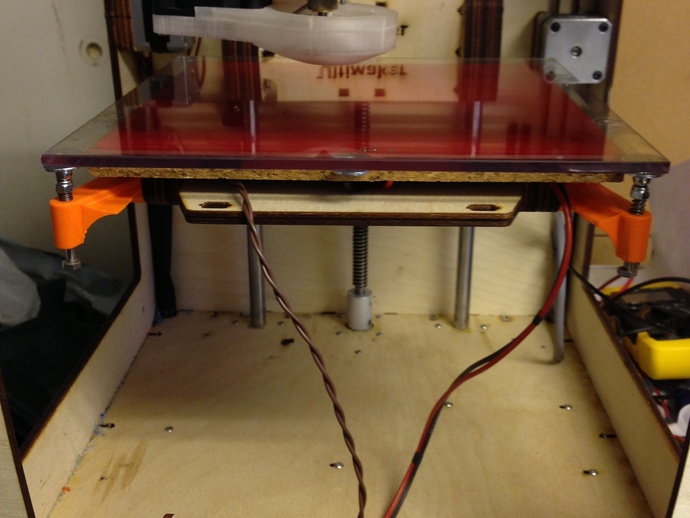
3-point levelling for Ultimaker with magnetic ball bearings V2
thingiverse
Revamp your Ultimaker printer with Version 2 of the 3-point levelling system featuring magnetic ball bearings. To install, gather 7mm magnetic balls, M4 socket head bolts, washers, nylon and regular nuts, and M3 and 10mm bolts. Replace or use your acrylic bed with a tempered glass print surface. Assemble the parts and ensure all holes are sized appropriately for smooth assembly. Carefully remove the print bed, levelling springs, extension arms, spacer panel, and nut bed before attaching them to the z-platform arms. Secure the levelling bolts with nylon nuts and magnetic balls, adding washers and springs as needed. Position the print bed on the washers and secure it in place with super glue. Adjust your Z-stop and level the print bed using a dial gauge for precise printing results. For improvements or donations, visit https://www.paypal.com/cgi-bin/webscr?cmd=_s-xclick&hosted_button_id=AW57FTXN35YZE.
With this file you will be able to print 3-point levelling for Ultimaker with magnetic ball bearings V2 with your 3D printer. Click on the button and save the file on your computer to work, edit or customize your design. You can also find more 3D designs for printers on 3-point levelling for Ultimaker with magnetic ball bearings V2.
