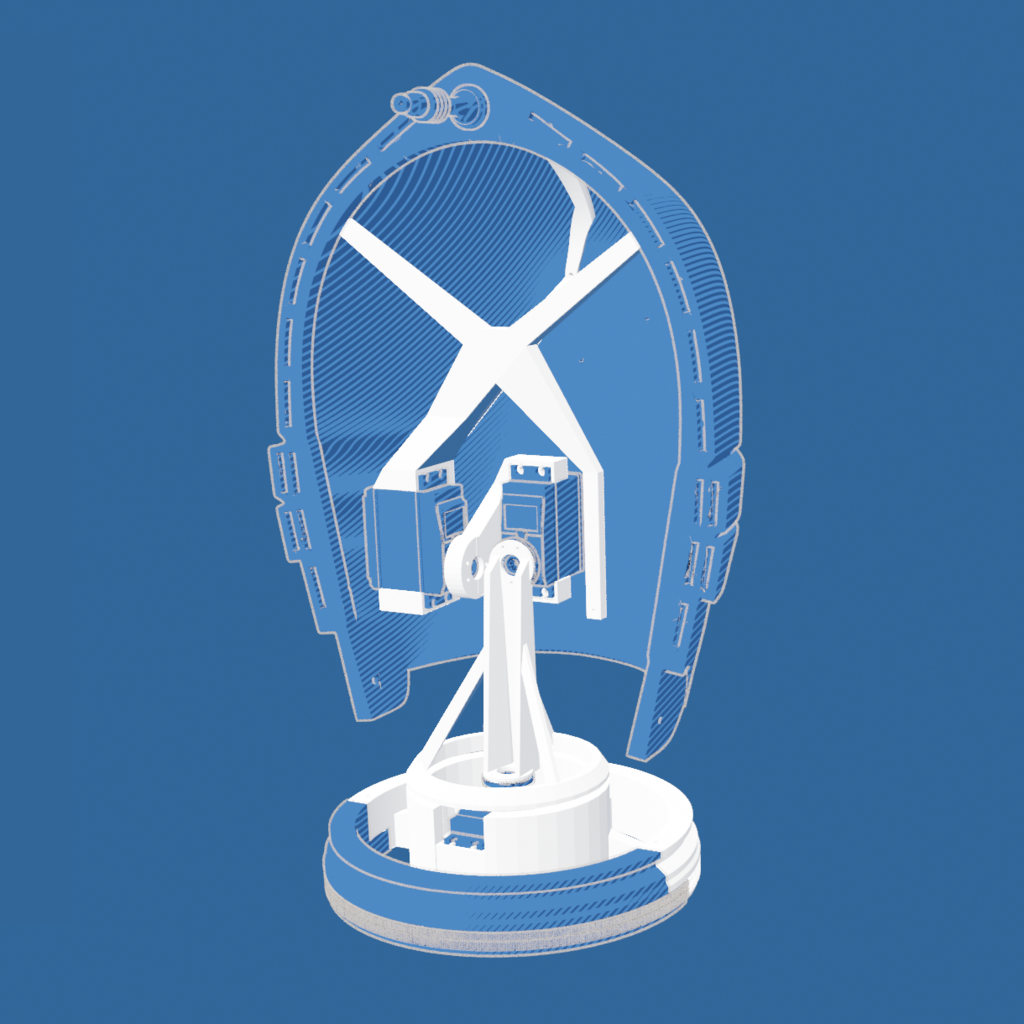
3 Axis Movement for C-3PO Head
thingiverse
https://youtu.be/wY7Os5AyNOk These 4 brackets are engineered to work seamlessly with Jesse_M's C-3PO head, which can be found on Thingiverse. They have been designed to function optimally with 3 standard size servos. In my build, I used TowerPro SG-5010 servos. "YawBracket" replaces the Neck_Ring_Back and holds the servo that twists the head from side to side. "RollBracketA" and "RollBracketB" hold the servo that tilts the head side to side. "PitchBracket" holds the servo that nods the head up and down and connects it to Head_Back. The pitch bracket requires supports and has an extra arm at the bottom for stability during printing and as a potential mount for a future dampening spring. There are pilot holes for 4x1/2 sheet metal screws to mount the servos (4 holes but 2 screws are sufficient to hold). Use M1.7x5 Phillips head micro screws to mount brackets to servo wheels. It's easiest to mount the servo wheels to the brackets, then attach the wheel to the servo. Apply 2 or 3 layers of felt pads in 3 places on the bottom ring of "RollBracketA" to act as a cushion/dampener between it and "YawBracket". Make sure to "zero" out the servos before mounting the wheels/brackets. Included in the download is the Arduino code I used to test with on an Arduino MEGA. You'll need a lithium battery as a separate power source to run the servos because of the current they draw. Drawing the 5v from the Arduino will cause it to brown out and restart. As always, exercise caution when working with lithium batteries and follow the manufacturer's recommendations for using/charging.
With this file you will be able to print 3 Axis Movement for C-3PO Head with your 3D printer. Click on the button and save the file on your computer to work, edit or customize your design. You can also find more 3D designs for printers on 3 Axis Movement for C-3PO Head.
