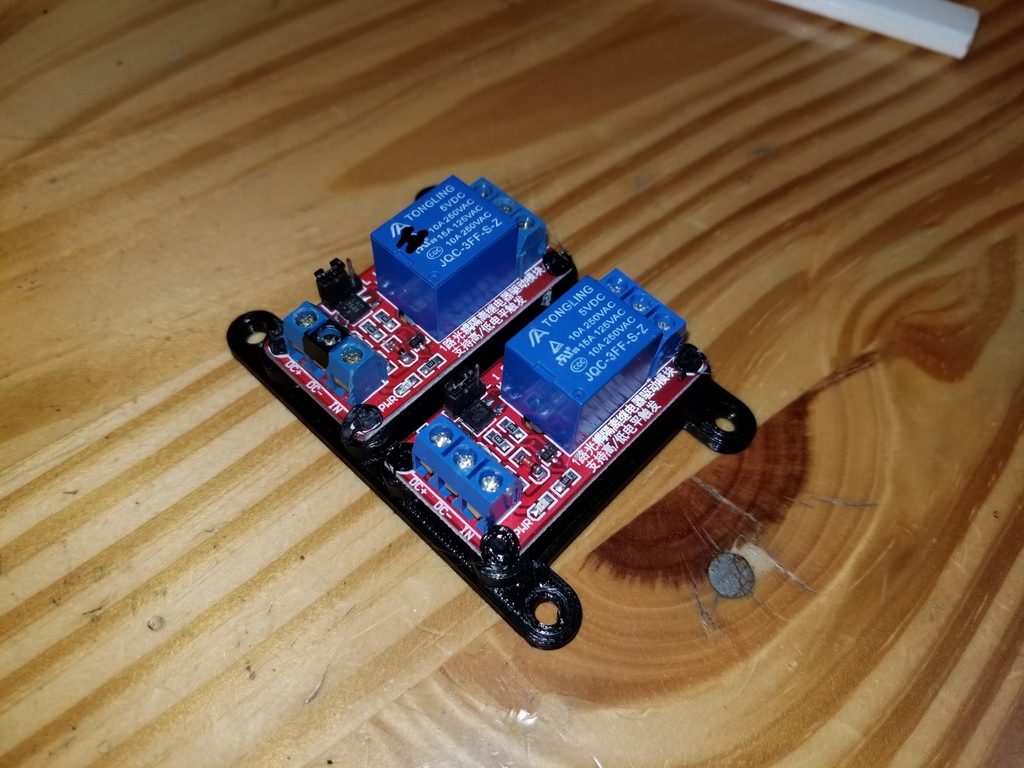
2x Relay Board Mount
thingiverse
I secured my favorite relay boards firmly onto a flat surface using M3 bolts, making sure they were snugly held in place. The design of these boards is exceptional compared to most others I've seen. To give you an idea of the boards that fit perfectly, check out this example on Amazon: https://www.amazon.com/FICBOX-Channel-Optocoupler-Support-Trigger/dp/B07BS6PCR6/ref=sr_1_5?keywords=arduino+relay&qid=1563149173&s=electronics&sr=1-5 There are two distinct versions to choose from: dualRelayMount.stl and dualRelayMount2.stl. The first one uses 8x M3 bolts for added security, while the second version relies on melt-down pins that can be easily attached without any hardware. To attach the boards using version 2, simply heat a medium-sized flathead screwdriver with a lighter until it's hot enough to press down onto the pins. If they start to feel 'gummy' and want to come off easily, just give your screwdriver a bit more heat. Version 2 is shown in the photo. Both versions have four 4mm holes for mounting, making them easy to attach without any supports needed.
With this file you will be able to print 2x Relay Board Mount with your 3D printer. Click on the button and save the file on your computer to work, edit or customize your design. You can also find more 3D designs for printers on 2x Relay Board Mount.
