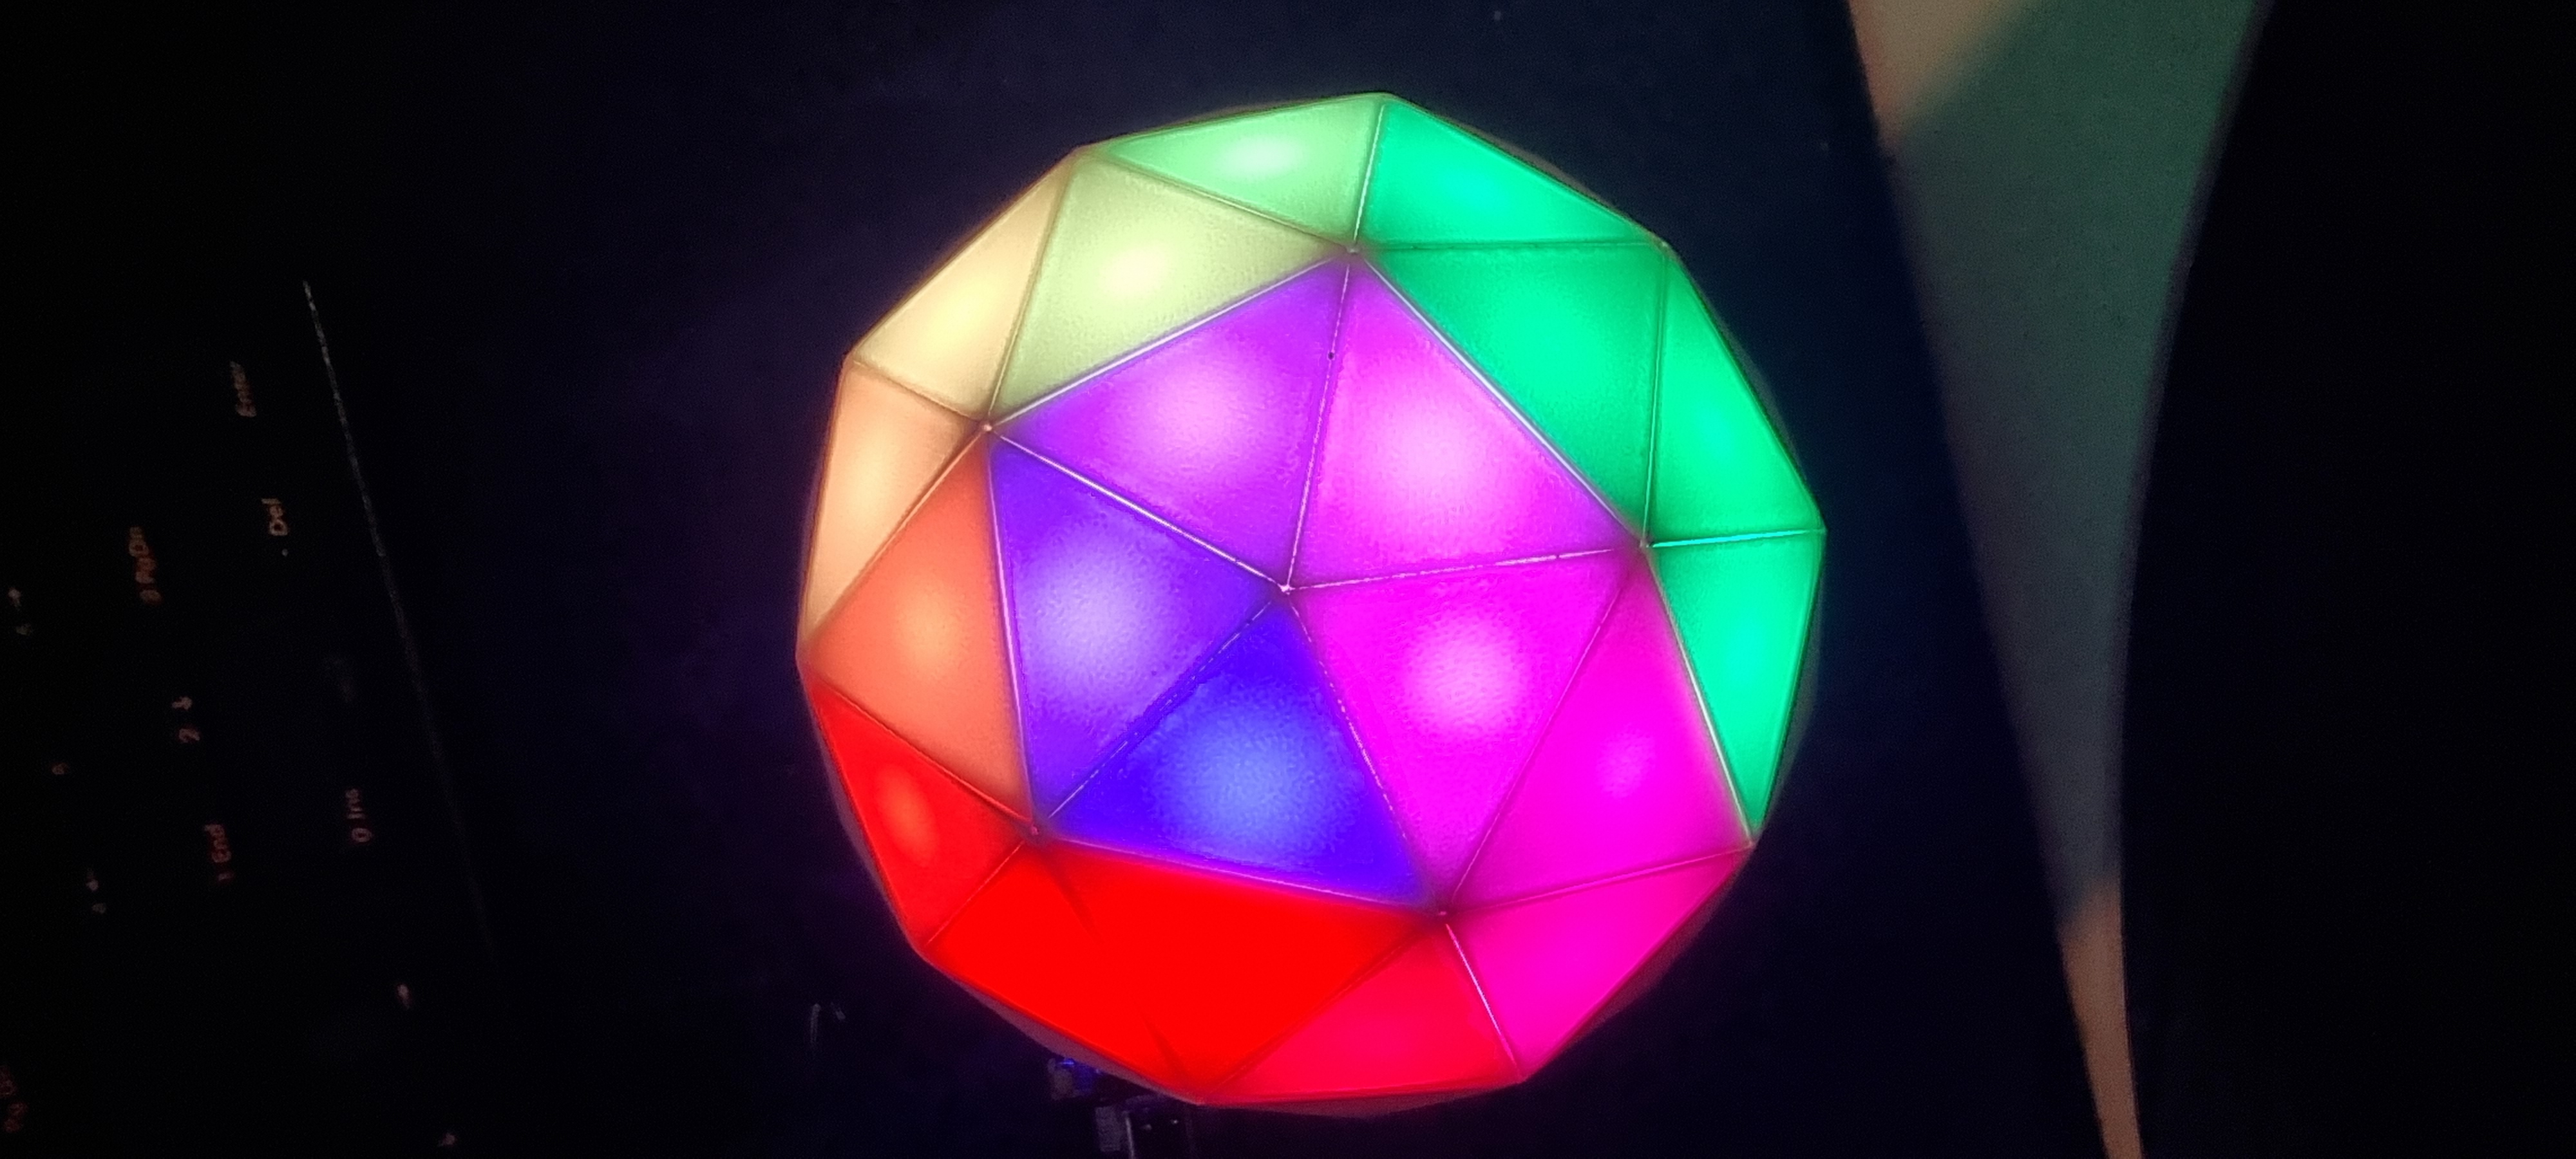
2v Geodesic Light Sphere
prusaprinters
<p>80 facets of Neopixel joy! Inspired by <a href="https://www.prusaprinters.org/prints/40182-geodesick-rgb-led-spheres">https://www.prusaprinters.org/prints/40182-geodesick-rgb-led-spheres</a> but designed completely from scratch to use a more consistent way of assembling the facets together.</p><p>Additional components required - </p><ul><li>10 6mm * 2mm Neodymium magnets</li><li>80 Neopixel LEDs</li><li>Some wire or 3 way leads.</li><li>A micro controller of your choice - I used a Pimoroni Plasma to prototype and a Tiny 2040 in the final version.</li></ul><p><br>You can get the LEDs in 100s on 10mm PCBs but I found these too fiddly. These will work on this design, but I made my own PCBs that were larger and have 2 outputs for 1 input, in the direction of the next facet. I also modelled in clips for these PCBs to hold them in place whilst soldering up.</p><p><img class="image_resized" style="width:25.61%;" src="https://media.prusaprinters.org/media/prints/136835/rich_content/cd41a7c5-4a0b-4489-8ff3-0f4f3070aab2/image.png#%7B%22uuid%22%3A%227837ae1e-3d08-48b6-933c-05582c7fe15d%22%2C%22w%22%3A380%2C%22h%22%3A393%7D"><br><br>I will share my order for my PCBs on jlcpcb so anyone can order once I figure out how :D<br> </p><p>Tools Required</p><ul><li>Sharp knife</li><li>Long Nose Pliers</li></ul><p> </p><p>Note that the 3mf files contain the settings required to print these with the best quality facet sides. It's worth noting that there is 0% infill until 11mm off the bed.</p><p>There are 2 facet types AAB and BBB - A and B being the 2 edge lengths. So AAB is a triangle with A, A and B length sides.</p><p>FullHalfAABMagnets.3mf is one complete half of the sphere with 5 AAB facets having holes for magnets. There is also a single BBB piece with a cable hole. These should be kept to one side when assembling to ensure they aren't accidentally used in the wrong place.<br><br>FullHalfBBBMagnets.3mf is the opposite half, with magnet holes on 5 of the BBB facets.</p><p>Wedges.3mf is the butterfly wedges use to tie the facets together. You will need to print about 20 of these.</p><h3><br><strong>Assembly</strong></h3><p>The 3mf files have pads on all the bottom layer triangle corners to help stop the corners from lifting. These will need to be cut off carefully with a sharp knife.</p><figure class="image image-style-align-center image_resized" style="width:29.43%;"><img src="https://media.prusaprinters.org/media/prints/136835/rich_content/93fe9ce5-ac8b-479b-af3c-88350fa4e93d/image.png#%7B%22uuid%22%3A%2280b729e1-3723-4fe0-8581-c2a76717a700%22%2C%22w%22%3A1604%2C%22h%22%3A2916%7D"></figure><p>Facets are connected by butterfly wedges. You start by making a pentagon shape from 5 AAB facets. </p><p>Slide 2 wedges on to one A side of an AAB facet </p><figure class="image image-style-align-center image_resized" style="width:30.05%;"><img src="https://media.prusaprinters.org/media/prints/136835/rich_content/62474f0b-09f5-434e-a95a-481238ecedc1/image.png#%7B%22uuid%22%3A%22f87f26c9-2542-4ae7-bec4-bec4307ba7dc%22%2C%22w%22%3A229%2C%22h%22%3A267%7D"></figure><p> </p><p>Then slide on another facet by its A side - ensuring that the B side is on the same outer edge as the first facets B side. The B faces are the outside of the pentagon we are assembling.</p><figure class="image image-style-align-center image_resized" style="width:28.29%;"><img src="https://media.prusaprinters.org/media/prints/136835/rich_content/7a01a77b-ab5e-464c-ab27-01d366893055/image.png#%7B%22uuid%22%3A%222cfad344-566d-4408-ba0c-38d4212494a8%22%2C%22w%22%3A303%2C%22h%22%3A469%7D"></figure><p>Push the wedges fully in using the tips of the nose of your pliers. This ensures that the external faces are flush also.</p><figure class="image image_resized" style="width:29.12%;"><img src="https://media.prusaprinters.org/media/prints/136835/rich_content/9bb85b08-30c8-47db-b2c4-f1660a84f151/image.png#%7B%22uuid%22%3A%22c02ceead-652e-4e0b-8eab-7ef74ff71c31%22%2C%22w%22%3A536%2C%22h%22%3A569%7D"></figure><p>Repeat this until you have a pentagon</p><figure class="image image-style-align-center image_resized" style="width:28.11%;"><img src="https://media.prusaprinters.org/media/prints/136835/rich_content/89eb482d-aa0a-4c66-864d-57d5b8405246/image.png#%7B%22uuid%22%3A%227e9b997e-6dc3-4f4c-a115-226ae8d12f23%22%2C%22w%22%3A418%2C%22h%22%3A443%7D"></figure><figure class="image image-style-align-center image_resized" style="width:29.87%;"><img src="https://media.prusaprinters.org/media/prints/136835/rich_content/3545d4ac-5b7a-4a7e-873e-115b19ef9d13/image.png#%7B%22uuid%22%3A%228ad6584f-a123-4725-bd5c-29b92ea4d228%22%2C%22w%22%3A421%2C%22h%22%3A453%7D"></figure><figure class="image image-style-align-center image_resized" style="width:28.97%;"><img src="https://media.prusaprinters.org/media/prints/136835/rich_content/0173d98d-0809-4315-b38e-c39c8efc408a/image.png#%7B%22uuid%22%3A%2226ec036b-aacc-4ed2-b509-b76a45e4a5c9%22%2C%22w%22%3A399%2C%22h%22%3A442%7D"></figure><p>Lock this altogether with 2 more wedges in the newly adjacent facets.</p><figure class="image image-style-align-center image_resized" style="width:30.22%;"><img src="https://media.prusaprinters.org/media/prints/136835/rich_content/61450f03-3382-4a6e-83a3-c88d1253bc2c/image.png#%7B%22uuid%22%3A%228f841169-8774-4d63-a3cf-efabf19027c9%22%2C%22w%22%3A362%2C%22h%22%3A392%7D"></figure><figure class="image image-style-align-center image_resized" style="width:30.52%;"><img src="https://media.prusaprinters.org/media/prints/136835/rich_content/341a192c-da73-4c26-a194-1c39fb55ae80/image.png#%7B%22uuid%22%3A%2264d149b0-1a63-46c1-a577-f86f901fc301%22%2C%22w%22%3A398%2C%22h%22%3A399%7D"></figure><p>Next you need to add 5 BBB facets to each of the pentagon factets</p><figure class="image image-style-align-center image_resized" style="width:31.53%;"><img src="https://media.prusaprinters.org/media/prints/136835/rich_content/f723c660-e090-466b-9cec-ab72bdf2b155/image.png#%7B%22uuid%22%3A%221e582de7-103b-4297-b89e-2c383e0535e5%22%2C%22w%22%3A533%2C%22h%22%3A768%7D"></figure><figure class="image image-style-align-center image_resized" style="width:38.9%;"><img src="https://media.prusaprinters.org/media/prints/136835/rich_content/0a6c237d-10fe-4cb6-b43d-dc93b2db1504/image.png#%7B%22uuid%22%3A%221de07156-bbd5-4a40-9d91-48a826eb92f8%22%2C%22w%22%3A550%2C%22h%22%3A545%7D"></figure><p>Now you need to make 5 more pentagons in the same way as the first. If you are assembling the AAB Magnets 3mf, ensure that there is one facet with the magnet hole on the outer edge of each pentagon.</p><p>Insert 2 wedges on one side only of each of the stars V and slide the pentagons in. Then lock them in place with 2 more opposite wedges.</p><figure class="image image_resized image-style-align-center" style="width:50%;"><img src="https://media.prusaprinters.org/media/prints/136835/rich_content/129adfc0-9733-4026-ba33-a0d07dd95875/image.png#%7B%22uuid%22%3A%22a59b8fa4-3484-4ccf-8495-082e8764ccbf%22%2C%22w%22%3A552%2C%22h%22%3A569%7D"></figure><p>All that is left to to to finsh one half now is to fill in the remaining gaps with 5 more BBB facets. If you are assembling the BBB Magents 3mf, ensure that the magnet holes are on the outer edge.</p><figure class="image image-style-align-center"><img src="https://media.prusaprinters.org/media/prints/136835/rich_content/4865a737-0e8b-4a9d-a028-bdec3ef650b5/image.png#%7B%22uuid%22%3A%2220237aea-9db8-492f-b12f-6e1cb7fc5599%22%2C%22w%22%3A537%2C%22h%22%3A585%7D"></figure><p><br> </p>
With this file you will be able to print 2v Geodesic Light Sphere with your 3D printer. Click on the button and save the file on your computer to work, edit or customize your design. You can also find more 3D designs for printers on 2v Geodesic Light Sphere.
