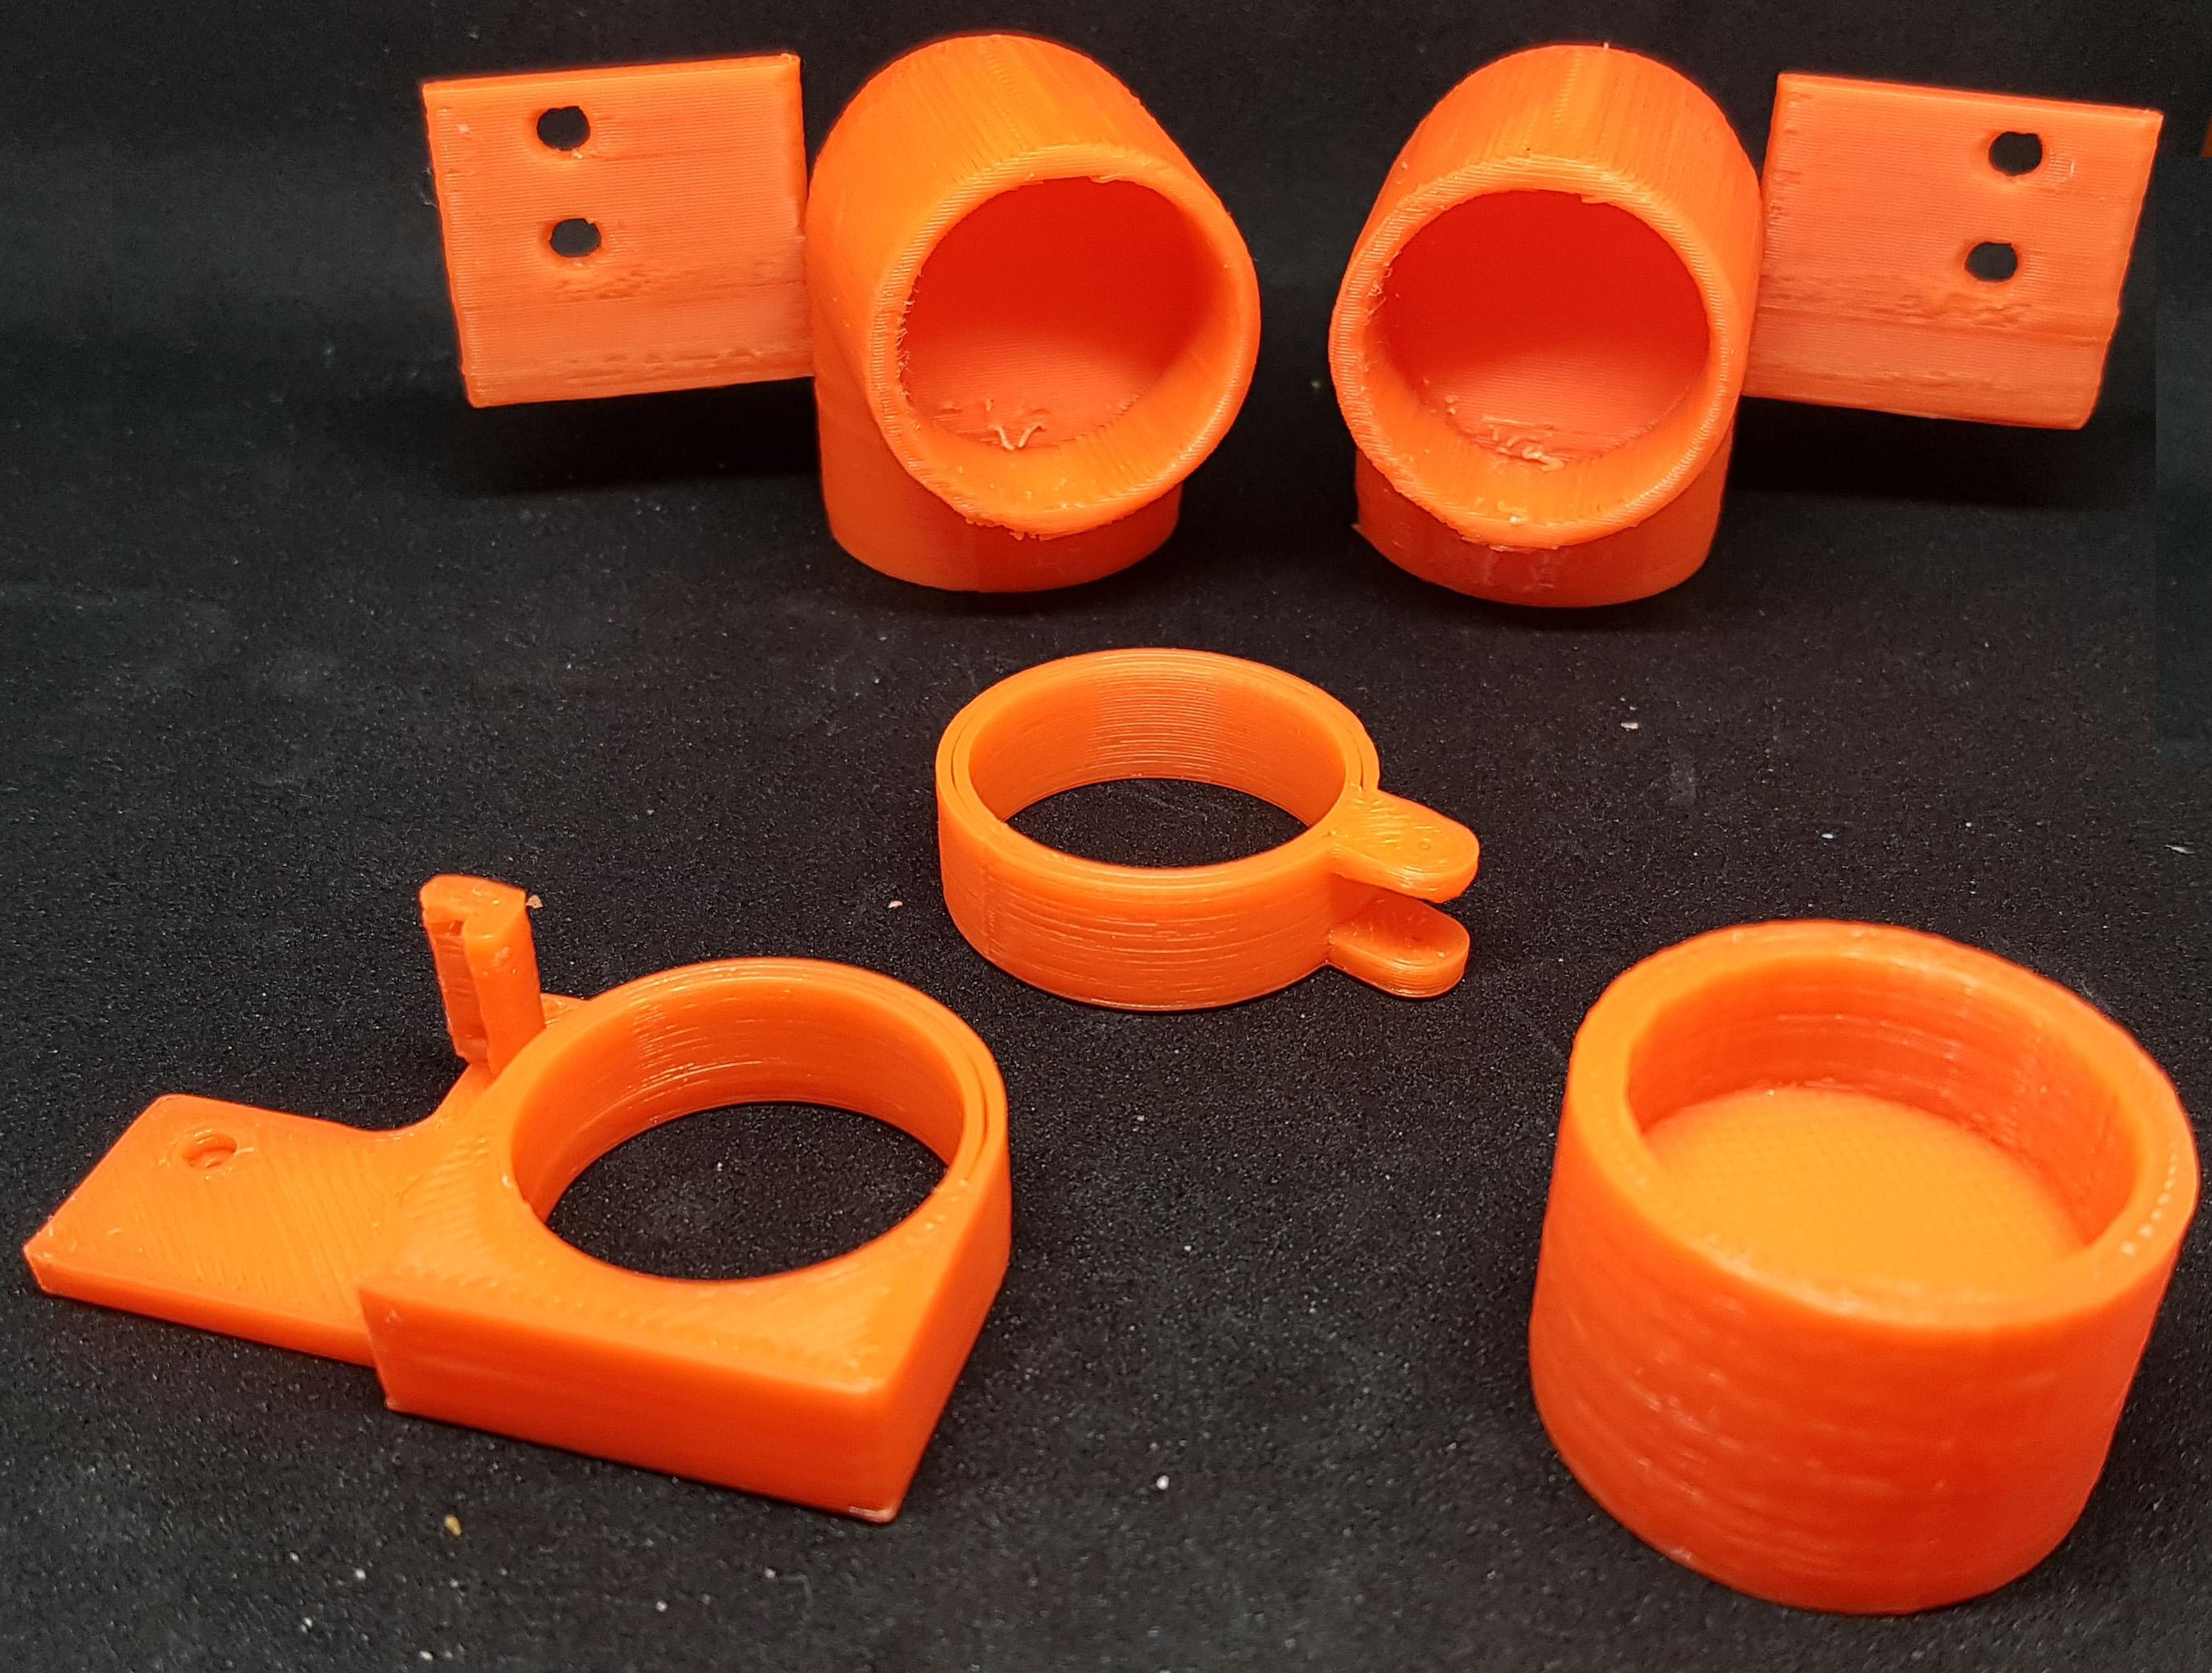
250ml can 3d printer frame
myminifactory
Want a 3D printer that's truly one-of-a-kind? Here's how you can build a frame out of 250ml soda cans. Warning: Don't even think about trying this if you're new to 3D printing. This is not for beginners, and it shouldn't be your first or only 3D printer. Here's what you'll need: * 1 x Part 1 Left * 1 x Part 1 Right * 1 x Part 2 Left * 1 x Part 2 Right * 5 x Part 3 * 1 x Part 4 Left * 1 x Part 4 Right * 1 x Part 5 * 1 x Part 6 And here are the parts you'll need to source: * 12 x 250ml soda cans (preferably empty) * 100K BTC with cable * 12V 20A power supply * A4988 driver x4 * Arduino Mega 2560 clone * Mechanical endstop boards x2 * RAMPS 1.4 * Reprap 14pcs wire set * Reprap heated bed aluminum * 1.2mm Extruder springs (pack of 10) * 2x4mm bowden tube * 50mm radial fan * 5V M8 inductive sensor * 625 bearing (pack of 10) * E3D v6 Jhead with fan and thermistor * Hobbed gear * 2.5x100mm zip ties x100 * 5x5mm flexible coupler x2 * 8mm smooth rods, 320m, 330 or 350mm, 370mm (2 of each) * GT2-2M 16T idler pulley, 3mm bore x2 * GT2-2M 16T pulleys, 5mm bore (set with belt) x2 * GT2-2M 6mm belt (often just called "GT2") (set with pulleys) 2m * LM8UU bearings x10 * NEMA17 stepper motor x5 * M5 threaded rod 1m You'll also need some extra parts, like an X-axis assembly and a Y-carriage. Thomas Sanladerer has some great resources on his website that you can use as a guide. Here's the bill of materials: * Bolts: + M3x10 x11 * Nuts: + 2.5 nuts Now, let's get started with the assembly instructions! Part 1 Left: Put cans in both holes and glue. Add 320mm rod. Part 5: Attach to Part 1 Left, don't glue yet. This needs to be centered, so add Part 1 Right to help align. When aligned, add glue. There should be a 31mm gap between Part 1 and Part 5. Repeat the same process for Part 1 Right. Part 2 Left: Add cans to both sides. Attach motor to Part 6 with M3x10 bolts (3 required). Add Part 6 to Part 2 Left assembly, don't glue yet. This should be 51mm from either Part 2 Left or Right. Add 625 bearings to 320mm rod on Part 1 assembly. Add 2 x Part 3 to Part 1 assembly, one on each can. Attach Part 1 assembly to Part 2 assembly. Add 2 x motors to Z axis, 4 x M3x10 bolts for each. Add 5x5mm flexible coupler to motors. Cut M5 threaded rod in 2 and attach to flexible coupler. Add 320mm rods to holes next to motor (leave overlapping for extra ghetto points). Add cans to Part 4 Left and Right. Add Part 3 between Part 4 Left and Right. Add Part 3 to bottom cans on Part 4 assembly. Add main cans to assembly. Fit X-axis assembly to main assembly. Attach Part 4 assembly to main assembly. That's it! You now have a truly unique 3D printer frame made out of 250ml soda cans.
With this file you will be able to print 250ml can 3d printer frame with your 3D printer. Click on the button and save the file on your computer to work, edit or customize your design. You can also find more 3D designs for printers on 250ml can 3d printer frame.
