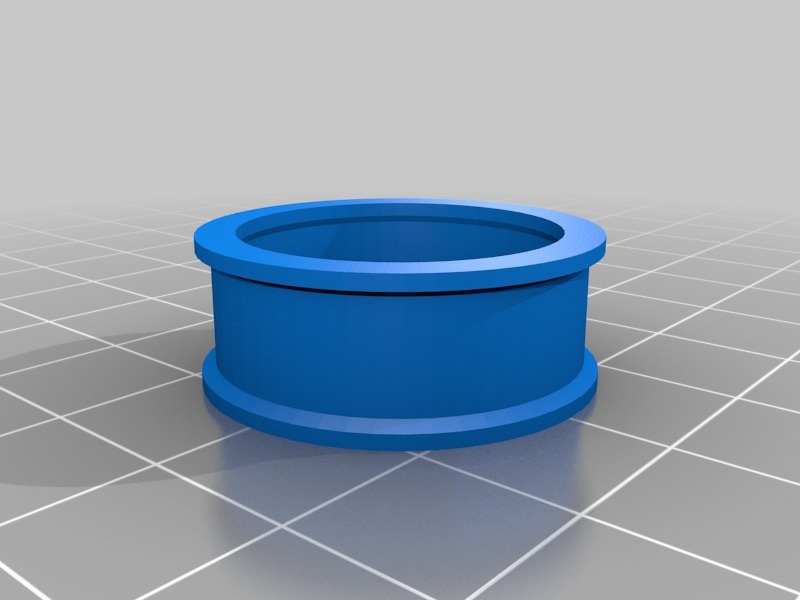
22x7mm GT2 Pulley Guide
thingiverse
Prusa I3 - GT2 Pulley Guide for 22x7mm Bearing. **Helping Your Pulley Belt Run Smoothly and Jam-Free** A well-functioning pulley belt is crucial to the smooth operation of your Prusa I3 printer. To ensure that your belt stays in top condition, follow this comprehensive guide on installing a GT2 pulley specifically designed for 22x7mm bearings. **Installing Your Pulley Belt: A Step-by-Step Guide** 1. **Prepare Your Tools**: Before you start, make sure you have the necessary tools within arm's reach. This includes an Allen wrench, a screwdriver, and possibly some wire cutters depending on your printer's configuration. 2. **Locate Your Pulley**: Identify where your pulley is located on your printer. For most Prusa I3 printers, this will be at the top of the Z-axis or the X/Y axes. You might need to refer to your printer's manual for specific instructions based on your model. 3. **Remove Old Pulleys (If Necessary)**: If you're upgrading from an old pulley system, remove all existing pulleys and bearings from your printer's frame. This will give you a clean slate for installation. 4. **Install the New Pulley**: Attach the new GT2 pulley to the bearing using the provided screws. Make sure it's securely fastened but not overtightened, as this can damage the bearing or pulley. 5. **Mount the Bearing**: Place the 22x7mm bearing onto the axle and secure it with the retaining ring. Ensure that the bearing is properly seated to avoid any jamming issues later on. 6. **Route the Pulley Belt**: Guide the pulley belt through the new pulleys, ensuring it's centered and not twisted. For a smooth operation, make sure there are no kinks or bends in the belt. 7. **Tighten Everything**: Once everything is in place, tighten all screws and bolts to prevent any movement during use. This will also help maintain the printer's accuracy. **Tips for Smooth Operation** - **Regular Maintenance**: Regularly check your pulley belt and bearings for signs of wear or damage. Replace them as needed to ensure smooth operation. - **Adjustments**: Depending on your printer's model, you might need to adjust the tension of the pulley belt. This is usually done by turning a screw or adjusting a nut. Consult your printer's manual for specific instructions. - **Avoid Over-Tightening**: While it's essential to secure everything in place, over-tightening can cause damage to the bearings or pulleys. Be mindful of this during installation. **Conclusion** Installing a GT2 pulley designed specifically for 22x7mm bearings is a straightforward process that requires attention to detail and some basic tools. By following these steps and maintaining your printer regularly, you'll be able to enjoy smooth, jam-free operation of your Prusa I3 printer.
With this file you will be able to print 22x7mm GT2 Pulley Guide with your 3D printer. Click on the button and save the file on your computer to work, edit or customize your design. You can also find more 3D designs for printers on 22x7mm GT2 Pulley Guide.
