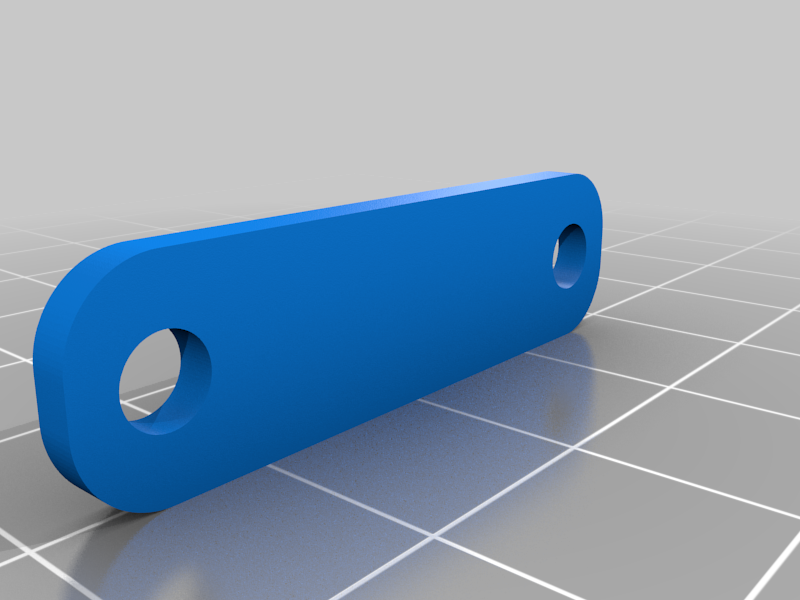
220 * 220 Heatbed Stress Relief (I used this for my Anet A8)
thingiverse
My previous connection broke so I bought a new heated bed and printed a stress-relief. Yes, I know, The "right" thing to do is solder the heatbed. But not everybody has the expertise / tools to do such a thing since the heatbed basically acts as a huge heatsink. The model connects to the bed without any external hardware / modifications and is easily removable. I also left a hole for the LED so you can easily tell if the heatbed is on. The One-Part model needs 2 cable ties (to hold the connector), 2 m3 bolts and 2 m3 nuts (to hold the cables). The Two-Part model needs 2 cable ties (to hold the connector), 5 m3 bolts and 5 m3 nuts (2 of each to hold the cables & 3 of each to connect the parts). The cables are kept in place via a clamping mechanism (using the clamp.stl piece and the holes in the main body). Be careful not to clamp too strong and ruin the cables! I used only my fingers to screw it in place and it feels great. In my pictures I used the Two-Part model because I thought it would apply more pressure to hold the soldered connection in place, but in retrospective I don't think it really matters. Also, the big One-Part body easily fits the build area. The printed part feels great and sturdy!
With this file you will be able to print 220 * 220 Heatbed Stress Relief (I used this for my Anet A8) with your 3D printer. Click on the button and save the file on your computer to work, edit or customize your design. You can also find more 3D designs for printers on 220 * 220 Heatbed Stress Relief (I used this for my Anet A8).
