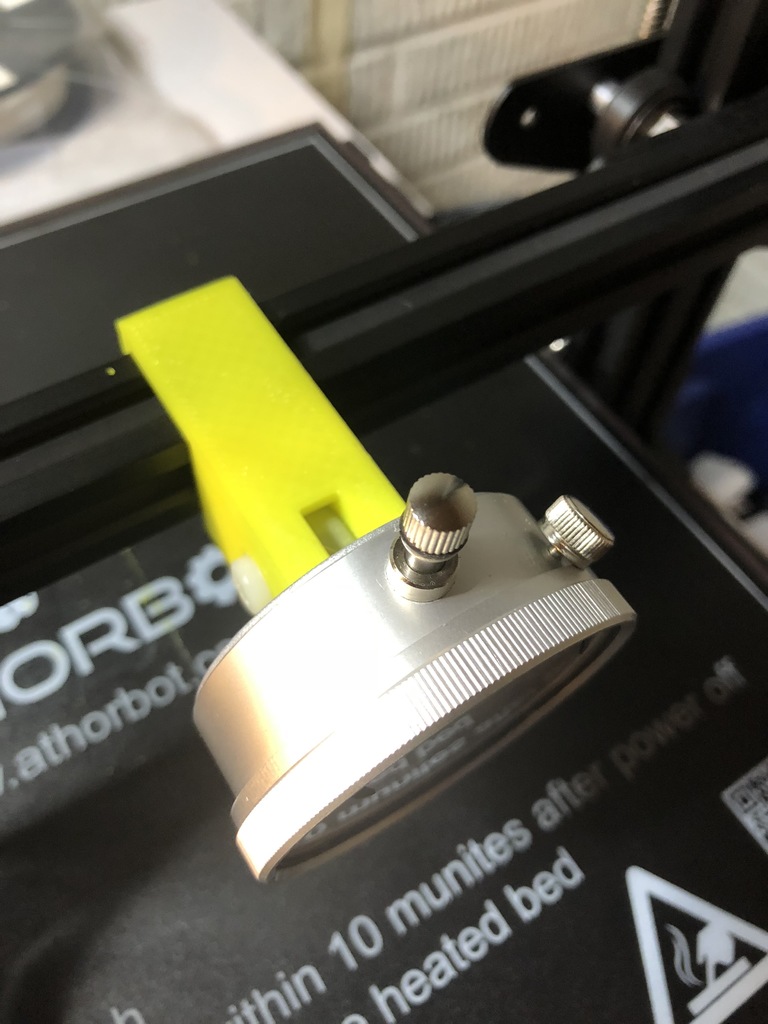
2020 Dial Indicator Mount
thingiverse
There are numerous dial indicator mounts out there, but I wanted to create one that could be mounted to a 2020 extrusion, rather than the hot end, since there are many different types available. I no longer use the stock CR-10 hot end and decided not to design a mount for my current setup, opting instead for something that would work independently. Note: This mount is designed for manual use only and should not be used with the hot end or gantry moving. Instructions on how to use it are provided below. UPDATE 2/17: I want to thank user MikePek for providing feedback that printing the mount at a scaling of 96.5 produces better results. I've created an updated version that achieves this effect without changing the size of the nut hole in the holder. The Open SCAD source code is also available for those who want to experiment with different tolerances. UPDATE/NOTE: If you find that the mount is loose when sitting on the 2020 extrusion, try adding some electrical tape inside the back to prevent it from wobbling around. This will ensure a consistent reading. You can view a video of the dial indicator in action here: https://www.youtube.com/watch?v=bqSuxbQ5n0I I've remixed this design from the CR-10 Dial Indicator mount found on Thingiverse (https://www.thingiverse.com/thing:2412647). You can purchase the dial indicator gauge from Amazon here: http://amzn.to/2ttaAGr. To use this mount, you'll also need a 20mm screw and nut. An M6 screw and nut are recommended for optimal results. This mount is designed to be used on any 3D printer with a 2020 extrusion for the gantry or hot end. While there may be some play in the mount due to tolerance, I've found it to be consistent and accurate. To print the mount, follow these instructions: Print it flat on the bed as shown in the image, and consider using supports as well. The mount won't require many supports. Here's how I use the dial indicator (updated for clarity): 1. Preheat your bed to 60C and scrape off any gunk from the nozzle tip. 2. Autohome your printer so the extruder moves to the front left corner, then place a piece of paper between it to serve as a reference point. 3. Raise the z-axis around 40mm using the prepare -> move axis -> z axis menu. 4. Disable the stepper motors under the "Prepare" menu. 5. Move the hot end all the way to the right side to clear the bed. Now you're ready to use the dial indicator: 1. Snap on the dial indicator to the 2020 extrusion on the left side of the bed near the autohome position. 2. Manually move the bed forward to check the back corner and adjust the bed leveling knob so the number on the dial indicator is about the same. 3. Slide the dial indicator to the back right and adjust the back right nob, then manually move the bed backwards and adjust the front right corner. 4. Repeat this process a few times until you see consistent readings from all corners. Tips: 1. Before using the dial indicator, make sure your x-gantry is even on both sides by checking with a ruler. If it's not even, use your hand to manually turn the lead screw to get it even. 2. If you're using an original glass bed, it may be warped from the factory and won't level perfectly. Consider replacing it with mirror tile or having a piece of glass cut to size at a hardware store.
With this file you will be able to print 2020 Dial Indicator Mount with your 3D printer. Click on the button and save the file on your computer to work, edit or customize your design. You can also find more 3D designs for printers on 2020 Dial Indicator Mount.
