20 x 4 LCD Prototyping Stand Arduino
thingiverse
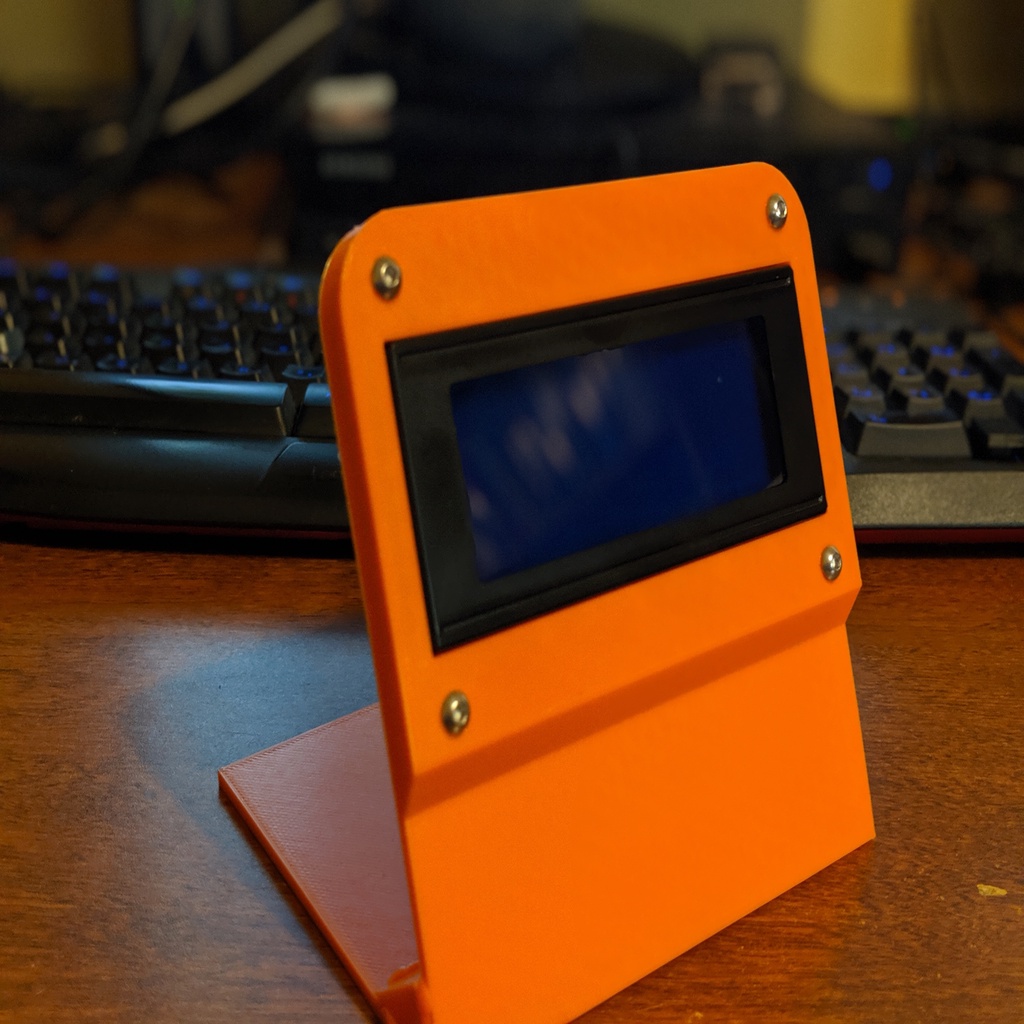
I built a prototype stand using my skills. I print each component flat, then assemble them together using a 3D pen to weld. Alternatively, you can use glue for a simpler approach. To add extra protection, I designed an optional bezel for it, but I personally didn't find it necessary and it's not included in the model shown in the photo. * Important instructions for welding: 1. First, position the face and base together, using the support as a guide to get the correct angle. Leave the support piece out of the weld process for now. Secure the face and base together with tack welds at several spots. Allow the tack welds to cool completely before proceeding. 2. The notch in the support piece is designed to accommodate this initial weld. Make sure that the reinforcement height from the first weld doesn't exceed the height of the notch. 3. Once you've completed the first weld, place the support piece into position and run a bead along the top and bottom edges. You can also weld the sides if desired, but it's not strictly necessary.
With this file you will be able to print 20 x 4 LCD Prototyping Stand Arduino with your 3D printer. Click on the button and save the file on your computer to work, edit or customize your design. You can also find more 3D designs for printers on 20 x 4 LCD Prototyping Stand Arduino .