2-part Orbiter/Dragon mount Remix
prusaprinters
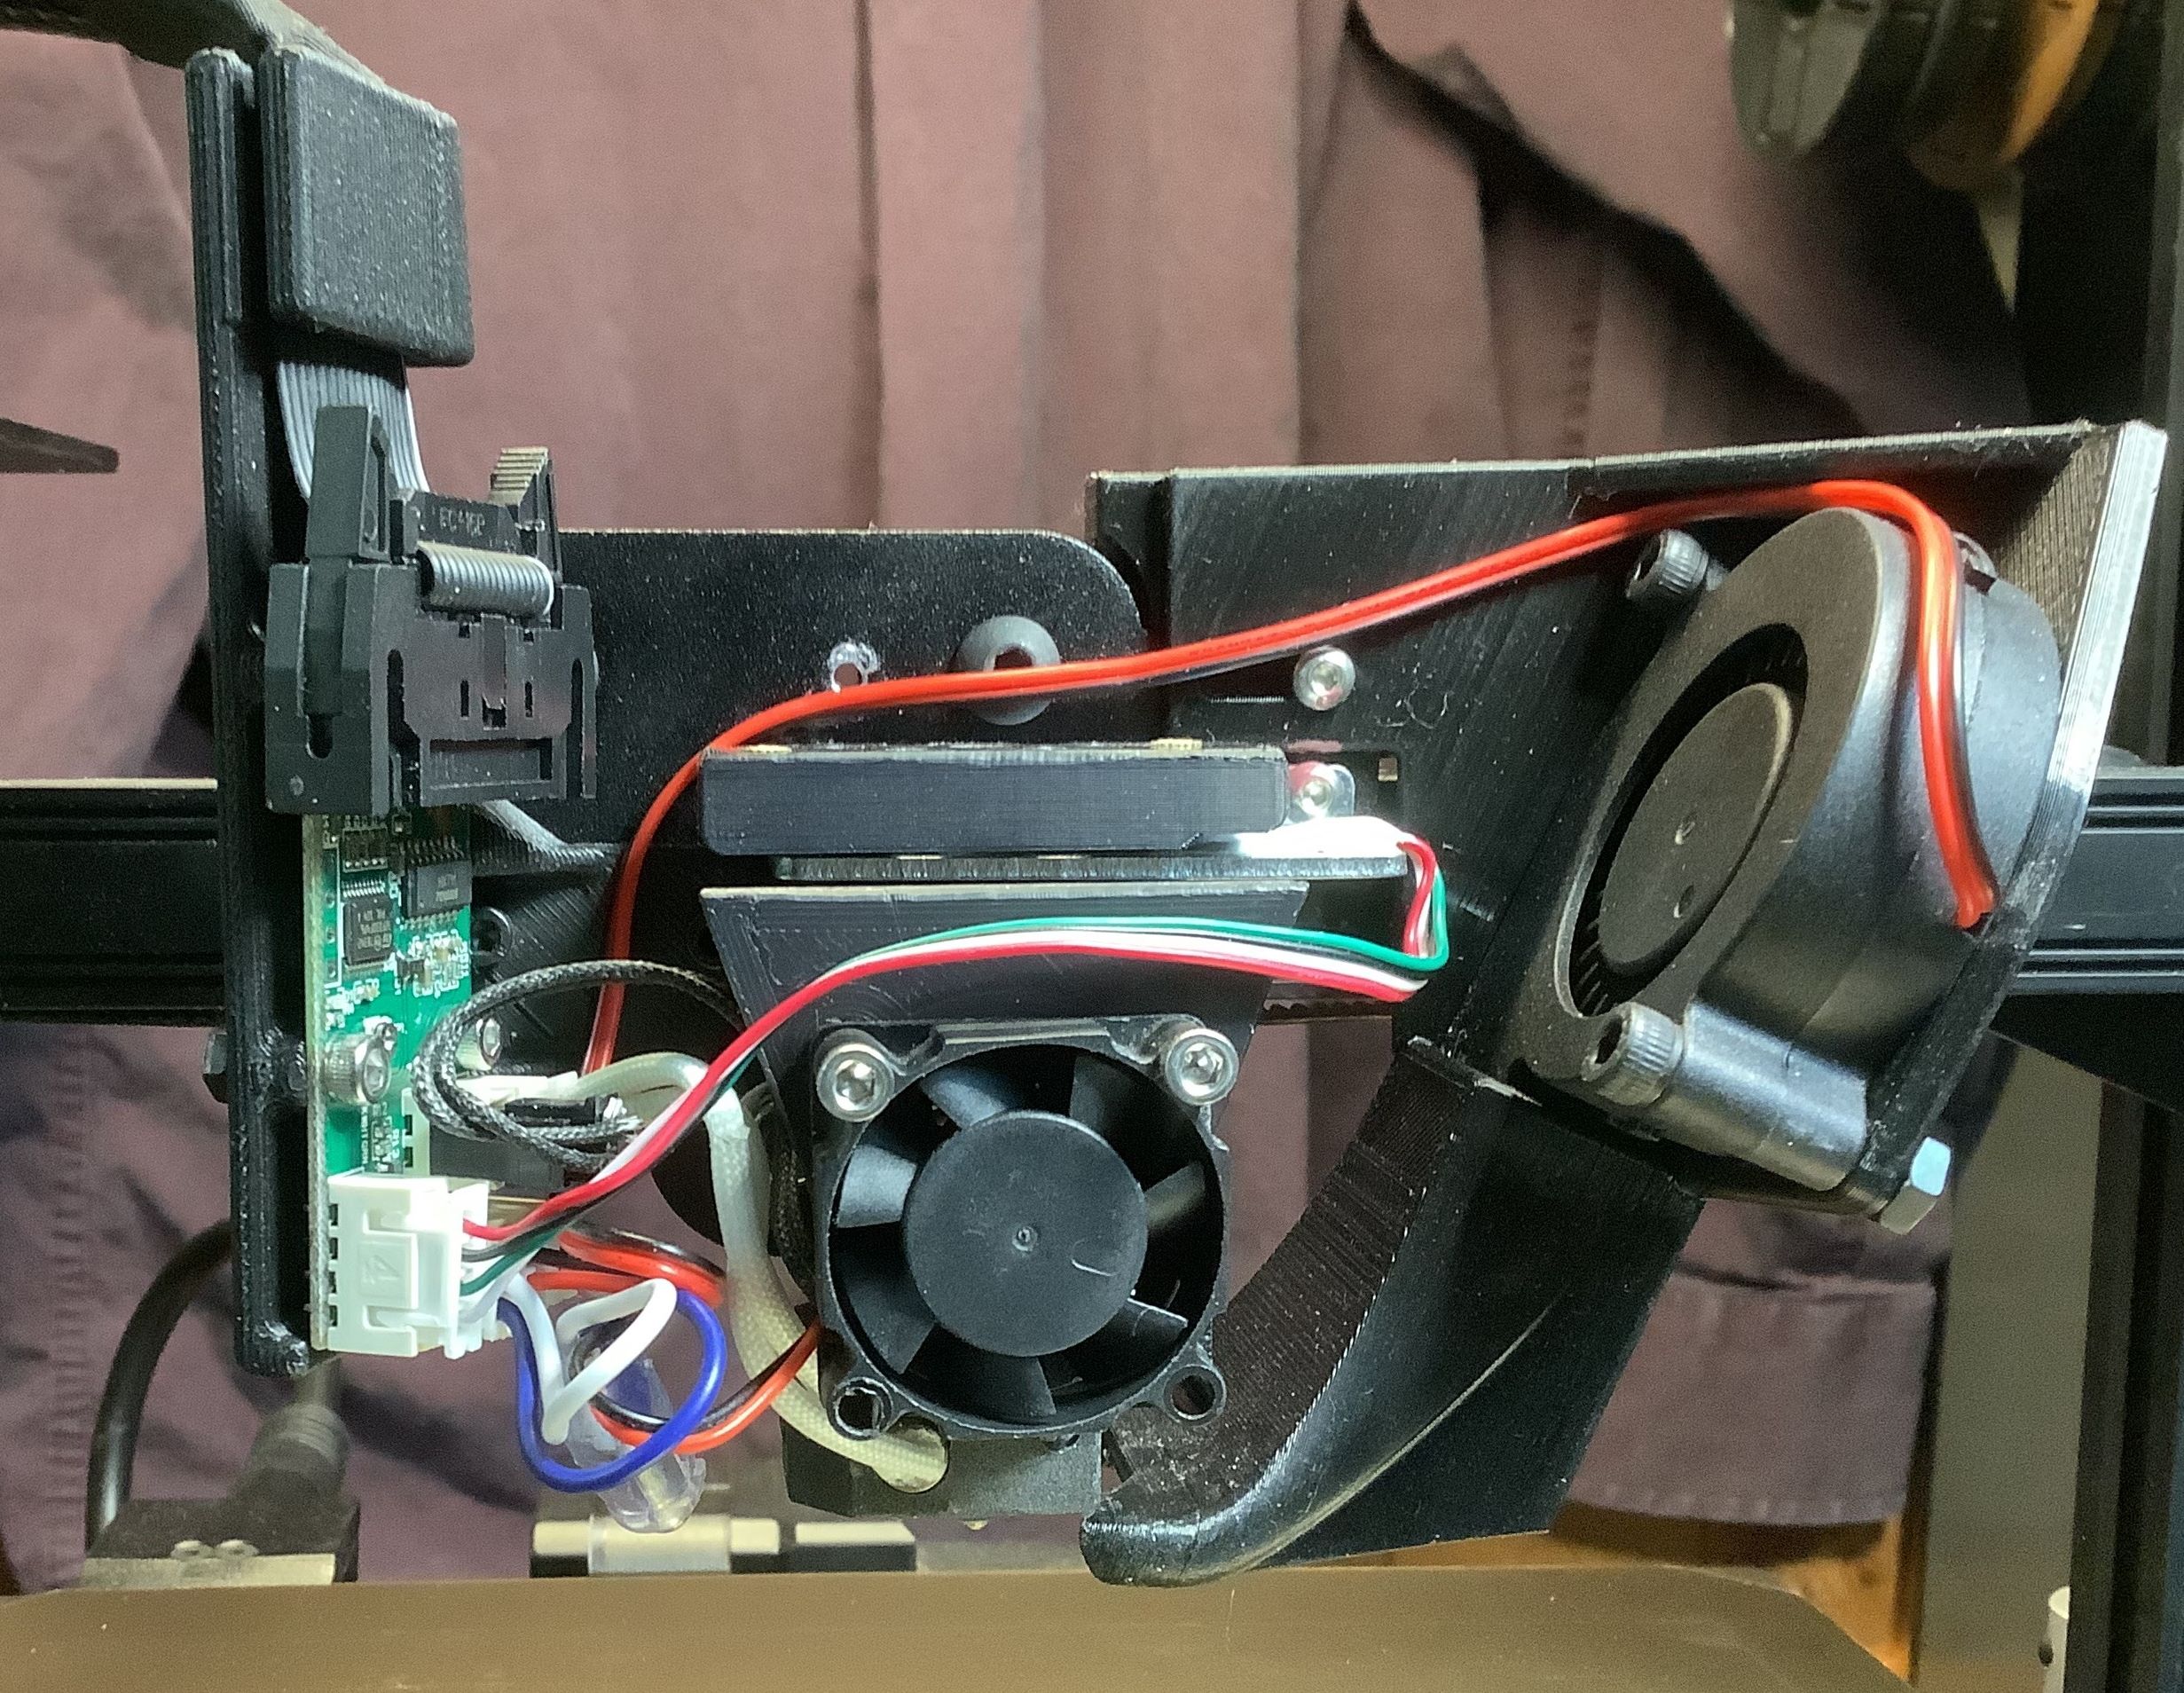
<p>I split the previous version of the original model and printed it to help me investigate the impacts of installing the original mount. I stuck with it as my actual setup because it worked so well, and because I was having trouble printing the original in ASA without it warping. (I am new to printing in ASA)</p><p>Those of us converting our CR6 to Direct Drive are learning that if the CR6 strain gauge lever is slightly bent with respect to the frame (which seems to be unfortunately common), then clamping the top and bottom parts of this mount tightly around the strain gauge creates problems with the Automatic Bed Leveling (ABL) system. </p><p>The original mount relies on rigidity and precise dimensions to place the Orbiter mount as close to the gauge as possible, without allowing the top and bottom parts to clamp tightly around the gauge.</p><p>This version of the Orbiter mount relies instead on inserting one washer on each mounting bolt, between the Orbiter mount and the gauge. The washers are enough to lift the top part just slightly above the frame, so that tightening the bolts does not pull the gauge lever up with the Dragon mount.</p><p>The photos also show that I chose to put a layer of Kapton tape between the Dragon and the mount, to reduce the risk of heat from the Dragon causing the mount to “creep” and loosen its mounting bolts. If you decide to do the same, take care not to allow any small Kapton flakes to get into the Dragon core. (Don't ask me how I thought of that…)</p>
With this file you will be able to print 2-part Orbiter/Dragon mount Remix with your 3D printer. Click on the button and save the file on your computer to work, edit or customize your design. You can also find more 3D designs for printers on 2-part Orbiter/Dragon mount Remix.