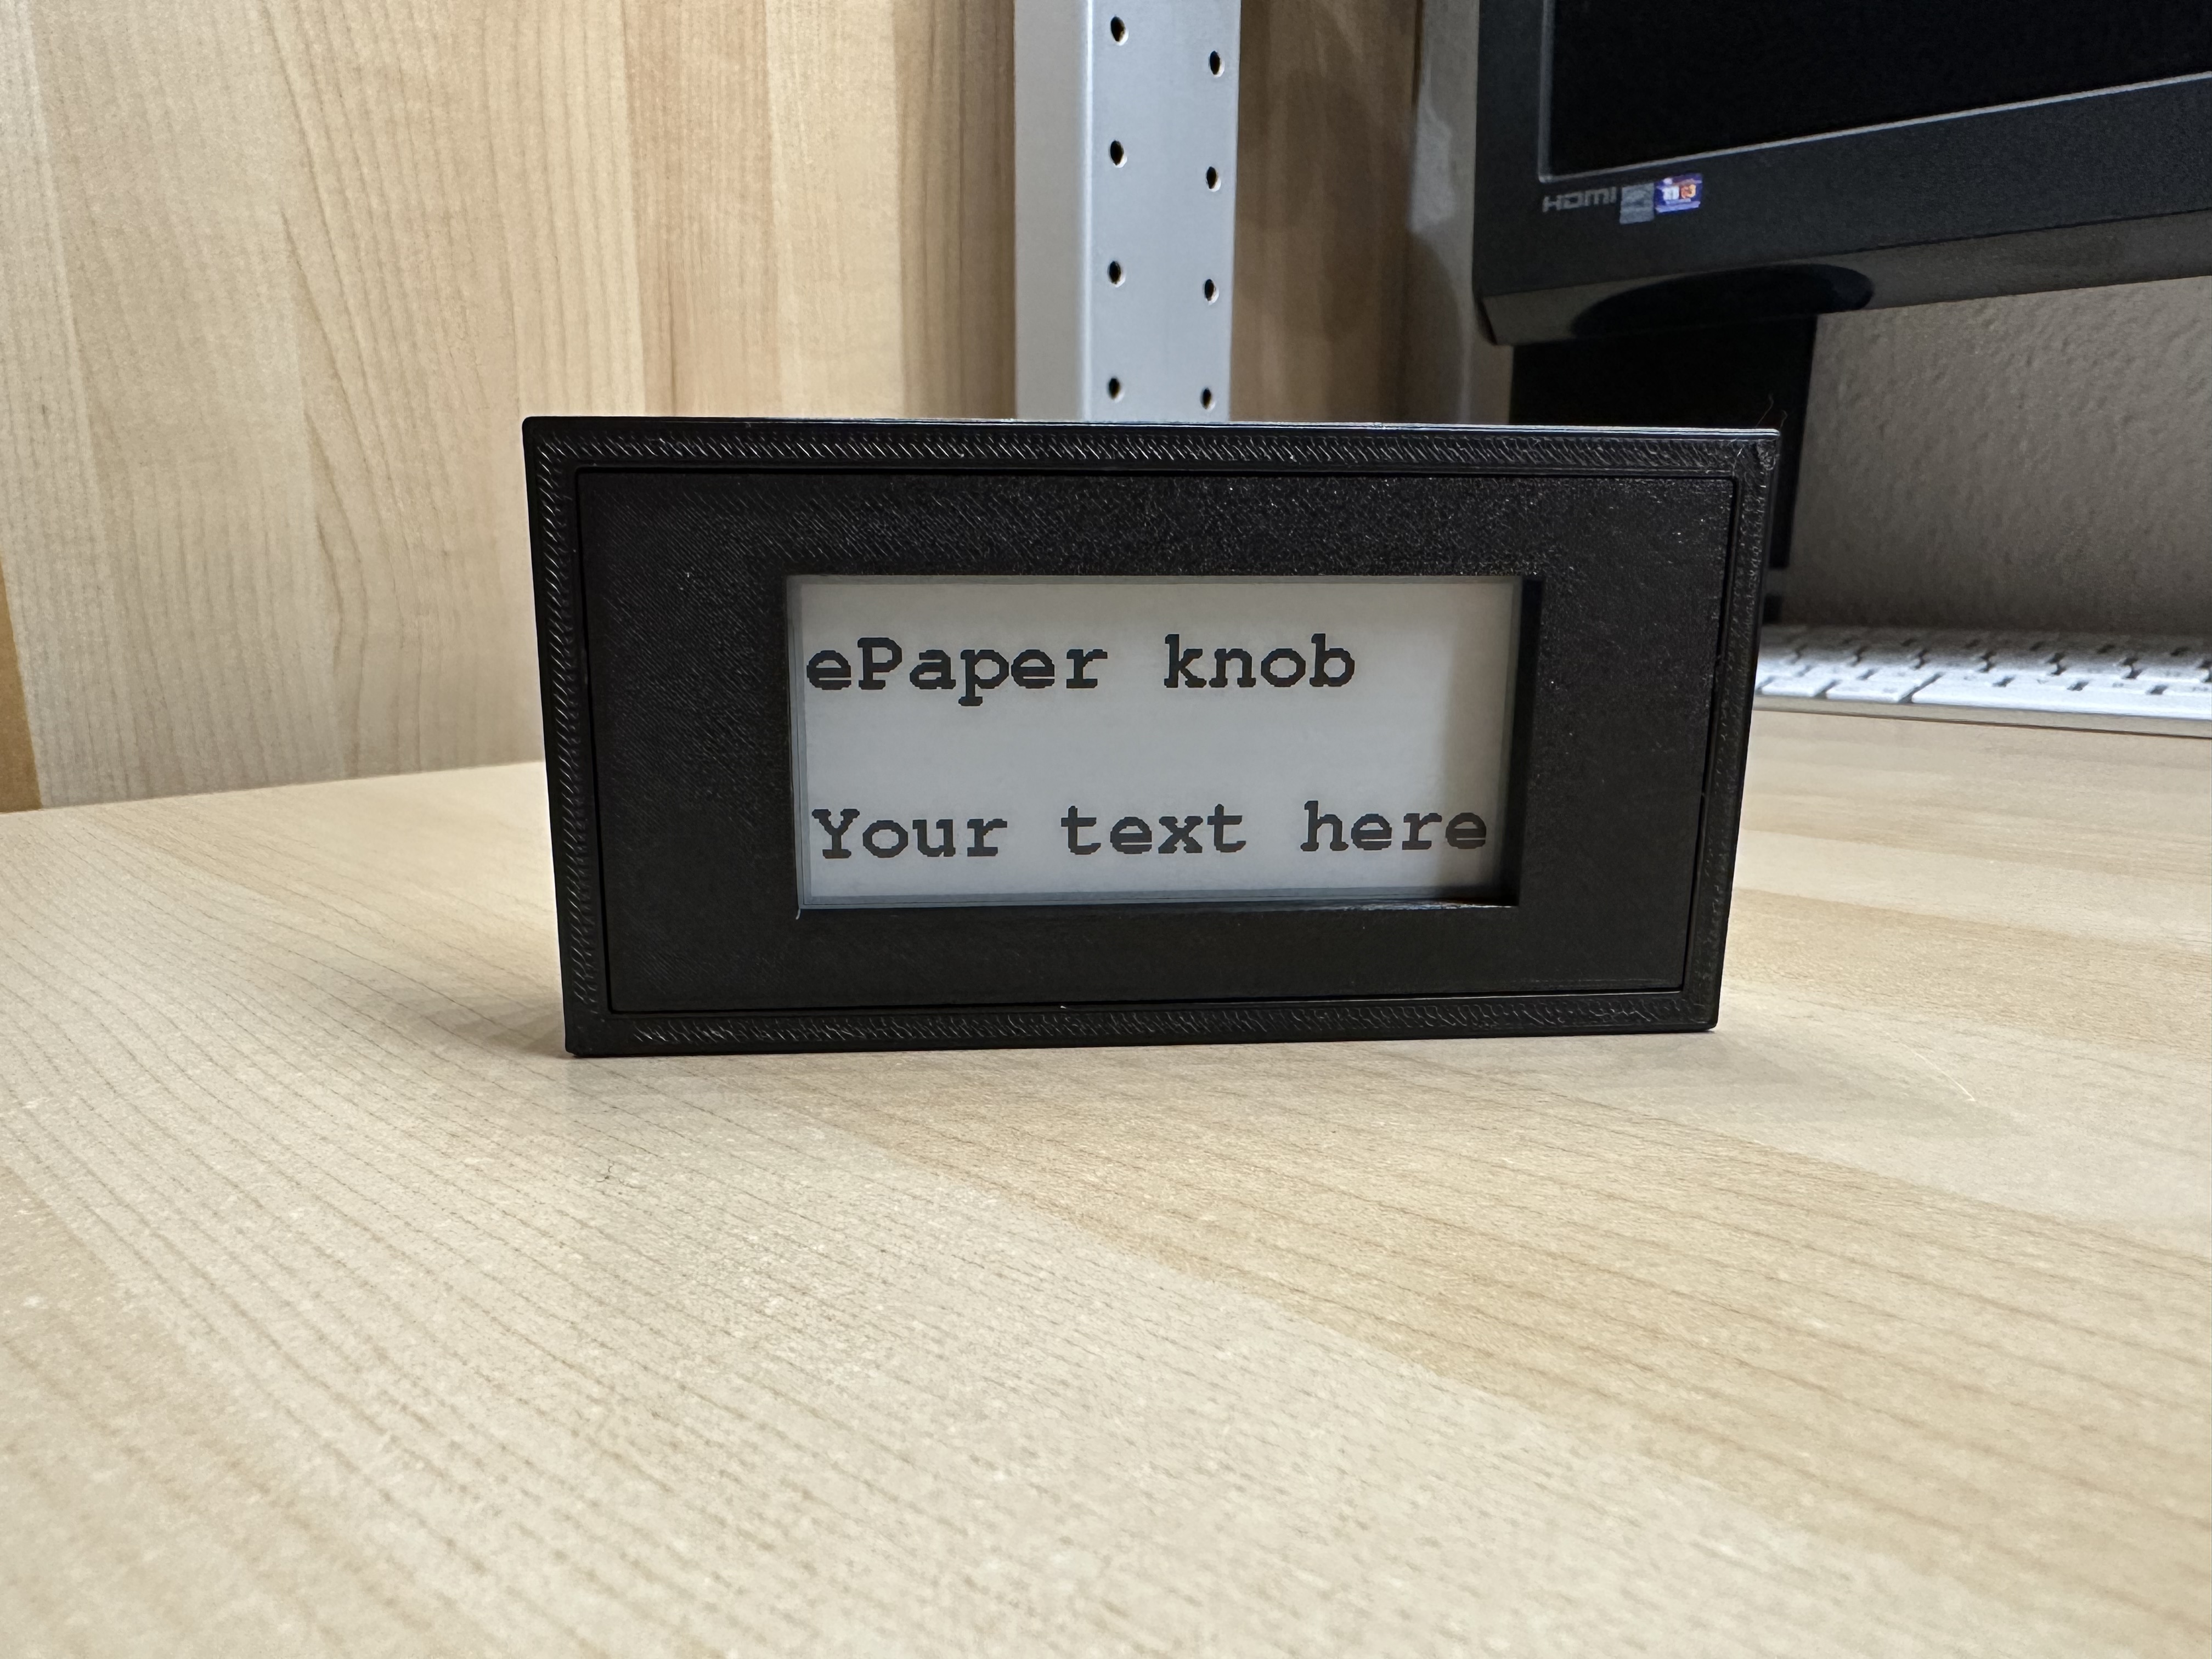
2.9" ePaper knob
prusaprinters
<p>ePaper display knob with a 2.9" eInk display in offline mode → no power needed.</p><p> </p><p>This knob-case for a WaveShare 2.9" ePaper display comes with a small code to set 2 lines of text to it. With this code it can be used in offline mode as shown. The display needs no power after the text was set, so no battery replacement action needed. <br> </p><p>Note: It would be possible too, to add the ESP32 and a small LiPo battery to change the text via remote. The included code is meant to be used for the offline mode…</p><p> </p><p><strong>Case:</strong></p><ul><li>The ePaper display itself is mounted inside the case on 4 posts to which 4 rings fit it in place</li><li>The actual real used display area is shown to the user only. The borders and the circuit parts of the display are completely hidden</li><li>The display lid is pressed on the back of the case, that also works as the knob with 2 screws up to Ø5mm.</li></ul><p> </p><p><strong>Parts:</strong></p><ul><li>1x <a href="https://www.amazon.de/Bluetooth-Kartenbasiertes-ESP-32-ESP-WROOM-32-Lolin32-Bluetooth-Kartenmodul/dp/B08JTXSX66">ESP32 Lolin32</a></li><li>1x <a href="https://www.waveshare.com/2.9inch-e-paper-module.htm">Waveshare 2.9" epaper display</a> </li></ul><p> </p><p><strong>Programming the display:</strong></p><ul><li>The display can be programmed before it was stored in the case, but it can later be reprogrammed inside the case with the usual cable that comes with these displays.</li><li>The Lolin32 was used with the in the table below named wiring.</li><li>The needed Arduino code is included to set the text to the display.</li><li>In the code change the 2 lines on the top to set the shown text.</li><li>If you switch the code to a smaller sized font you can also display more then 2 lines.</li></ul><p> </p><p><strong>Wiring the ESP32 to the display:</strong></p><figure class="table"><table style="border-color:#fa6831;border-style:solid;"><tbody><tr><td style="background-color:#fa6831;border-color:#fa6831;border-style:solid;"><strong>ePaper Display pin</strong></td><td style="background-color:#fa6831;border-color:#fa6831;border-style:solid;"><strong>ESP32 Lolin32 pin</strong></td><td style="background-color:#fa6831;border-color:#fa6831;border-style:solid;"><strong>Colour</strong></td></tr><tr><td style="border-color:#fa6831;border-style:solid;">BUSY</td><td style="border-color:#fa6831;border-style:solid;">4</td><td style="border-color:#fa6831;border-style:solid;">purple</td></tr><tr><td style="border-color:#fa6831;border-style:solid;">RST</td><td style="border-color:#fa6831;border-style:solid;">16</td><td style="border-color:#fa6831;border-style:solid;">white</td></tr><tr><td style="border-color:#fa6831;border-style:solid;">DC</td><td style="border-color:#fa6831;border-style:solid;">17</td><td style="border-color:#fa6831;border-style:solid;">green</td></tr><tr><td style="border-color:#fa6831;border-style:solid;">CS</td><td style="border-color:#fa6831;border-style:solid;">5</td><td style="border-color:#fa6831;border-style:solid;">orange</td></tr><tr><td style="border-color:#fa6831;border-style:solid;">CLK</td><td style="border-color:#fa6831;border-style:solid;">18</td><td style="border-color:#fa6831;border-style:solid;">yellow</td></tr><tr><td style="border-color:#fa6831;border-style:solid;">DIN</td><td style="border-color:#fa6831;border-style:solid;">23</td><td style="border-color:#fa6831;border-style:solid;">blue</td></tr><tr><td style="border-color:#fa6831;border-style:solid;">GND</td><td style="border-color:#fa6831;border-style:solid;">GND</td><td style="border-color:#fa6831;border-style:solid;">black or brown</td></tr><tr><td style="border-color:#fa6831;border-style:solid;">VCC</td><td style="border-color:#fa6831;border-style:solid;">3V3</td><td style="border-color:#fa6831;border-style:solid;">red or grey</td></tr></tbody></table></figure><p> </p><p><strong>Printing instructions:</strong></p><ul><li>0.3 draft profile</li><li>Textured sheet used</li><li>No supports or brim needed</li><li>The 4 rings were set to 100% infill</li></ul><p> </p><p>The needed code can be found in my <a href="https://github.com/AWSW-de/2.9-ePaper-knob">GitHub repository</a>.</p><p> </p><p>Happy printing :)</p>
With this file you will be able to print 2.9" ePaper knob with your 3D printer. Click on the button and save the file on your computer to work, edit or customize your design. You can also find more 3D designs for printers on 2.9" ePaper knob.
