1st Layer Optomisation (g-code generator)
thingiverse
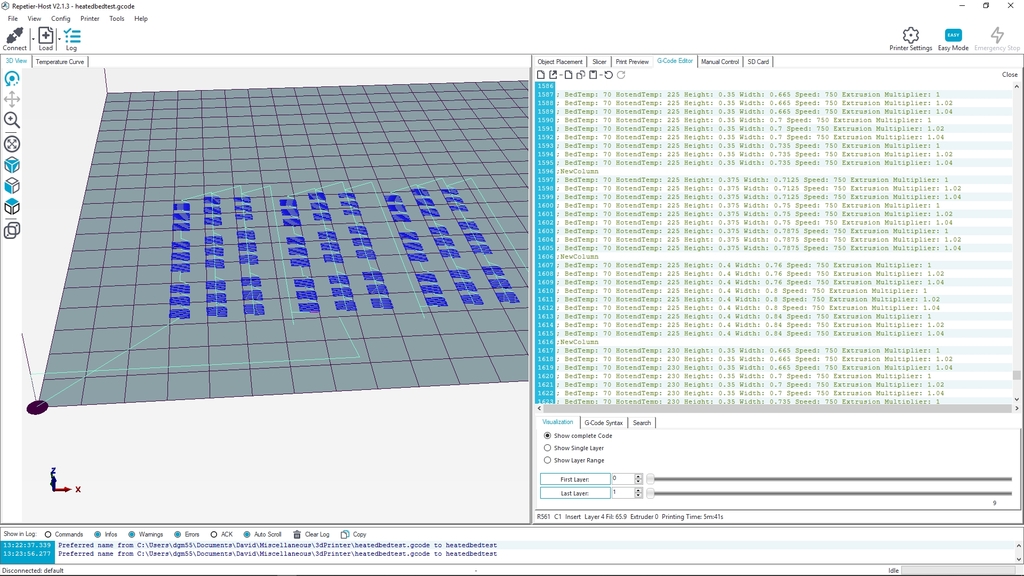
This Excel workbook generates G-code to quickly find optimal settings for first layer printing. It was created after becoming frustrated with constantly wondering if my first layer settings were the best and getting stuck when changing filament that couldn't stick to my glass bed. Within the script, it will adjust and decrease layer height, print width, extrusion multiplier, extruder temperature, and other variables as desired within the same print. This allows for quick testing of a wide range of potential settings to find the best ones. A major flaw with the script is that it reads values directly from the spreadsheet, so inserting rows will mess it up. However, you can edit the values as needed. To use the script, enable macros and enter the Visual Basic Editor (Alt-F11). The script does not write anything to your system, but if you feel nervous, you may prefer to open the .bas file with a text editor and review or rewrite it for another language. I'm surprised that nobody has created this script already because it's really not complex. This script is just scratching the surface of what's possible. After running the script, it will store the G-code in the spreadsheet, and you'll need to paste it into your printer host software (I use Repetier and pasting G-code is even easier than saving to a file and loading in). Then review the print preview in the host to check if it's going to do what you expect. It might be a good idea to replace my default start and end G-code with your own - this is in columns K and S from rows 61 onwards. The code stops pasting when it finds a cell containing only the text "CODEEND", so put this below your code. You may also want to remove any code that turns off the heated bed if you want to test patches at printing temperature... The script lists all the settings it uses for each patch at the end of the G-code, so you can check after you've printed. I tend to print the patches then push on the edge of them with something hard to see if they dislodge. Then I turn off the heated bed and repeat as the temperature drops to find the settings with the best grip. PS If you want good prints, set up auto-bed leveling, and consider buying a feeler gauge to measure nozzle height rather than using a sheet of paper (eg https://www.aliexpress.com/wholesale?SearchText=feeler+gauge). If you use "G1 Z0.2" or manual jog to lift the nozzle to 0.2mm above the bed when the system is at print-ready temperature, you can then step it up or down to find exact the height the 0.2mm gauge just slides in and out. This means you won't need to bother with any other gauges. Sliding this in and out repeatedly (and wiping any cooled plastic off) will allow you to establish the height difference between the nozzle tip and the z-probe tip, which you can then permanently set in the firmware. Don't bother with a "paper gauge". Remember your printer nozzle should just be touching the bed when z-height is 0. Visually checking when plastic is oozing or guesstimating the thickness of paper makes setting this accurately almost impossible!!! PPS Ignore the SCAD file; it was necessary to publish this on thingiverse, but it seemed more relevant here than elsewhere, so I cheated...
With this file you will be able to print 1st Layer Optomisation (g-code generator) with your 3D printer. Click on the button and save the file on your computer to work, edit or customize your design. You can also find more 3D designs for printers on 1st Layer Optomisation (g-code generator).
