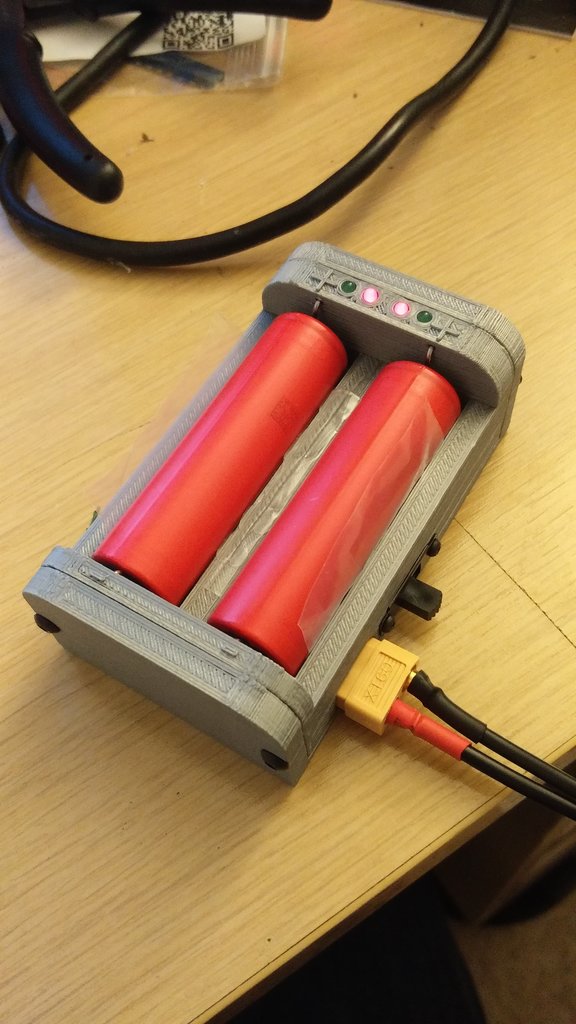
18650 XT60 3-6S Dual Charger
thingiverse
This is a dual charger that accepts up to 30V through the XT60 so you can charge your batteries in the field. Required parts include: 1-2 paper clips 2x green 3mm LED's 2x red 3mm LED's XT60 male connector 1x Sliding switch 2x M2 screws for the switch 2x 03962A charging boards 1x MP1584 voltage regulator 4x 10mm M3 screws 2x 1.8k 0805 resistors (optional) Some wire, heat shrink, solder and hot glue You can buy a commercial equivalent pretty cheaply, but I had all the parts so thought why not! It should go without saying that Lipo's are dangerous. I take no responsibility if you blow yourself up doing this. Change R3 on the 03962A for a 1.8k resistor. During testing, I found that charging the 18650 at 1A makes the 03962A get too hot, reaching temperatures of 80+ degrees. Changing R3 for a 1.8k resistor reduces the charge current to about 700mA. It still gets to just about 60 degrees, which is better than default. I wire the LED's to the LED's on the 03962A. The two LED pads next to each other are VCC. You should remove the red one otherwise it illuminates internally and makes the external one dimmer. (The blue one has a higher forward voltage than green, so can be left attached.) I have hot glued a cut up old plastic bag between the two battery compartments. This means that to remove the battery, you pull the plastic. Make sure you get the right bend on your paper clips or else it will mark the batteries' terminals.
With this file you will be able to print 18650 XT60 3-6S Dual Charger with your 3D printer. Click on the button and save the file on your computer to work, edit or customize your design. You can also find more 3D designs for printers on 18650 XT60 3-6S Dual Charger.
