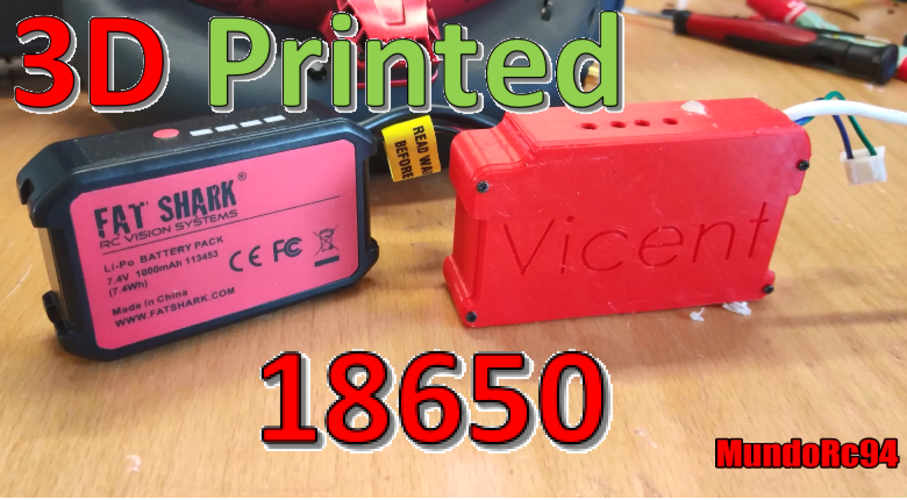
18650 qfatshark battery case
pinshape
Mounting the Case Want to know how to assemble your computer case like a pro? Check out this step-by-step guide that will walk you through the process. First, make sure you have all the necessary tools and components. You'll need a screwdriver, a Allen wrench, and the case itself. Next, remove any packaging materials from the case and sort out the screws and other hardware. Now it's time to assemble the case. Start by attaching the motherboard stand-offs to the case using the included screws. Make sure they're securely fastened. Mounting the Motherboard ------------------------ Once you have your motherboard stand-offs in place, you can mount the motherboard itself. Use the provided screws to secure it to the stand-offs. Next, install the CPU cooler and any other components that require direct contact with the motherboard. Installing the Storage Drives ----------------------------- Now it's time to add some storage to your system. Mount the hard drive or solid-state drive (SSD) to the case using the included screws. Connecting the Power Supply --------------------------- Connect the power supply to the motherboard and any other components that require power. Final Touches -------------- Once you've completed all the above steps, double-check that everything is securely fastened and connected.
With this file you will be able to print 18650 qfatshark battery case with your 3D printer. Click on the button and save the file on your computer to work, edit or customize your design. You can also find more 3D designs for printers on 18650 qfatshark battery case.