18650 charger
thingiverse
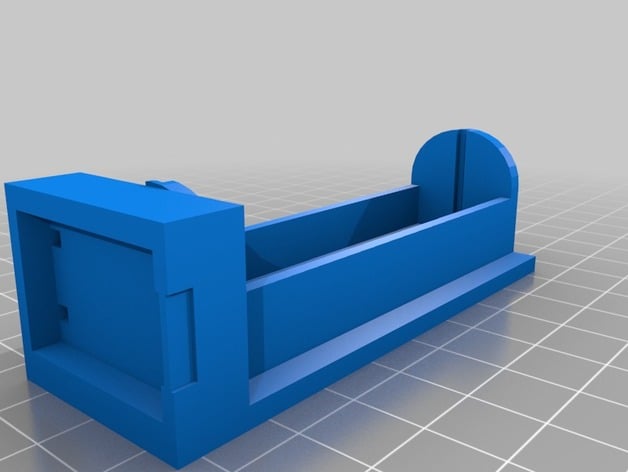
Cut a V-groove along one edge of the case to guide the connector into place using a sharp utility knife or precision tool. Before installing the single battery and 03962A charger assembly in your new design, ensure all parts are fully assembled. It is still considered experimental as it does not yet have a production-ready prototype status. This proof-of-concept model serves only to test specific aspects of a full-fledged concept. Now let's dive into the step-by-step instructions below: Installing the Single Battery and Charger Locate the spot in your case where you want to attach the spring that connects to the 03962A charger. Carefully align the edge of your housing over the area reserved for it. Press firmly down, using a moderate amount of pressure so the clip secures properly. Make sure no screws get caught when sliding this part in and adjust accordingly
With this file you will be able to print 18650 charger with your 3D printer. Click on the button and save the file on your computer to work, edit or customize your design. You can also find more 3D designs for printers on 18650 charger.