120 film scanner adapter (for Nikon cameras)
prusaprinters
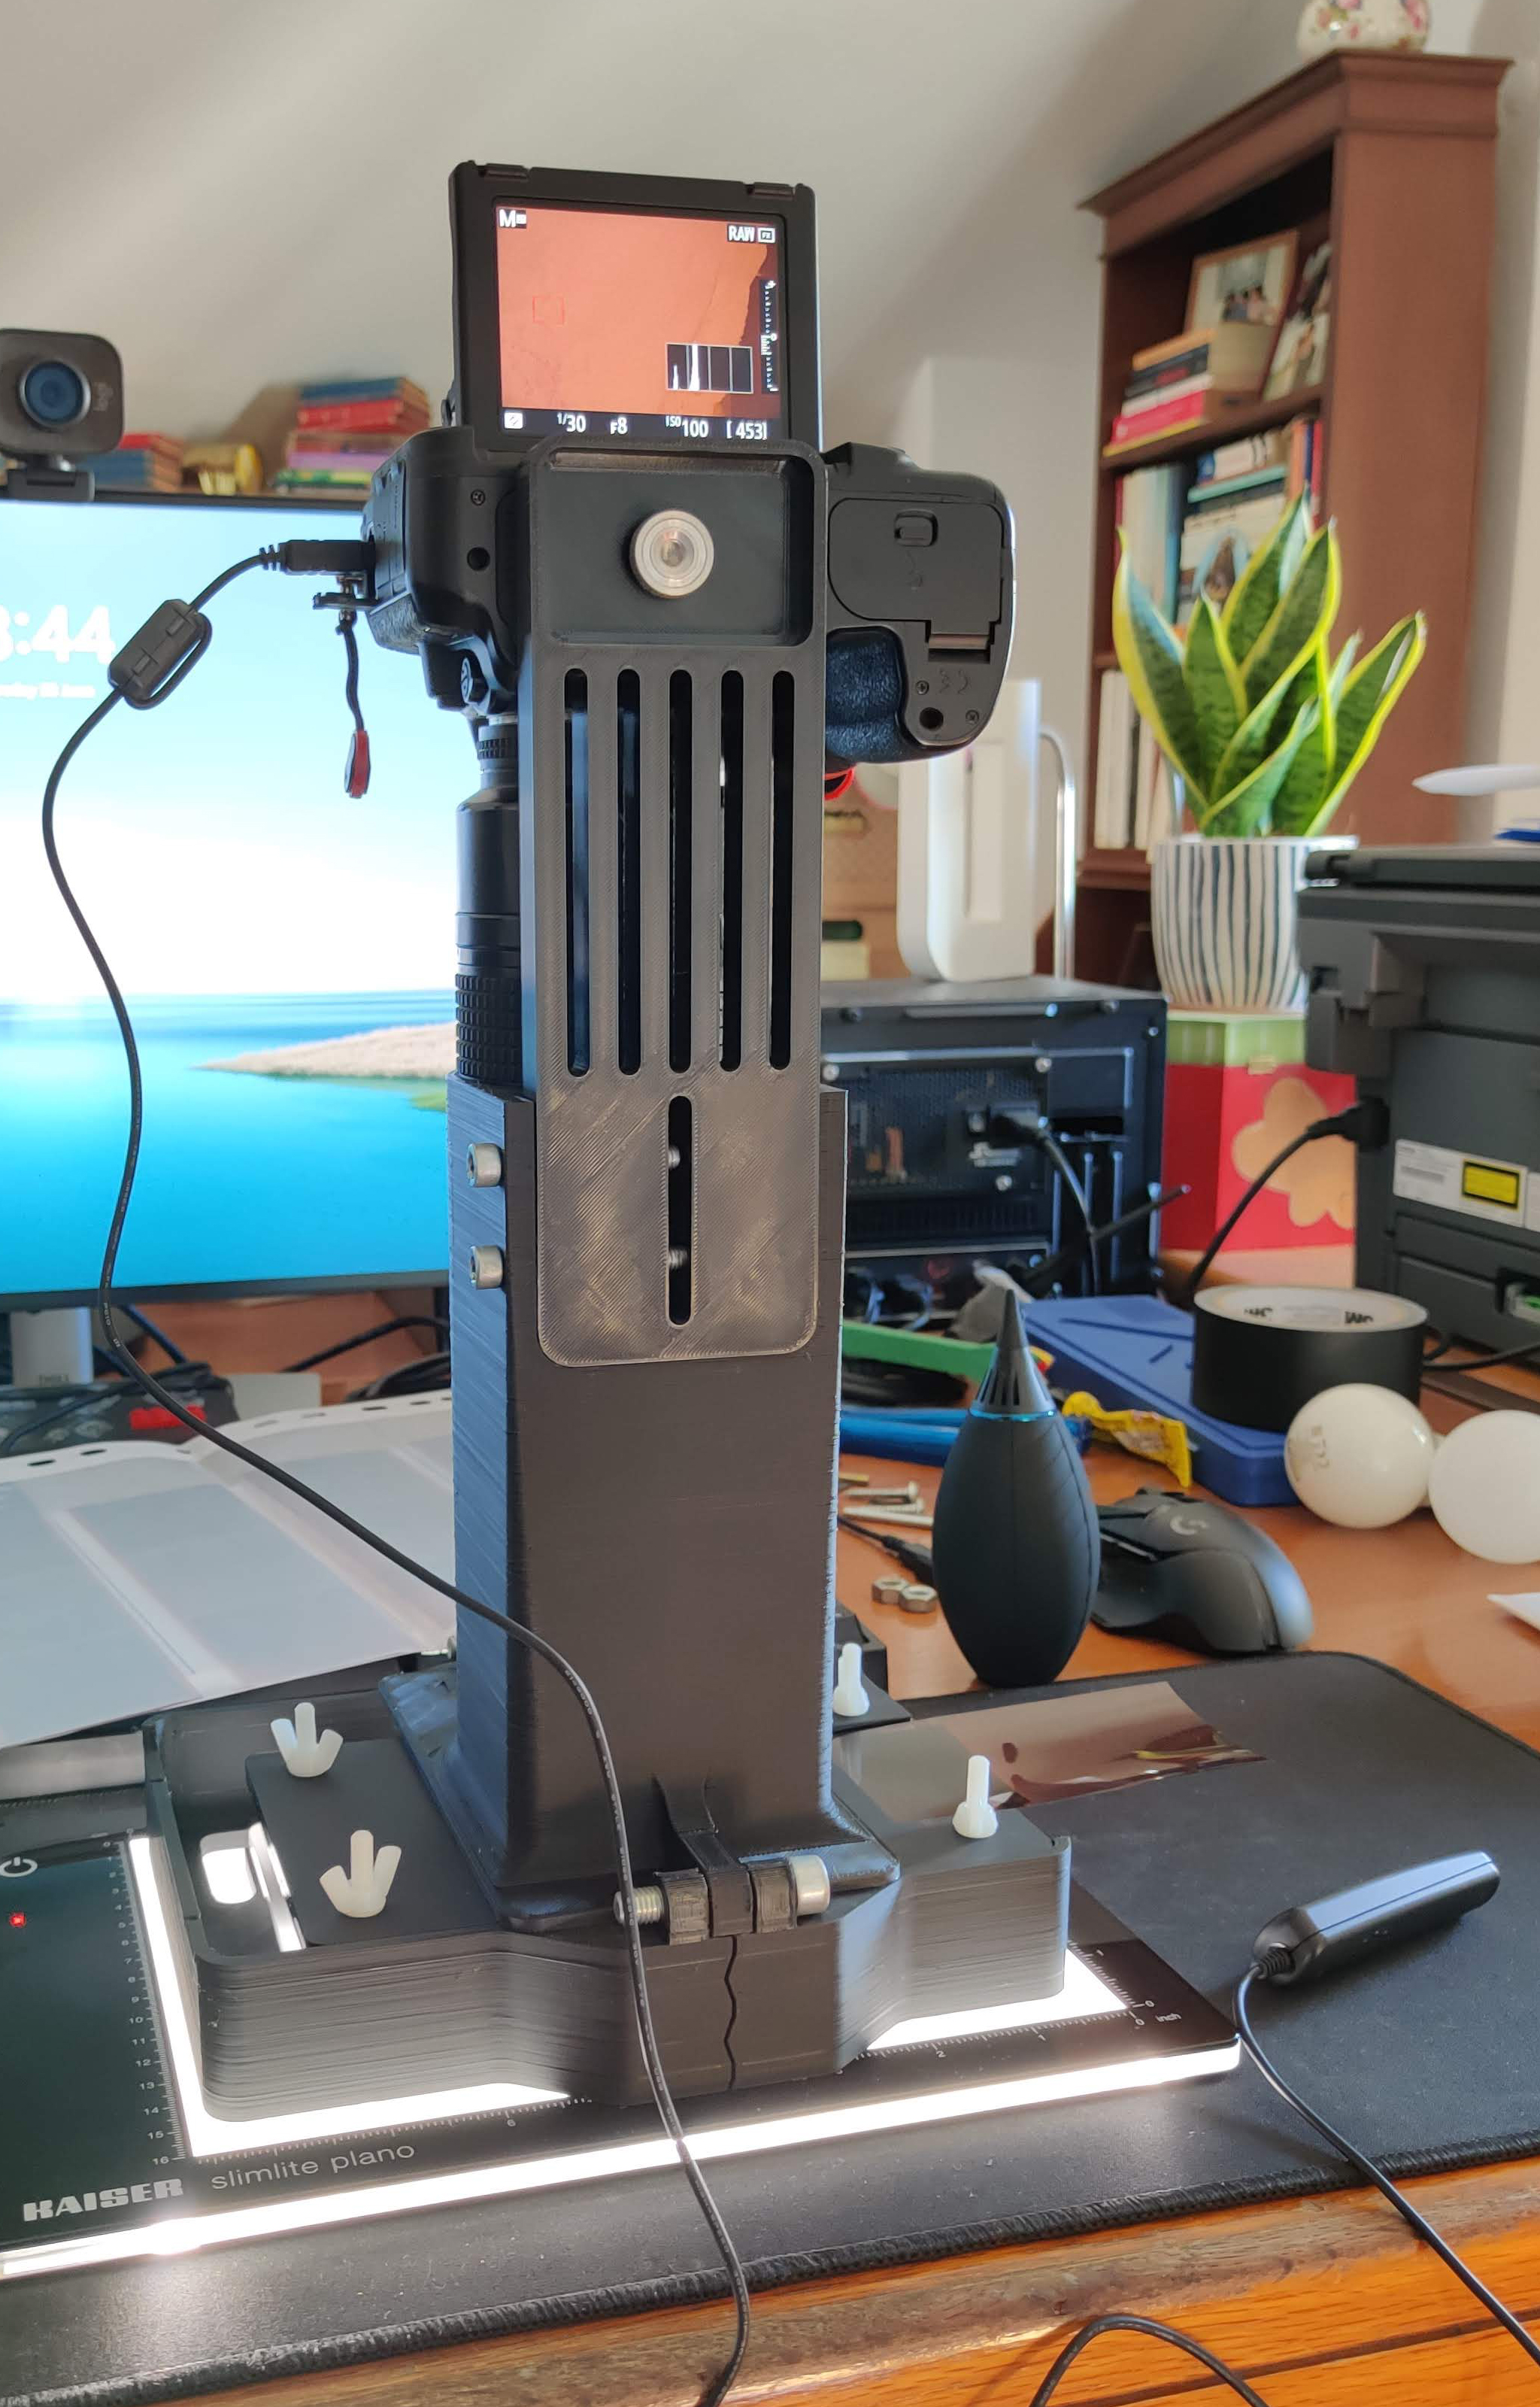
<h4><i>Intro</i></h4><p>This is a three-piece film scanner adapter for 120 film (6x6 only), for use with the Essential Film Holder (with its parts reorganized in order to have the necessary height to fit in - 32mm from the bottom of the feet to the top of the top plate) and a Nikon camera (or otherwise) with the Nikon 105mm f2.8 AF-D macro lens. Even though the structure is designed for this lens and for this specific 120 film size, the operating principle is simple and can easily be adapted to fit other 120 film sizes and other lens' setups - from different brands, even. The description below refers to colors present in the renders.</p><p> </p><h4><i>Detailed description</i></h4><p>The white tube provides the necessary height from the film plane and has the shape to accommodate the lens, while the green part (the camera base plate) provides the support for the scanning camera and allows for its proper alignment; the camera is kept fixed by both fitting into the white tube and then resting it on the base plate and screwing it in place with a 3/8'' screw, commonly found on tripod base plates. This base plate is a separate part both because printing it together with the white tube would make the whole thing too tall and also because it allows for more flexibility in case the camera used for scanning is changed.</p><p>The aforementioned setup then rests on top of a (blue) frame that, for the present case (120 film, 6x6), has the necessary dimensions to move the Essential Film Holder using the U-shaped cutouts so that multiples pictures of the film negative can be taken and then stitched together using any program that can stitch panoramas (refer to the video to see an example of the motion). This setup was designed for taking six pictures per photo negative, divided in two rows (top and bottom) so that there is some overlap that will make it easier for panorama-stitching algorithms to work (and work quickly) - hence the small groove on the sides of the blue frame. All parts can be kept joined by either appropriately-sized dowel pins or by using appropriately-sized screws (hex socket head M6 screws for connecting the base plate to the tube and hex socket head M8 screws for connecting the tube to the frame; the former do not need to be hex socket head, nor even screws, but the latter do need to be hex socket head due to the dimensions of where they will fit). They are oversized in order to facilitate assembly by hand. Nuts may or may not be used to keep the screws in place but given the range and speed of motions when using this scanner adapter, they are not strictly necessary in order to keep the parts from moving out of place.</p><figure class="image image-style-align-center"><img src="https://media.printables.com/media/prints/231053/rich_content/cc5d020c-a09e-47e1-93f3-4adff2c43162/ngs_120_frame_top.jpg#%7B%22uuid%22%3A%22f66cfd26-b85f-46f6-b854-7f48afa9a720%22%2C%22w%22%3A1167%2C%22h%22%3A1001%7D"></figure><p><i>The motion of the Essential Film Holder is represented by the blue arrow; it can follow any direction depending on which corner of the negative frame one starts scanning from.</i></p><figure class="media"><oembed url="https://youtu.be/DjDHHPPQExo"></oembed></figure><p><i>The setup present in the video is an older version (note the presence of white stains from superglue - the tube started peeling of from its base mid-print). The operating principle is exactly the same in the present version.</i></p><p> </p><p>Even though the white tube provides the necessary height from the film plane, that height is not the precise one; it is approximate, both by design and by necessity. By necessity because it is difficult to get an accurate measurement from the camera's sensor plane to the tip of the lens (in the order of the tenths of a millimeter or less); and by design because the goal is not to use the full 1:1 magnification of the lens when scanning film - it is usually between 1:1 and 1:1.1, which makes little difference but allows one to better frame the negative and still capture a bit of the film borders, which is necessary when setting white balance before inverting the colors.</p><p>As it stands, the provided STEP files are both good for printing the parts in one piece each or printing the case in two halves (which I had to do since the printer I used could not print the case in one piece) - they are named appropriately and are only in STL format, unlike the other parts which are also in STEP format. They have printing tolerances included that can be altered or brought back to their original sizes simply by rounding the dimensions to the closest integer. They should also allow for the modifications hinted above: for a different lens, for a different size with 120 film, etc. depending on one's needs.</p>
With this file you will be able to print 120 film scanner adapter (for Nikon cameras) with your 3D printer. Click on the button and save the file on your computer to work, edit or customize your design. You can also find more 3D designs for printers on 120 film scanner adapter (for Nikon cameras).
