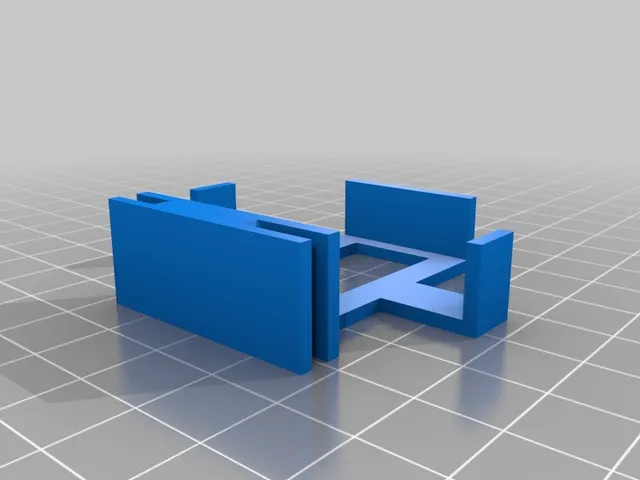
101Hero Controller Mount
prusaprinters
I took the top mount and made some adjustments for a sturdier fit. Inside the notched end is 20mm to prevent the bracket from sliding Two corners of the inner fill are curved so the bracket rotates in and locks. Print two of these to securely mount the controller box to any of the towers. Note: The bracket will only turn clockwise. For the bottom bracket, the fingers of the bracket should be facing 9 o'clock. For the top bracket, the fingers should be facing 3 o'clock. Version 2 has thicker sides to help prevent breaking if control box is bumped hard. Print Settings Printer: 101Hero Rafts: No Supports: No Resolution: 0.18mm Infill: 20% Post-Printing Installation Hold bracket sideways and insert into the opening of the tower fitting the legs of the bracket around the tower wall. Insert the bottom bracket in the lower tower slot, slide down and rest the controller box in the bracket with the power switch facing up. Insert the top bracket in the upper tower slot, rotate it and slide it down to rest on top of the controller. Note: The bracket will only turn clockwise. For the bottom bracket, the fingers of the bracket should be facing 9 o'clock. For the top bracket, the fingers should be facing 3 o'clock. Category: 3D Printer Accessories
With this file you will be able to print 101Hero Controller Mount with your 3D printer. Click on the button and save the file on your computer to work, edit or customize your design. You can also find more 3D designs for printers on 101Hero Controller Mount.
