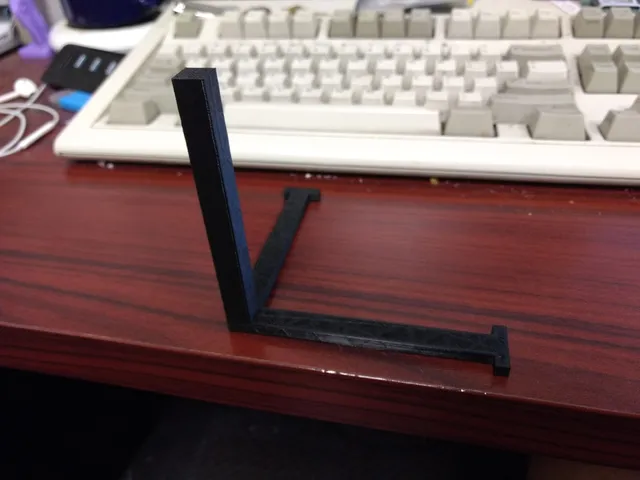
100mm Calibration Axes
prusaprinters
I moved the stops on the ends of the X- and Y-axes further out so that you take all measurements with the depth stick (?) on your calipers. This removes extrusion thickness as a source of error for X and Y. I also extended the Z-axis out to 100 mm for consistency. I printed this at 0.1 mm with a 0.2 mm first layer; 0.2 mm all around probably would've worked just as well, or any other combination of layer height (z) and first-layer height (zf) such that n*z+zf=100 for some integer value of n. I initially measured this with the model still on the printbed. To use, get your current step settings from your firmware. For each axis, multiply the current setting by 100 and divide by the measured length to get your new step setting. Print Settings Printer: Anet A8 Rafts: No Supports: No Resolution: 0.1 mm Infill: 10% Notes: 1 perimeter, 2 top and bottom layers if printing at 0.1 mm resolution. 1 top and bottom should be sufficient at 0.2 mm. Category: 3D Printing Tests
With this file you will be able to print 100mm Calibration Axes with your 3D printer. Click on the button and save the file on your computer to work, edit or customize your design. You can also find more 3D designs for printers on 100mm Calibration Axes.
