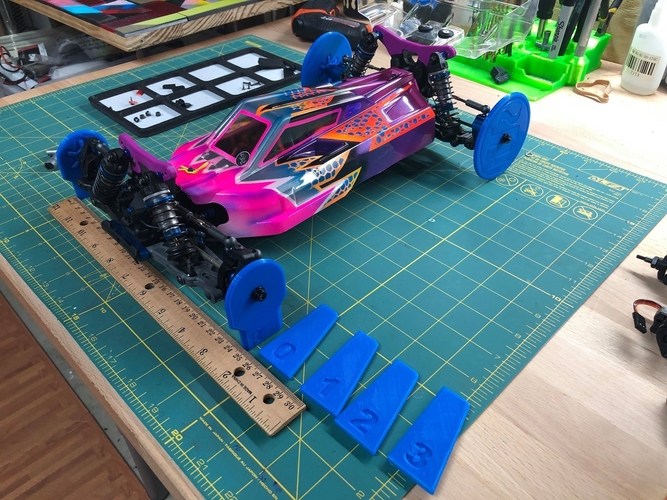
1/10 Scale Toe and Camber Setup Tools
pinshape
Designed with B6.1 and B64D \n\n This concept applies to any R/C car. For precise numbers on another vehicle, set toe and camber to zero as a starting point. The hole diameter in the disks is Front 4.2mm Rear 5.2mm. To use this setup station, a metric ruler is recommended. Rear disks are roughly the size of a stock tire; however, it's best to include them for a rigid setup that won't alter suspension compression. 1) Attach round rear disks onto axles flush with hex bolts. 2) Use a 0 Camber gauge and adjust disks to zero camber. 3) Align the front disk tip on the left with the 0 mark on your ruler, then start adjusting. Once you have about 170mm on both the front and back of the disk, you're at "0" toe. 4) Verify that camber remains unchanged. 5) When you think you've reached zero, lift the car and set it down gently; let it settle naturally before re-checking your measurement. 6) Now, use a 0, 1, 2 or 3 degree tool to set camber and verify front and back measurements remain consistent.
With this file you will be able to print 1/10 Scale Toe and Camber Setup Tools with your 3D printer. Click on the button and save the file on your computer to work, edit or customize your design. You can also find more 3D designs for printers on 1/10 Scale Toe and Camber Setup Tools.
