 cults3d
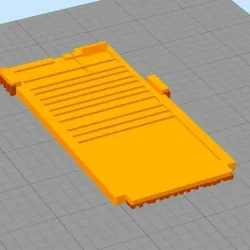
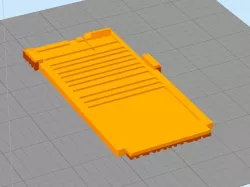
TAMIYA Grasshopper and Hornet battery cover.
A accurate model of the infamous battery cover on the Tamiya Grasshopper and Hornet. I ...
cults3d
A accurate model of the infamous battery cover on the Tamiya Grasshopper and Hornet. I ...
 thingiverse
A accurate model of the infamous battery cover on the Tamiya Grasshopper and Hornet. I ...
 thingiverse
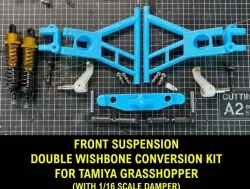
**** Last update (2020.12.05) **** 1.added all-in-one STL file : gh_F_Sus_All_201205...
 cults3d
**** Last update (2020.12.05) **** 1.added all-in-one STL file : gh_F_Sus_All_201205.s...
 cults3d
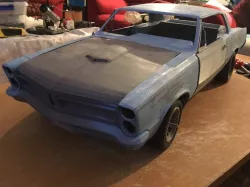
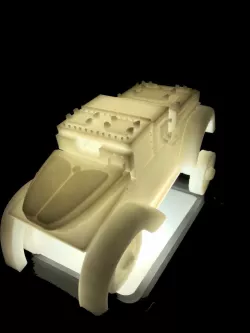
This is a 1/8 scale rc pontiac gto 1965 with custom chassis you will need a large print...
 thingiverse
#StuG BuG ##This is What You Get When You Combine a Popular Automobile with a German...
 cults3d
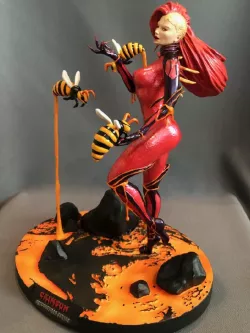
Crimson Diorama Model Kit Information From Pseudoverse Creations For AFM (Inc. Indigo a...