sram x01 eagle derailleur 12 speed 3d models
239401 3d models found related to sram x01 eagle derailleur 12 speed.
prusaprinters
Found no solution yetThis is the board the original creator is using:ASUS AT4NM10T-I – https://s.click.aliexpress.com/e/_9H6p2pIntel Atom D425 - 1 Core / 2 Threads @ 1,80Ghz And while it is very cheap, if you plan on using a Web-UI like...
cults3d
** 2022/02/12 ** Added new hitch mount. Reverses the screw and ball mount inline with the rear bumper. Remove frame-to-axle-backing. Under more than 15lbs pressure, it would separate. Will have to redo this concept. Do not use at this time. Added...
prusaprinters
4k7 Resistor pulls up the DQ pin to 5V. [4k7 Ohm resistor] x 1 [400 Ohm resistor] x 1 10.[1k resistor] x 1 11.[100 Ohm resistor] x 3 12.On/off switch:...
thingiverse
To achieve the wow effect, you need to place an LED strip on the back of the decor. My some other things: <a title="Cap.Am. ...Wall Decor" href="https://www.thingiverse.com/thing:5195100" target="_blank"> ...
thingiverse
12) Fit the two Clip Retention pieces together and fit the spring in the bottom of the tab itself. Slide it in and use one (1) M2.6 x 16mm Pan Head Screw to attach i. 13) Slide the Cam arm in its place in the Clipwell. 14) Take the bungee cord and...
thingiverse
[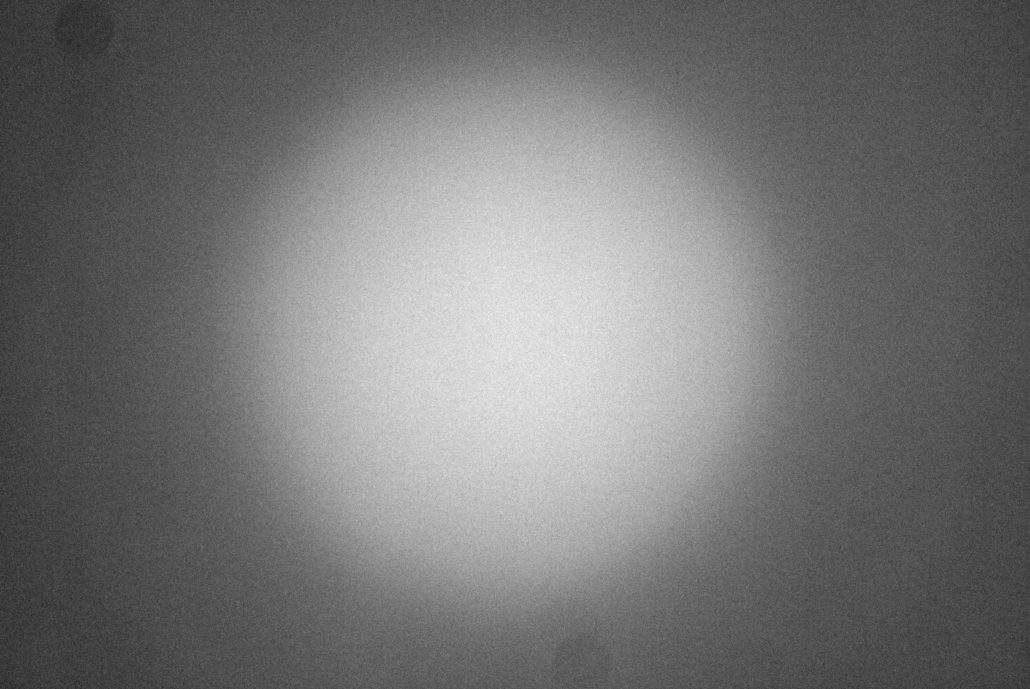](https://www.sternwarte-hoefingen.de/wp-content/uploads/2022/01/2021-10-09-flatfield-vignette.jpg)Beispiel Vignettierung unserer...
prusaprinters
This is not me just punching holes for the fun of it, I was trying to give the user of this design the flexibility to use any bolt pattern they want. Any new skills you have given to Chip-E: I gave Chip-E the ability to be expandable and modifiable...
prusaprinters
... you have enough colours in your filament stash) - Print the hubs and fit the insulators from behind BEFORE fitting them to the wheels. These are MUCH nicer than my painted version. REALLY IMPORTANTHave fun!
thingiverse
To achieve the wow effect, you need to place an LED strip on the back of the decor. My some other things: <a title="Cap.Am. ...Wall Decor" href="https://www.thingiverse.com/thing:5195100" target="_blank"> ...
prusaprinters
You can try other types of ilder bearings, but these still moved freely even after tightening the M5 screws tight.For the electronics, I am using a MKS Gen 1.4 board with DRV8825 drivers and a spare Meanwell NES-350-12 P/S which is overkill for this...
prusaprinters
I've made 10 or 12 different cases that fit different Raspberry Pi hardware configurations. I've dialed in tolerances and rethought various different design details. And each time I've figured out a new way to do things, I've gone back to the...
prusaprinters
I also recommend doing this always the same if you build multiple units to be able to use any solar panel with any unit.Reassemble the housing of the male side of the plug.Add silicon sealant to the border of the solar panel housing around the solar...
thingiverse
Print the following number of each: 37 - Lid-diffuser.STL 37 - LED Mount.STL 36 - Scaffolding.STL 1 - Scaffolding - Arduino Housing.STL 10 - Sleeve1-Bottom & Sides.STL 7 - Sleeve2-Top with Light.STL 12 - Sleeve3-Vertical Middle.STL 7 -...
prusaprinters
Cut off one/both of the fins and super glue it in the rear panel after test fitting)12 AWG cable for extending PSU wire to the rear mounted switch. The stock wire is most likely not long enoughSpade connectors and crimping tool for the connections...
cults3d
UPDATE 12/31/2021 See this Thing https://www.thingiverse.com/thing:5180473 for a Control Box Mod allowing for easy Nose removal/installation. UPDATE 1/14/2020 Changed the Y Tensioner Pulley Bracket from a 3mm shaft to a 5mm shaft to accommodate a...
thingiverse
😊 /******/gliedernindustrie.de P.S.12 I hope these spins meet your expectations! If you need any adjustments or if there's anything else I can help with, please don't hesitate to ask. 😊 /***/gliedernindustrie.de /***/gliedernindustrie.de...
thingiverse
Put a bit of CA on the knot - Kevlar likes to unravel normal knots.Give yourself at least 12 inches of Kevlar, add a foot of elastic for shock cord, thread it through the main tube and out the top. Tie the elastic onto the chute and a string to the...
prusaprinters
Faster than 5 or 6 rpm may be to fast. 8) Yeelight Smart Bulb (https://rb.gy/vb2lme) - you can use any smart lightbulb that is compatible with IFTTT, just make sure it has similar dimensions as the Yeelight. 9) M3 Threaded Rod and Cap Nuts...
thingiverse
##### Update 12: I recently purchased an Industar-23 110mm f/4.5 lens for use with this camera, so I modified the mount again. Version 18 is much longer, and has a smaller opening in the front. ##### Update 13: Added the cutouts for the...
prusaprinters
The hubs can be reused!Filament usageFor a spool with 80 mm axle diameter, structural size of 8 mm, printed with 15% infill, no rafts and no supports:Hub:23 gSpoke:9 gLabel:12 g Total for spool with two hubs with standoff, three spokes and...
prusaprinters
To help you pick the right files I used the following naming scheme:FunctionBottom = bottom partTop = top partDesignsBase = base design without ventilation holesHex = hexagonally shaped ventilation holesLogo = raspberry logo as ventilation holesSlots...
prusaprinters
Small, Medium and Large Tulip Vases showing.Cheers. UpdatesApril 12 - Thicker plates (v1); thicker custom platesApril 22- Wall mounted is reservoir compatible, slotted holes for easy levelling. We need more plants !Plants decrease...
prusaprinters
Personally I'm going to use soft wheels (maybe pneumatic) and hope for the best.Time: With over 12 days of print time alone, this is far more time consuming than buying a deck and enclosure. I had free time to print in the background while working so...
thingiverse
To achieve the wow effect, you need to place an LED strip on the back of the decor. My some other things: <a title="Cap.Am. ...Wall Decor" href="https://www.thingiverse.com/thing:5195100" target="_blank"> ...
cults3d
IF YOU ARE HAPPY WITH THAT, A LITTLE DONATION WILL BE VERY NICE <3https://www.paypal.com/donate/?hosted_button_id=5F525DYM8GXK4 If you want to do a remix or changes to the design, you can get the Fusion 360 and STEP file here:...
prusaprinters
My connection schema on the d-subs was this: Pins 1-4: x motor Pins 5-8: y motor Pins 9-12: first z motor Pins 13-16: second z motor Pins 17-18: extruder fan. Note that this connection runs to the power supply, not the motherboard. Pin 19: Not...
thingiverse
12. Optional: Print two NPC Token Dividers to help organize the NPCs on Layer 2. 13. Place the 3rd Layer of the standard insert into the box. I put the “heavy side” where the booklets and board tiles will go over the tokens side of the 2nd layer...
thingiverse
As for other thicknesses of spacers; 1/2" (12.7mm) works with the stock bolts and I have heard 5/8" (15.87mm) would as well but have not confirmed. Bolts needed for subframe spacers (I recommend either class 8.8 or 10.9 Zinc plated bolts)**ONLY...
thingiverse
To achieve the wow effect, you need to place an LED strip on the back of the decor. My some other things: <a title="Cap.Am. ...Wall Decor" href="https://www.thingiverse.com/thing:5195100" target="_blank"> ...
prusaprinters
In total the clock plate will be 2600x600mm in size. The Shelf/Time format will be "14:13:12" and takes 67 segments in total. I also plan to use an ESP32 instead of an Arduino to run a server and get network time. My first contribution to the nice...