plastic tube extrusion machine 3d models
328435 3d models found related to plastic tube extrusion machine.
prusaprinters
With external markings and without.Stand up your Space Port before it's too late!Designed on Tinkercad.Enjoy!~~~~~~~~~~~~~~~~~~~~~~~~~~~~~~~~~~~~~~~~~~~~~~~~~~~~~~~~~~~~~~~~~~~~~~~~~~~~~~~~~~~~~~~~~~~~~~~~~More fun stuff:Construction:Building under...
prusaprinters
Avoid lifting and warped prints!Print all three parts (body, treads, roof option.)Superglue the treads to the body.Choose the roof option and glue, or leave it free and swap it out as needed!Superglue works best for gluing it together.It will scale...
prusaprinters
It looks better when printed at that size.Print out and assemble with superglue.Enjoy!~~~~~~~~~~~~~~~~~~~~~~~~~~~~~~~~~~~~~~~~~~~~~~~~~~~~~~~~~~~~~~~~~~~~~~~~~~~~~~~~~~~~~~~~~~~~~~~~~More fun stuff:Construction:Building under construction Part 1 -...
prusaprinters
Now you can print them out and use them for your nefarious purposes as you travel the far and vast star systems.The Original Galindos - https://www.printables.com/model/143724-galindos-robot-model-science-fiction Galindos Evolved -...
prusaprinters
Violence is never more than a heartbeat away.Use those guns! Deliver your cargo!Stay in the fight!Nothing to glue.Stand up your Space Port before it's too late!Designed on...
prusaprinters
Worlds are waiting. Designed on Tinkercad.Enforced supports are required on overhangs and the main bodies (see 3mf files).The main bodies can be glued together to create longer Cargo Pods.Super glue everything together.Start shipping cargo; the...
prusaprinters
Operated with a driver or remotely/programmatically with an AI, much of the work performed in the Space Port can be automated.Reducing risk.Eliminating squishy biological beings.Increasing efficiency and profits!Upscale your space port, eliminate...
prusaprinters
It's yours to make!).Stand up your Space Port before it's too late! More Space Port!Space Port - https://www.printables.com/model/205432-space-port-terrain Space Port Living Quarters -...
prusaprinters
It's yours to make!).Stand up your Space Port before it's too late! More Space Port!Space Port - https://www.printables.com/model/205432-space-port-terrain Space Port Living Quarters -...
prusaprinters
You could conceivably do point-to-point wiring and skip the breadboard, however I think it results in a cleaner layout which is less prone to errors.Lighting Control Code and Button Functionality Arduino code to run on the Adafruit trinket M0 can be...
prusaprinters
Just to make it easier finding it all in one place.No support required.Diesel Generator you will need to superglue the bottom frame (very simple)Designed on...
prusaprinters
(That's something else, sorry.)Designed on Tinkercad.Enjoy!~~~~~~~~~~~~~~~~~~~~~~~~~~~~~~~~~~~~~~~~~~~~~~~~~~~~~~~~~~~~~~~~~~~~~~~~~~~~~~~~~~~~~~~~~~~~~~~~~More fun stuff:Construction:Building under construction Part 1 -...
prusaprinters
The heater cartridge should be the closest to the front of the carriage and the thermocouple towards the blower fan.Then cut a 12.75 mm long PTFE tube using the printed jig, the PTFE should have an inner diameter of 2 mm and outer diameter of 4 mm...
sketchfab
However, as technology continues to advance at an exponential rate, we must also consider the potential risks and consequences of relying too heavily on machines. What if they become so intelligent that they surpass us, making us obsolete? The...
prusaprinters
As you may know, a B1 is too tall to fit in the Prusa designed IKEA Lack enclosure (version 1) and their version 2 (which needs more height / headroom because of their multi-material add-on) costs a whopping 200 hours of print time because they...
thingiverse
As you may know, a B1 is too tall to fit in the Prusa designed IKEA Lack enclosure (version 1) and their version 2 (which needs more height / headroom because of their multi-material add-on) costs a whopping 200 hours of print time because they...
prusaprinters
Be careful not to damage the input jack for the power connector. Your'e done Step 10 Insert the the window, followed by the plastic frame with the knobs and then mount the controller board. Use the orignal screws.Connect the wire for the input jacks...
cults3d
Printing a big track could take many many plastic (various KG) and hundreds of hours of 3D printing, so this InfraRed lane-changer system in combination with your old black track parts could be the most economically interesting solution from my...
cults3d
Remember to glue the clipper spring to its "plastic screw" with a little of ciano before assembling if you don't want to disassemble the controller soon. Now that some things seems to work, with the Controller connected to the PC, open the Serial...
thingiverse
One person should push the magnet out by using a plastic bolt or similar tool while the other person simultaneously pulls the magnet out so when it is freed it doesn't fall and get broken or get stuck to the Outer Mandhala when it comes loose.``...
prusaprinters
Lesson Plan and Activity:You and your partner should develop an agreed-upon plan for your figure:Each person will make a single front view sketch of your piece at 2x scale so that dimensions can be clearly labeled. Start with your constraint...
prusaprinters
Move to step 3!If the bolt does not fit into the cloud properly:Sand down (using sandpaper) or scrape off (using a cutting tool) the sharp edges at the top of the bolt and/or any excess plastic on the inside of the large rectangular intrusion at the...
thingiverse
Remember 2 adjustments to make after mounting the guides: • Add if you need 1 or 2 plastic rings or washers under the X axis limit switch, check if it is almost in the center with the stock metal trolley for the 0 distance detection, for the Z axis...
thingiverse
1.25 USD)** - 2× Plastic handle for attaching the arm to the servo (included with the servo) - Drobné lineární [mikroservo](https://www.aliexpress.com/item/1005004339409489.html) **(cena cca 8.5 USD)** -...
grabcad
The introduction of additive manufacturing via the use of 3D Printing however, has presented a renewed need for such a tool, as manufacturing defects are much more severe than in conventional metal forming or plastic moulding creation techniques, and...
prusaprinters
I had to remove my Corona CR4SF receiver from its plastic case and put it in heatshrink to reduce its size quite significantly Ball Joint – This is for the steering coupling and is used between the servo arm and the servo saver. The part I used is a...
thingiverse
but do this outdoors because you are basically burning plastic and the fumes are anything but healthy, 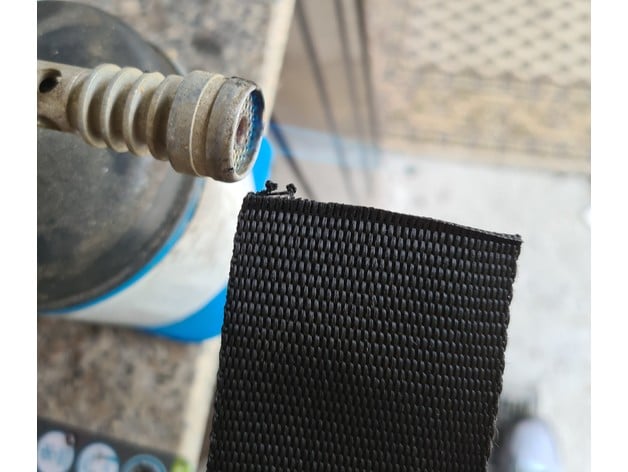 Now you can start...
grabcad
------------------------------------ ENGLISH ---------------------------------------------The guide was translated using google, I apologize in advance for any errorsTo conclude the set of linear guides on the X1, this time I propose some attachments...
prusaprinters
The robot has a ponderous gait. PrintingGenerally I use a 0.25mm layer height and put about 1mm of plastic on the outside surfaces as a shell. Since my printer has a 0.5mm nozzle I use 2 vertical shells and 4 horizontal top and...
myminifactory
Remember to glue the clipper spring to its "plastic screw" with a little of ciano before assembling if you don't want to disassemble the controller soon. Now that some things seems to work, with the Controller connected to the PC, open the Serial...