plastic laundry cart 3d models
125829 3d models found related to plastic laundry cart.
thingiverse
You may need to rotate the bolts so they cut a thread through the plastic. 17. Slide your PCB into place with the COM blade terminals closest to the motherboard. 18. Secure the PCB to the M3 bolts using the M3 washers and M3 nuts. 19. Step...
prusaprinters
The chin rest also of course requires supports to get that classic curve. General Materials Printed Parts - 8pcs your choice Threaded Metal Rod M8 x 370mm Violin Bridge - will need sanding like all bridges, but also flattening out of the feet Violin...
thingiverse
but do this outdoors because you are basically burning plastic and the fumes are anything but healthy, 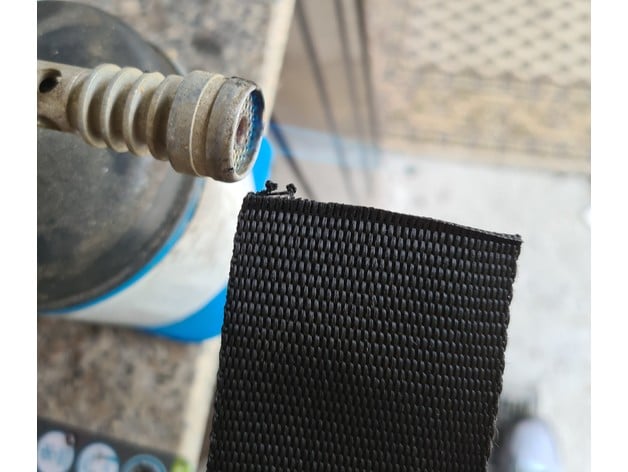 Now you can start...
prusaprinters
Also the length of the GU10 lamp has to be 53-54mm. Base top cover Neodymium Disc magnets 5mm x 1mm - 4pcs Screws for plastic 3x12 - 2pcs GU10 lampholder Base Scarab - 4pcs Cable with on/off switch Base plug Nylon cable ties - 1pc Superglue gel Sand...
prusaprinters
Together with some failed core prints (caused by a nasty hardware fault) you get a full size 7 digit template, which is far easier to print and also saves plastic as it uses the failed prints. :D</p> <p>Even without failed prints this template is a...
prusaprinters
Setting higher than 1.5 mm retraction values will cause molten plastic to be pulled into the hotend and thus very quick blockages. ...My favorite retraction tuning tool is: <a href="http://retractioncalibration.com">http://retractioncalibration.com</a>...
prusaprinters
The robot has a ponderous gait. PrintingGenerally I use a 0.25mm layer height and put about 1mm of plastic on the outside surfaces as a shell. Since my printer has a 0.5mm nozzle I use 2 vertical shells and 4 horizontal top and...
thingiverse
=========================================== On the first push block that I made (Trobinou's original design), the heat-set nuts were in deep wells and thus sometimes hard to get straight, causing the screw to approach them wrong and cross thread,...
cgtrader
1755 Material MAIN CATEGORIES Car Paint (71 + 71 materials) Ceramic (93 + 93 materials) Concrete (30 + 30 materials) Fabric: Canvas, Denim, Knitting, Linen, Silk, Terry, Tweed-Damask, Velvet (303 + 303 materials) Food (20 + 21 materials) Gemstone (39...
prusaprinters
but the label with time can slide, therefore the next step is important.Locking the containerThis step adds a security lock, so the label tag will not slide and the cover will for sure not open. My Workflow for drying seedsMy drying seeds...
cults3d
You can make the product on a 3D printer or cnc machine from plastic, glass, steel, clay and any materials. the model can also be made using cnc machine turning wood.Also the model can be executions in castings. If necessary, I can make injection...
prusaprinters
You have to scale the top and cone rocket parts to fit your bottle.2) A garbage bag or plastic foil or kite nylon to cut out a parachute of approx 80 cm diameter. How to make the parachute you can find here:...
thingiverse
Думаю такую вещи можно распечатать для своей девушки, жены тем самым показать что ваш 3Д принтер не стоит между вами, а наоборот помогает укрепить отношения :DFinished products - Готовые изделия: Creative Wall Mount Automatic Toothpaste Dispenser ...
prusaprinters
If you have to untwist any chains it is now easier to unloop the chain and leave the key ring on the plastic part when adjusting. The most tedious part is now over and you can finally assemble the actual basket. Take your threaded rod place the M10...
thingiverse
Pressing and holding the bulb piece will trigger the LEDs.When changing the battery, pull on the plastic battery holder, not the LED! Display StandUse two Proof Plate Peg pieces to connect the Proof Plate Stand to the Proof Plate. Use three Proof...
thingiverse
HDPE (the type of plastic used for these buckets) is very difficult to glue, we need all the help we can get. 1. Once the glue is cool, trim any excess glue inside the bucket lid and use your utility knife to make sure the inside of the bucket lid...
thingiverse
One is just an STL of a solid file of a standard brass fitting, and then two versions are a beefed up version that are more suitable for 3D printed plastic, including I narrowed the ID to 0.375" diameter . The UD (ultra deluxe) version has 1/8" holes...
prusaprinters
Use the following lineup: n-L-W-N-----N-W-L-n-----n-L-W-N-----N-W-L-n-----n-L-W-N-----N-W-L-nNote that the nuts marked “n” (the ones without washers) are used as bearings – to prevent the threaded rod from working its...
prusaprinters
You can actually drill out the holes a tiny bit, or do what I did and grind a small shoulder on to each ends of the rods, leaving the holes in the plastic alone. The issue here is that the linear bearings or frustratingly intolerant of even the...
thingiverse
Gears • use Alex's herringbone gears (see sources, Alex Extruder 1.75mm) Bits and adaptors • a handful of M3x10 bolts (one for each adapter) X-carriage • another handful of M3x20 bolts (no nuts, screw them directly to the plastic) • zip ties I'm...
thingiverse
Wire Soldering Iron Patience ...and maybe some tissues for the tears of frustration when you start trying to solder this thing together in the tiny little corners surrounded by melt-able plastic.... just kidding ...but seriously... the soldering on...
thingiverse
Together with some failed core prints (caused by a nasty hardware fault) you get a full size 7 digit template, which is far easier to print and also saves plastic as it uses the failed prints. :D Even without failed prints this template is a good...
prusaprinters
Many parts require holes to be tapped so a 2.5mm drill bit and M3 tap is required, these don't have to be expensive if you don't already have them as it's only for plastic. You will need 2x 20-tooth GT2 metal drive pulleys with (normally) 5mm bore to...
thingiverse
With the low thermal conductance of the plastic it is not needed to have an excessive airspeed. Further it is necessary for a long cooling time realized by a big area of airflow around the nozzle and also the right nozzle temperature. - Never the...
prusaprinters
If you filed any parts, it's probably a good idea to lightly wash them to remove any plastic dust. If you wish, it's also a good time to paint the bird logo as I did -- light blue on the 20210621 version.</p> <p>The Budgie parts need to be assembled...
prusaprinters
You can conveniently replace the latters by properly cutting Igus Iglidur 6x12 bushes as you can see in one of the attached pictures. But I realized that the bearings on the wheel axles were not as sliding as the plastic bushings. So, although the...
prusaprinters
Supplies Required: Beyond a 3d Printer and plastic for printing, the following is needed for installation: To attach the Scanguage-e to the bracket: #4 Screws, 24 TPI, 3/4 inch long (4X 24 3/4 inchÂ); Qty: 4 Avoid those design to be recessed. To...
prusaprinters
Remove the plastic heatbed and extruder cable clamps from the original Einsy enclosure base. <li><p>Unplug the various cables from the Einsy. They're all pre-labelled/unique, and the online assembly manual gives detailed instructions for...
prusaprinters
If you want your ERCF to sit as low as possible, there is a version that allows it to be installed on a K1 Max with no riser, but doing so will definitely cause loading issues, as the bend in the PTFE tube is too sharp and causes filament to get...
prusaprinters
If the LED is run directly off of USB, it will overheat and melt through the plastic.Wiring it up is fairly straightforward, but here is a schematic to help out:All the components can be directly soldered together. You can use the resistor leads to...