p75 b1 3d models
2152 3d models found related to p75 b1.
thingiverse
Before you tighten the fastening here, make sure that A1 is parallel to B1. You can give the string one or half a turn at point 7 so it only just sticks while you adjust. At this point you can already put a tealight in as its weight might change the...
thingiverse
-> Ender3V2-CableChain+FilamentGuide-V03.stl You also need barrel, axis/pin and clip: https://cdn.thingiverse.com/assets/fb/3d/aa/27/32/Solo_Barrel_v2.5.stl https://cdn.thingiverse.com/assets/bb/e1/57/62/86/Solo_Pin_v2.5.stl...
prusaprinters
There are five basic shapes (3 bigger and 2 smaller) in the back-mount version (A1, B1, C1, D1, E1) and same in the front-mount (A2, B2, C2, D2, E2) version.The back-mount versions have blind hole with a diameter of 3.5mm (use M4 bolt or 4-4.5mm...
prusaprinters
I also include the OpenScad file I used for embossing, in case somebody wants to adjust the labels.Print SettingsPrinter:Biqu B1 Rafts: NoSupports: Yes Resolution: 0.2mmInfill: 10%Filament: Fillamentum PLA Pearl Night...
thingiverse
To install the mod, follow these steps: Step 1: Attach the Belt Locker Plate to the mount using two M3 bolts (6mm or longer) through holes marked B1, ensuring hole H2 lines up with a remaining hole on the Belt Locker Plate. Step 2: Secure the mount...
thingiverse
Update August 2020 - Add PZEM-004T for energy measurement (Voltage, Current, Power) - Software update B1 Update July 2020 (working prototype): - PCB version 2.1 was introduced, It corrects a small mistake in PCB layout. For the ones that build v1.1 I...
prusaprinters
It is designed to the rail section is level. *These were modelled from a Tokyo Mauri Airsoft M733 Handguard, there may be slight differences with real steel* Print Settings Printer: Cetus 3D Mk2 Rafts: Yes Supports: Yes Resolution: 0.1mm Infill:...
thingiverse
Check out this photo here: https://www.thingiverse.com/make:753190 And my own photo is available here: https://cdn.thingiverse.com/assets/4f/4e/b1/a2/1b/IMG_20200512_144649_-_CR10s_pro_original_vs_upgraded.jpg You can see more details here:...
prusaprinters
... tube. Print Settings Printer Brand: Creality Printer: Ender 5 Rafts: No Supports: Yes Resolution: 200 Infill: 15 Filament: PLA Post-Printing How I Designed This =================== Custom Section This mesh need a modifier. Category: Pets
thingiverse
The Adaptor consists of two parts - the bulb holder (A), which uses two lengths of piano wire as springs and and the ends of two 20mm M3 pan head steel (or nickel-plated brass) bolts as contacts, is printed using high definition (0.1mm layers)...
thingiverse
I refer to the top tray as "A" and each slot as A1, A2, ..., the next tray is B1, B2, etc. PRINTING TIPS: • Place the z-seam at the bottom of the box and not at any sharp edge. The same goes for the trays: place the seam on the back. • Use a glass...
thingiverse
... https://youtu.be/uNqqN5Ao_hI https://youtu.be/-ZsXFX6hjXk https://youtu.be/L4IDmn3miE0 https://youtu.be/5WOnIP-qwVk https://youtu.be/RLnsV9CKTNU https://youtu.be/9w7k7XRm34Q https://youtu.be/uxLFw1A8tTA https://youtu.be/F1pj7ACaZ70
thingiverse
b1) "Case Bottom all holes" is an exercise in reducing filament usage. By packing holes into the part, the weight has dropped from 89g to 37g without a significant loss of strength. This has become my new default design to print. c) "Case...
cults3d
Print 1 each of A1,A2,B1 & B2 to make one bar. (or alternately print one A & one B if your printer can handle it). Glue the A & B together back to back. These are made to fit my TBH. (19 - 1/2" bar) ...
thingiverse
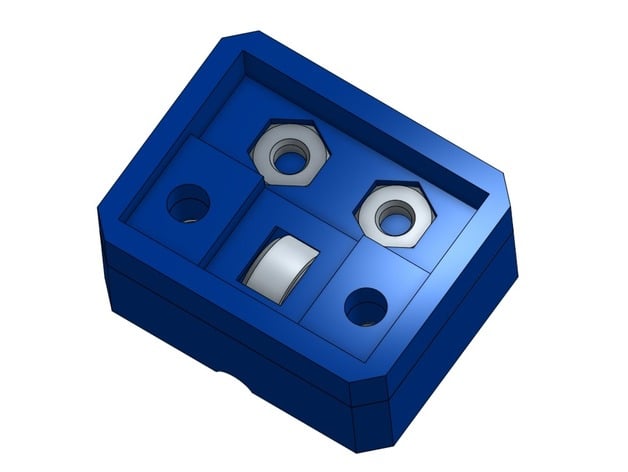
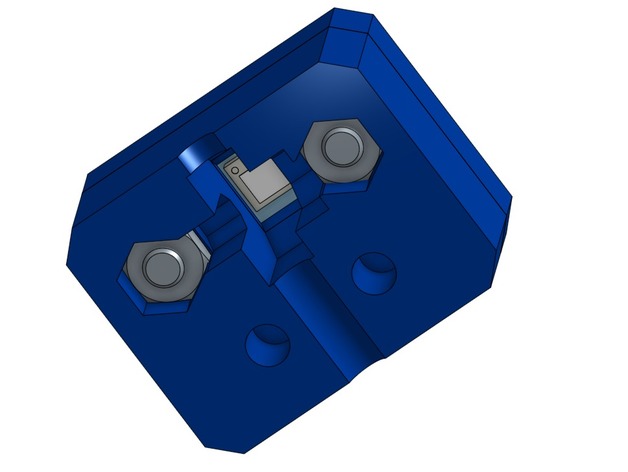
d) Loosen, but don't remove the two lower screws (B1 & B2 in the photo). e) Gently pull the top cover off (pieces may fall all over the place). It may resist separation because of the two metal spans of the top and bottom halves. They have 90...
thingiverse
Le couvercle fourni sur son make, avec mon imprimante, est trop petit c'est pourquoi vous trouverez ici un stl d'un couvercle alternatif (Lid B1 boite à carte). Il faut donc télécharger en plus "carte_SDA.stl" et les intercalaires...
thingiverse
  Secure both...
cults3d
Name material dimensions S1 1 stainless steel rod for propeller, steel, 1 x 20.6mm S2 1 stainless steel rod for motor, steel, 2x 48mm B1 1 brass tube, brass, 1/2 x 3.6mm B2 1 brass tube, brass, 1/2 x 6.2mm B3 1 brass tube, brass, 2/3 x 17mm B4 1...
thingiverse
It should fit perfectly on the Diana 25, Norinco B1 and B2, and Perfecta 32 air rifles, but be cautious of your optic's axis. The internal channel measures 6mm wide, ensuring you won't have to worry about baffle strikes. The design calls for...
cults3d
Name material dimensions S1 1 stainless steel rod for propeller, steel, 1 x 25mm S2 1 stainless steel rod for motor, steel, 2x 50mm B1 1 brass tube, brass, 1/2 x 4.5mm B2 1 brass tube, brass, 1/2 x 7.5mm B3 1 brass tube, brass, 2/3 x 17mm B4 1 brass...
cults3d
Name material dimensions S1 1 stainless steel rod for propeller, steel, 1 x 28mm S2 1 stainless steel rod for motor, steel, 2x 51mm B1 1 brass tube, brass, 1/2 x 4.8mm B2 1 brass tube, brass, 1/2 x 7.8mm B3 1 brass tube, brass, 2/3 x 17mm B4 1 brass...
thingiverse
Revision B1: (using yellow PLA prints) The small chess piece was printed at 200% scale using Slic3er, while the larger one was printed at 300%. My old Velleman K8200 3D printer handled the fine details of the smaller print surprisingly well. The...
thingiverse
... row 1: 1. If A1 is on, press B2. 2. If C1 is on, press D2. c. Switch off lights on row 2: 1. If D1 is on, press C2. 2. If B1 is on, press A2. d. Repeat steps a-c for rows 3-4. ... Other games to consider adding: * Whack-a-Mole * Super Simple Simon
prusaprinters
Now mount the new speaker on the adapter... Print Settings Printer Brand: Prusa Printer: Prusa Mk2 Rafts: No Supports: No Resolution: 0.2 Infill: 20% Post-Printing After print you need to drill out the 4mm holes that is used to hold the "new"...
prusaprinters
For this screw you will have to use the strain relief part as a drill guide to drill a 1/8" hole in the print carriage for it to pass through. For the heated bed strain relief system you will need: ► (3) M3 x 10 socket or button head screws ► (2) M3...
cgtrader
This highly detailed model includes all necessary parts such as: S1 - Stainless steel rod for propeller (2 x 78.6 mm) B1 - Brass tube (2/3 x 63 mm) B2 - Brass tube (3/4 x 41.7 mm) A motor with a diameter of 27.5mm is also required, along with an...
cults3d
I refer to herbert_b1 with his construction of a wall mount for Bosch eBike battery (PowerPack 500), see www.thingiverse.com/thing:3066794. Herbert has a window in his construction, which allows the view to the LED's of the charge level indicator of...
prusaprinters
Go from A1-A7, B1-B7 and so on. Then go from A8-G8 and finish off H8 with the end square that is secured with a M2.5 screwPlace the chess pieces on the board, and you're ready to start playing. ...You're now finished – good job! I also included a .step...
thingiverse
Very light, reliable, mount designed for the BIQU B1 Fusion file included for reference or modification if needed. Can use left, right or both fan ducts, just mirror in the slicer if you want the other side. Fan mounts and gantry mount still a work...
prusaprinters
Additonal settings are:A0, A2: Ironing recommendedB4: Vase mode, 0.1mm layer height, no bottom layers, no skirt, no brimAssemblyAll parts A0,…,A9 are glued together.Parts B0,B1,B2 are glued together. Parts B3,B5 are glued together. ...Parts B6,B7 are...