diy bottle jack press 3d models
151645 3d models found related to diy bottle jack press.
prusaprinters
Press down firmly to ensure it goes on properly. https://cdn.thingiverse.com/assets/f4/3c/ab/ab/4a/2021-03-12\_14.17.23.jpg https://cdn.thingiverse.com/assets/e7/e2/55/b5/57/2021-03-12\_14.23.27.jpg...
prusaprinters
Pay attention to polarity, they can be corrected later if needed.- Install optional nuts in drawer case (these are only used if you are installing a shorter drawer beneath this drawer case.- Install optional drawer stops by pressing them into place...
prusaprinters
Press firmly with screwdriver to ensure it is fully seated.Slide the Carriage Clamp Arm onto the front right arm of the Y carriage.Insert the M3 x 30 mm screw through the hole on the front clamp wing into the nut at the rear and tighten. Assemble the...
prusaprinters
Then, bend the shades and hold them together with the edge pressed to the table, and carefully push on the second bar from the TOP downwards. Don't get stressed, just keep the edges of the shades as flat to the table as you can with one hand and push...
prusaprinters
(you will have to cut it after casting) trace of silicone on the outer side of one of the flanges of one of the mold pieces.Take another mold piece and press the matching flange on the flange you just pasted with silicone. Align the flanges carefully...
prusaprinters
Press it slowly then once it's almost fully in, turn the carriage around so it's standing up and then press down the whole carriage for 10 seconds on a flat high temp resistant surface. The backside of the QIDI bed plate is perfect for...
thingiverse
You should add glue, use the 4mm CF tube to hold into place, while looking down fuse 3, press it into place while parallel; hold until it doesn’t move. With CF it should take a few seconds. Not parallel to top of fuse3 Parallel to fuse3 •...
prusaprinters
BLTouch (v3.1) install on a Sidewinder X2There isn’t a lot of published information on whether or not this will work. I’m accustomed to doing things both wrong and the hard way, so after the probe broke on my X2 I decided it was time to...
prusaprinters
...After placing the source-spool firmly, release the wingnut (A), position and press the wheel to the spool and tie the wingnut (A). Test how well the spool turns, if it still runs to freely you can tighten up the screw/axis (B) to give more friction.
prusaprinters
See the Create your own section for more information about building a custom model.This project uses the the T-Nut mounting system created by @6d6178 to attach to the pegboard itself and uses BV3D's method to print indicators on the first layer in a...
thingiverse
It also serves to isolate the feet from the vertical rails which support the Z axis so that if one foot is pressed higher than the other, it distributes that unevenness across the bottom, rather than reefing up one corner of the printer and messing...
prusaprinters
They should be pressed to the pillars without loose, but allowing smooth movement through whole height of the frame.Take Z_motor_mount_L and put it into cut out place of the left pillar of the printer. It is designed to fill and fit the place,...
prusaprinters
If you can locate the file in both places, file from user profile is probably used. Add "-Wl,-u,vfprintf -lprintf_flt -lm" to "compiler.c.elf.flags=" before existing flag "-Wl,--gc-sections" For example: "compiler.c.elf.flags={compiler.warning_flags}...
thingiverse
If you need to change them to use extruder 2 on your printer, you can select them all by CTRL clicking each of them in the object list and then set them all at once to use extruder 2 by pressing CTRL/2. Change any settings you want in your print...
thingiverse
If the screws are not seated properly into the depressed cavities before pressing the drive onto the x-axis plate, your Mosquito will not sit flush against the Blood Drive and/or you will strip the Mosquito's threads. As this is a depressed fit...
prusaprinters
Press it slowly then once it's almost fully in, turn the carriage around so it's standing up and then press down the whole carriage for 10 seconds on a flat high temp resistant surface. The backside of the QIDI bed plate is perfect for...
prusaprinters
This is done by 4 screws from the bottom which press the rolls against the extrusion. This can be done by directly clamping both carriage parts together with the screws or using some spring loaded screws if you find some small springs (same concept...
prusaprinters
Press firmly with screwdriver to ensure it is fully seated.Slide the Carriage Clamp Arm onto the front right arm of the Y carriage.Insert the M3 x 30 mm screw through the hole on the front clamp wing into the nut at the rear and tighten. Assemble the...
prusaprinters
Any of the options on the market, or DIY versions were not what I wanted (different for different reasons)How it went?I started with a reaserch on how different people approached the build of this treadmill. I found that most of them were either tube...
cults3d
Here I let you the links to the tutos/vids I used to understand and build this radio: https://howtomechatronics.com/projects/diy-arduino-rc-transmitter/ https://www.anyonecanbuildrobots.com/post/getting-started-with-the-rf-nano...
myminifactory
Here I let you the links to the tutos/vids I used to understand and build this radio: - https://howtomechatronics.com/projects/diy-arduino-rc-transmitter/- https://www.anyonecanbuildrobots.com/post/getting-started-with-the-rf-nano-...
thingiverse
# RevB This is a DIY laser bed for K40 cutters and clones. 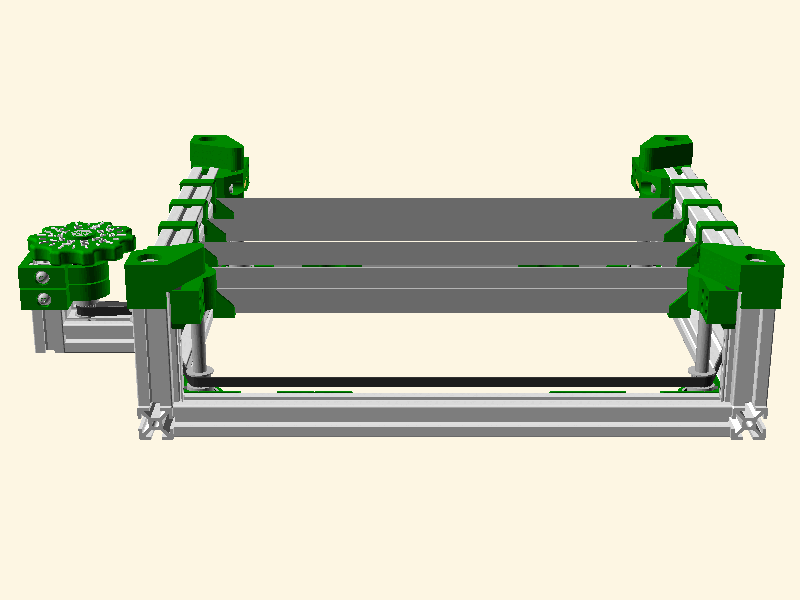 <span></span> --- ## Table of Contents 1. [DIYLB Top...
myminifactory
Kweld is by far the superior welder however you can DIY a spot welder with simply a high current car battery, starter relay and a handful of other parts. One thing to note is you should never connect the battery to the Onewheel if they are not at...
thingiverse
Material: ABS, 3mm thick Nozzle: arcol.hu hotend v4.1.1, 0.35mm diameter Printer: DIY Prusa I3-like denly built indeed built INDUSTRY ĩndeed built Industrie Industrie Industrie Industrie Industrie Industrie...
prusaprinters
I therefore have my own small bottle of IPA for smoothing PVB, where PVB may also be dissolved in the IPA.Now let the part dry for at least one day. There are several ways to help the IPA vapors escape from inside the part:</p><ul><li>Blow into the...
gambody
Who in one's right mind would change a bunch of favourite snacks for a bottle of bitter beer? The whole sculpting process took the 3D artist 150 hours in total to create the joyful superhero carrying all teenagers’ beloved treats. By the way, the...
cults3d
Attach a drive pulley, attach the idler arm, press a 608zz bearing onto it, and attach an m3 nut, m3 bolt with spring over it, and screw in the bowden coupler. In PETG the parts will stand up to having metal screwed into them quite well. Any holes...
prusaprinters
I believe they are tough enough to serve as a DIY option for someone who wants to try the instrument out. Another option is heat-seal bag material used by kitchen vacuum seal machines, which is what's pictured here. Roll out a thin string of...
thingiverse
I also added provisions for a diy 3mm shaft using 623 bearings) https://www.aliexpress.com/item/32714017489.html https://www.aliexpress.com/item/32528668718.html - Servo: 9g servo (important you will want to waterproof or find an alternate...
prusaprinters
Removed bar size measurements from the padding_and_bar_size.xlsx file and change its name to padding_size.xlsxUpdate 5 May 2022 (version 42): fixed and modified the behavior of the slide-in tab case additions to disconnect them from the Customizer...