bed remote caddy 3d models
145317 3d models found related to bed remote caddy.
prusaprinters
100% basically exclusively for speed benchies :)Klipper things:[bltouch]samples: 2speed: 8lift_speed: 20samples_tolerance: 0.015sample_retract_dist: 1.6samples_tolerance_retries: 4pin_move_time: 0.65stow_on_each_sample:...
prusaprinters
I find that functional prints like this are best produced hot and slow – I print at 45 mm/s at 245 °C nozzle and 80 °C bed temperature with eSUN PETG, on the Prusa textured PEI powder-coated spring steel sheet.Estimated print time with these settings...
prusaprinters
Last step is to divide it up to fit on your print bed and cut-out pin recesses.I print from there, and as i assemble, I tweak my model as needed to make it better for then next person who prints.Its good to remember that plastic is melt-able and easy...
prusaprinters
Depending on your print surface and your bed adhesion, you may want to put a raft (with a 5mm margin - no more is needed) under it. But I've printed ten of these, on glass, out of PLA, and only had one failure out of ten. </p><p> </p><p>The...
thingiverse
Since I have a textured print bed this fits perfectly together 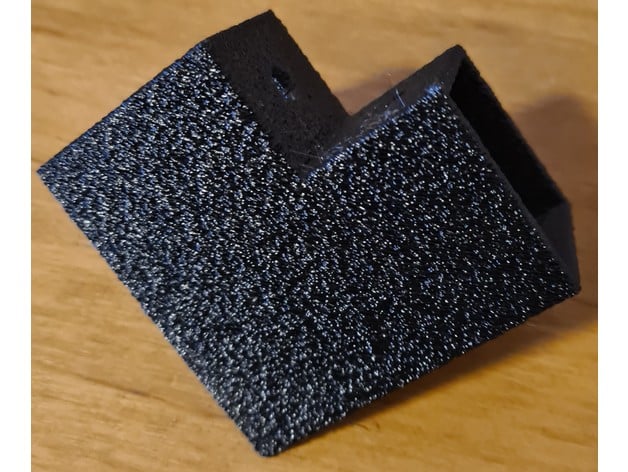 After all parts are printed and the wood is cut to length and...
prusaprinters
The overall size was optimized for efficient extrusion outlines (~.42mm), and to fit on a Prusa MK3 print bed (with a little finesse, two compartments can be printed at the same time.) The exterior faces can be customized with colors, textures, or...
thingiverse
For example, we split the thrust chamber into rings so that it would print without supports * For thrust chamber ring 1, make sure to turn off skirt loops in print settings so it will fit on the print bed. 2. Begin gluing thrust chamber sections...
cults3d
It was the bed height. The hotend tip on the AB toolhead is much higher than the stock hotend, which makes the X carriage having to be much lower than before. It almost hit the bottom limit - actually the X carriage end hit the Z stepper mount bar...
prusaprinters
It was the bed height. The hotend tip on the AB toolhead is much higher than the stock hotend, which makes the X carriage having to be much lower than before. It almost hit the bottom limit - actually the X carriage end hit the Z stepper mount bar...
prusaprinters
*I used brims on: - eye_right - eye_left - toe_nails - flame_yellow7 - When removing parts from the printer bed, it's a **VERY** good idea to place left/right parts into separate containers to help with the assembly process....
prusaprinters
Controlled by an Arduino Nano, the animations change with the printer during Idling, Heating, Auto-Bed Leveling, or an Active Print with no firmware modifications. </p><p>All with one 3-pin plug.</p><p>Video: </p><figure class="media"><oembed...
gambody
You can pay with PayPal or your credit card.Also, you may like another Transformers 3D models.________________________Here is the list of updated files:* 4_head_1.STL* 4_head_2.STL* 6_Shoulder_R.STL* 7_arm_L.STL* 7_axe_1.STL* 7_axe_2.STL*...
prusaprinters
The "Horizontal" version is designed to print horizontally on the printer bed and prints quick and easy and only needs a small number of supports. The "Vertical + Carbon Rod" version prints vertically. This makes it weaker so I have left a 2mm hole...
prusaprinters
Do not let your slicer place supports because the FDM files are properly prepared to not need any additional supports.If your slicer has a “print thin walls” setting (Cura has!) make sure it is enabled!Use a brim of at least 1.5cm on intake and...
prusaprinters
You might want to use glue stick to make sure the thin circle stays stuck to the bed.If you're on a Prusa machine using PrusaSlicer, check your skirt settings and make sure you've only got 1 layer of skirt. More than that will break your flow, since...
prusaprinters
Die Stromkabel an das MB an den Anschlüssen für das Heated Bed schrauben. (Richtung egal, es sei denn die LED soll leuchten) Die Kabel für den Thermistor an Temp 3 löten, oder über ein Lüfterstecker anbringen (die beiden äußeren der 3 pins verwenden....
prusaprinters
https://newdimension.company.site/Before we begin, I'd like to thank ktothestank for his 250mm Bridge Test Model which I used in these tests. Slicer: Cura 5.1.0Resolution: 0.2mmNozzle: 0.6mmPrinter: Creality Ender 3 ProModifications: Creality...
prusaprinters
Here you go >> [Deckman]Print SettingsPrinter:Bed Size 150x150 and upRafts:NoSupports:NoResolution:0.1mm layer heightInfill:100%Filament: Any Any Flexible AnyNotes:Unzip and sort by filename. Choose a SetX to print a complete mask.</p><p>All...
gambody
Each part that any model comprises often needs preliminary review and you are free to tweak the settings the way you find suitable.Note:- You can scale up the model (downscaling is not recommended!);- All connectors should be printed at 100% Infill;-...
prusaprinters
This is a followup to: Lack Attack#3: Koppla the Lack: https://www.prusaprinters.org/prints/15919-lack-attack-3-koppla-the-lack-aka-power-the-lack-s without further adieu.... Attack 4: ENCLOSE THE LACK Its been a while since my last update, mostly as...
prusaprinters
Take what's theirs and make it your own! ~~~~~~~~~~~~~~~~~~~~~~~~~~~~~~~~~~~~~~~~~~~~~~~~~~~~~~~~~~~~~~~~~~~~~~~~~~~~~~~~~~~~~~~~~~~~~~~~~More fun stuff:Construction:Building under construction Part 1...
gambody
Each part that any model comprises often needs preliminary review and you are free to tweak the settings the way you find suitable.Note:- You can scale up the model (downscaling is not recommended!);- All connectors should be printed at 100% Infill;-...
gambody
Each part that any model comprises often needs preliminary review and you are free to tweak the settings the way you find suitable.Note:- You can scale up the model (downscaling is not recommended!);- All connectors should be printed at 100% Infill;-...
thingiverse
I will work on a static version tomorrow that will be scalable for those with smaller beds making airplanes so light they wont even need the springs more than likely. tail wheel still not done and neither are the tires. they are going to be black tpu...
gambody
Each part that any model comprises often needs preliminary review and you are free to tweak the settings the way you find suitable.Note:- You can scale up the model (downscaling is not recommended!);- All connectors should be printed at 100% Infill;-...
gambody
Each part that any model comprises often needs preliminary review and you are free to tweak the settings the way you find suitable.Note:- You can scale up the model (downscaling is not recommended!);- All connectors should be printed at 100% Infill;-...
prusaprinters
Take what's theirs and make it your own! ~~~~~~~~~~~~~~~~~~~~~~~~~~~~~~~~~~~~~~~~~~~~~~~~~~~~~~~~~~~~~~~~~~~~~~~~~~~~~~~~~~~~~~~~~~~~~~~~~More fun stuff:Construction:Building under construction Part 1...
prusaprinters
I used 0.32-mm first layer height for better adhesion, so the actual thickness of my walls is 1.82-mm instead of 2-mm.As all the parts have at least one flat surface, there is no problem to print them, just rotate them in your slicing software so...
thingiverse
One thing to be aware of though is that the bed adhesion on this module is not as good as the others as the corners are rounded for comfort, so if you have problems with that you may want to use a brim.MPH carheadrest hookThis is the module to use...
prusaprinters
Take what's theirs and make it your own! ~~~~~~~~~~~~~~~~~~~~~~~~~~~~~~~~~~~~~~~~~~~~~~~~~~~~~~~~~~~~~~~~~~~~~~~~~~~~~~~~~~~~~~~~~~~~~~~~~More fun stuff:Construction:Building under construction Part 1...